EPBC Positron
I live in a city, and I don’t currently have a garage. My commuter bikes have always lived in the basement, down stairs, tucked behind things, shoved in corners. As a tall-ish rider, my bikes end up being pretty big. It’s pretty annoying to bump into all sorts of obstacles every time I’m getting my bike out of the basement. I’ve longed to have a small-wheeled “mini velo” to make my bike a little more compact to aid in navigating tight quarters.

Image credit: SOMA Fabrications
I had considered mini velos on and off over the years. Unlike a folding bike, a mini velo is rigid, but it saves some space by using smaller wheels (~20” instead of 26”-29”). I think SOMA’s (discontinued) Mini Velo was the first such bike that caught my eye. There have been a few other internet favorites like the Mercier Nano or the absurdly priced Sundeal V1 (a bike I still regret not purchasing). Part of my renewed interest in this type of bike came from Velo Orange launching the Neutrino, their newest offering at the time. The Neutrino really showed me that mini velos could be valuable beyond the novelty of a small bike. Early Neutrino testers were posting articles traveling with their bikes, taking them bikepacking, commuting, and just having some great adventures.
My roommate at the time (Sam Hochheimer) is a pretty serious cyclist as well as a creative engineer/maker/creator. We originally met each other building our first bike frames in Stanford’s framebuilding course. Here’s more information about my frame from that course, and here’s a link to details on Sam’s bike. After a pretty epic journey on his handbuilt frame, Sam went on to co-teach the framebuilding course for several years. Needless to say, Sam is a talented frame designer and knows quite a lot about bikes.

Image credit: Velo Orange
Velo Orange’s Neutrino was basically the bike that we wanted, but Sam and I liked the idea of using our desire to fuel a bigger and more challenging project. Sam and I decided that it would be fun to cook up a custom frame design with every detail we wanted. We had both worked in the student shop (the PRL) in college, we had both worked as manufacturing engineers since, and we decided it would be a fun adventure to get a couple frames made overseas. We started our search by cold contacting vendors on Alibaba. It’s pretty easy to find frame factories on the internet, but it’s pretty hard to find a vendor that will make fewer than 100 frames per order. Luckily for us, another friend of ours from the PRL (Dave Evans) had done a few custom frames with a vendor he liked. They were excited to work with us and willing to make a couple of frames. And hey, if you’re making two frames overseas, you might as well make more, right? We opened up orders to a group of our friends, and we quickly built up interest in a dozen frames.
Getting things made overseas is never easy, especially when your vendors are navigating a global pandemic as well as a massive demand spike in all things cycling related. It took us over 13 months from our first communications with the vendor to when we received frames in hand. We exchanged dozens of emails and made lots of little tweaks to the frame design and details based on our friends’ desires (hello, internal dropper routing!) and design feedback from our vendor.
Some details on the frame design:
Designed around the Niner Biocentric II EBB for chain tensioning for SS/IGH builds
Lots of bottle bosses :)
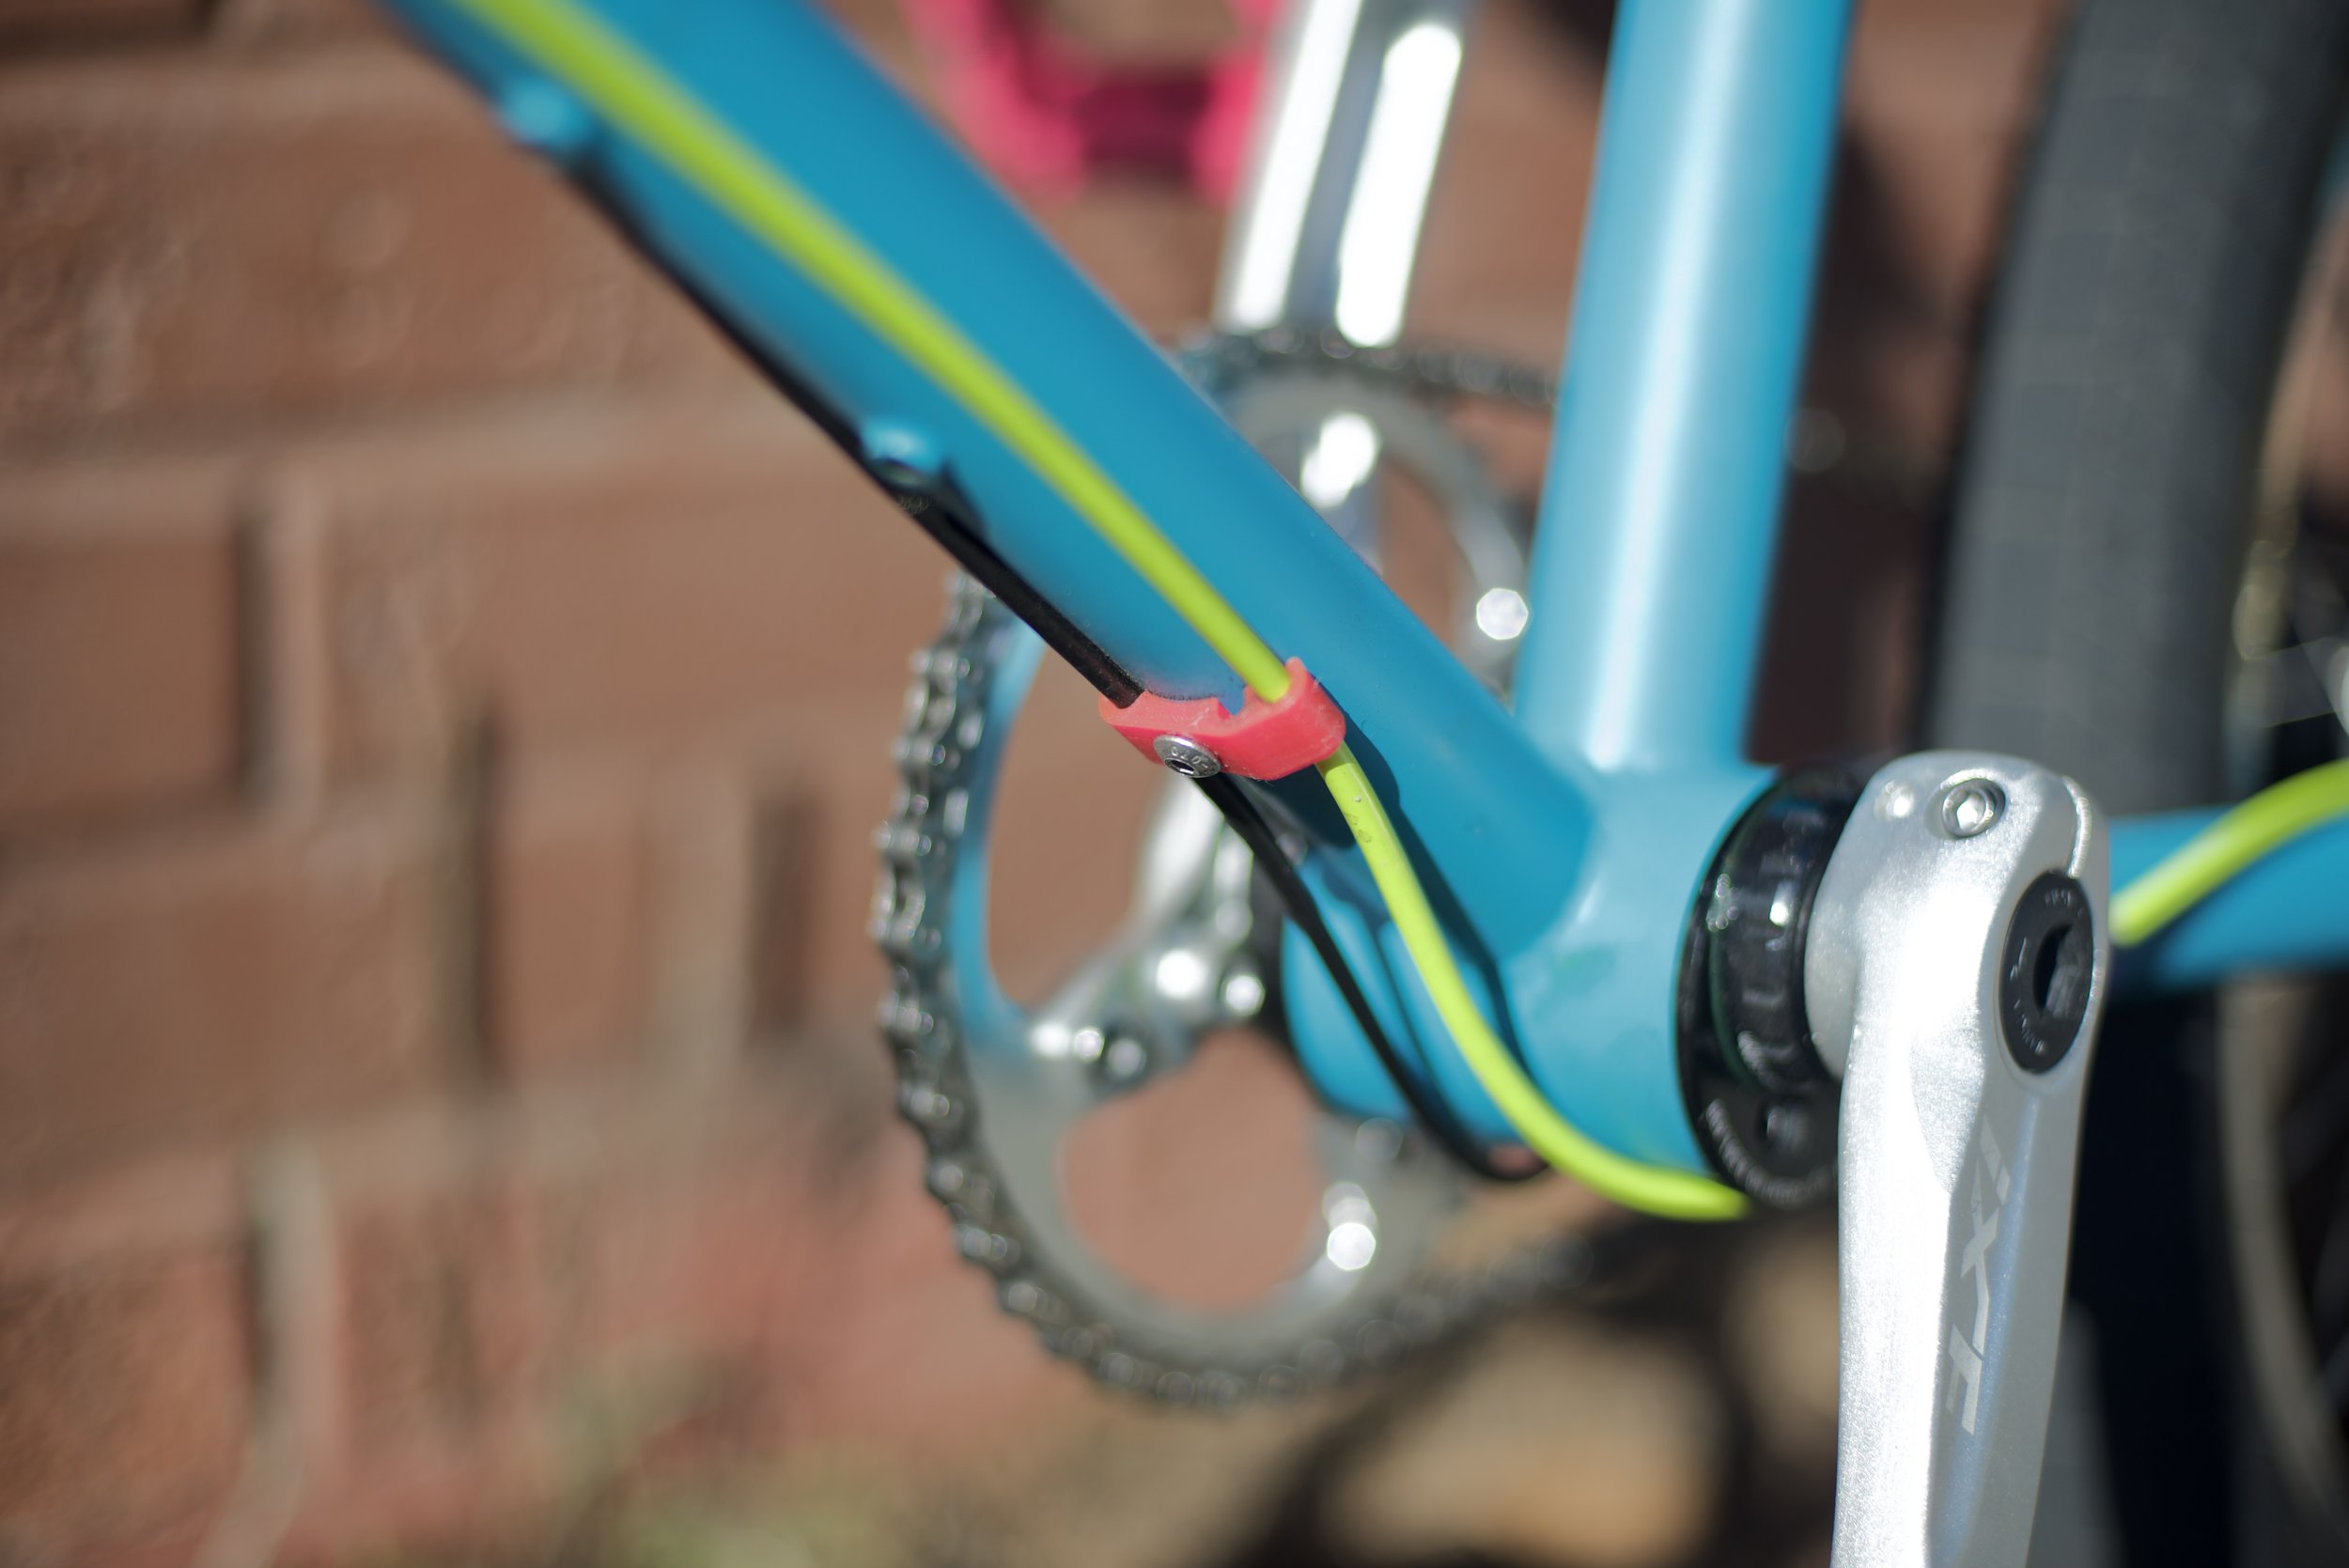
No brazed-on cable guides - we wanted folks to be able to customize their builds with bolt-on off the shelf guides (or custom 3D printed guides)
One frame size designed to work for as wide of a range of riders as possible. Right now we have riders on these bikes ranging all the way from 5’ 6” to 6’ 7”!
Internal dropper routing
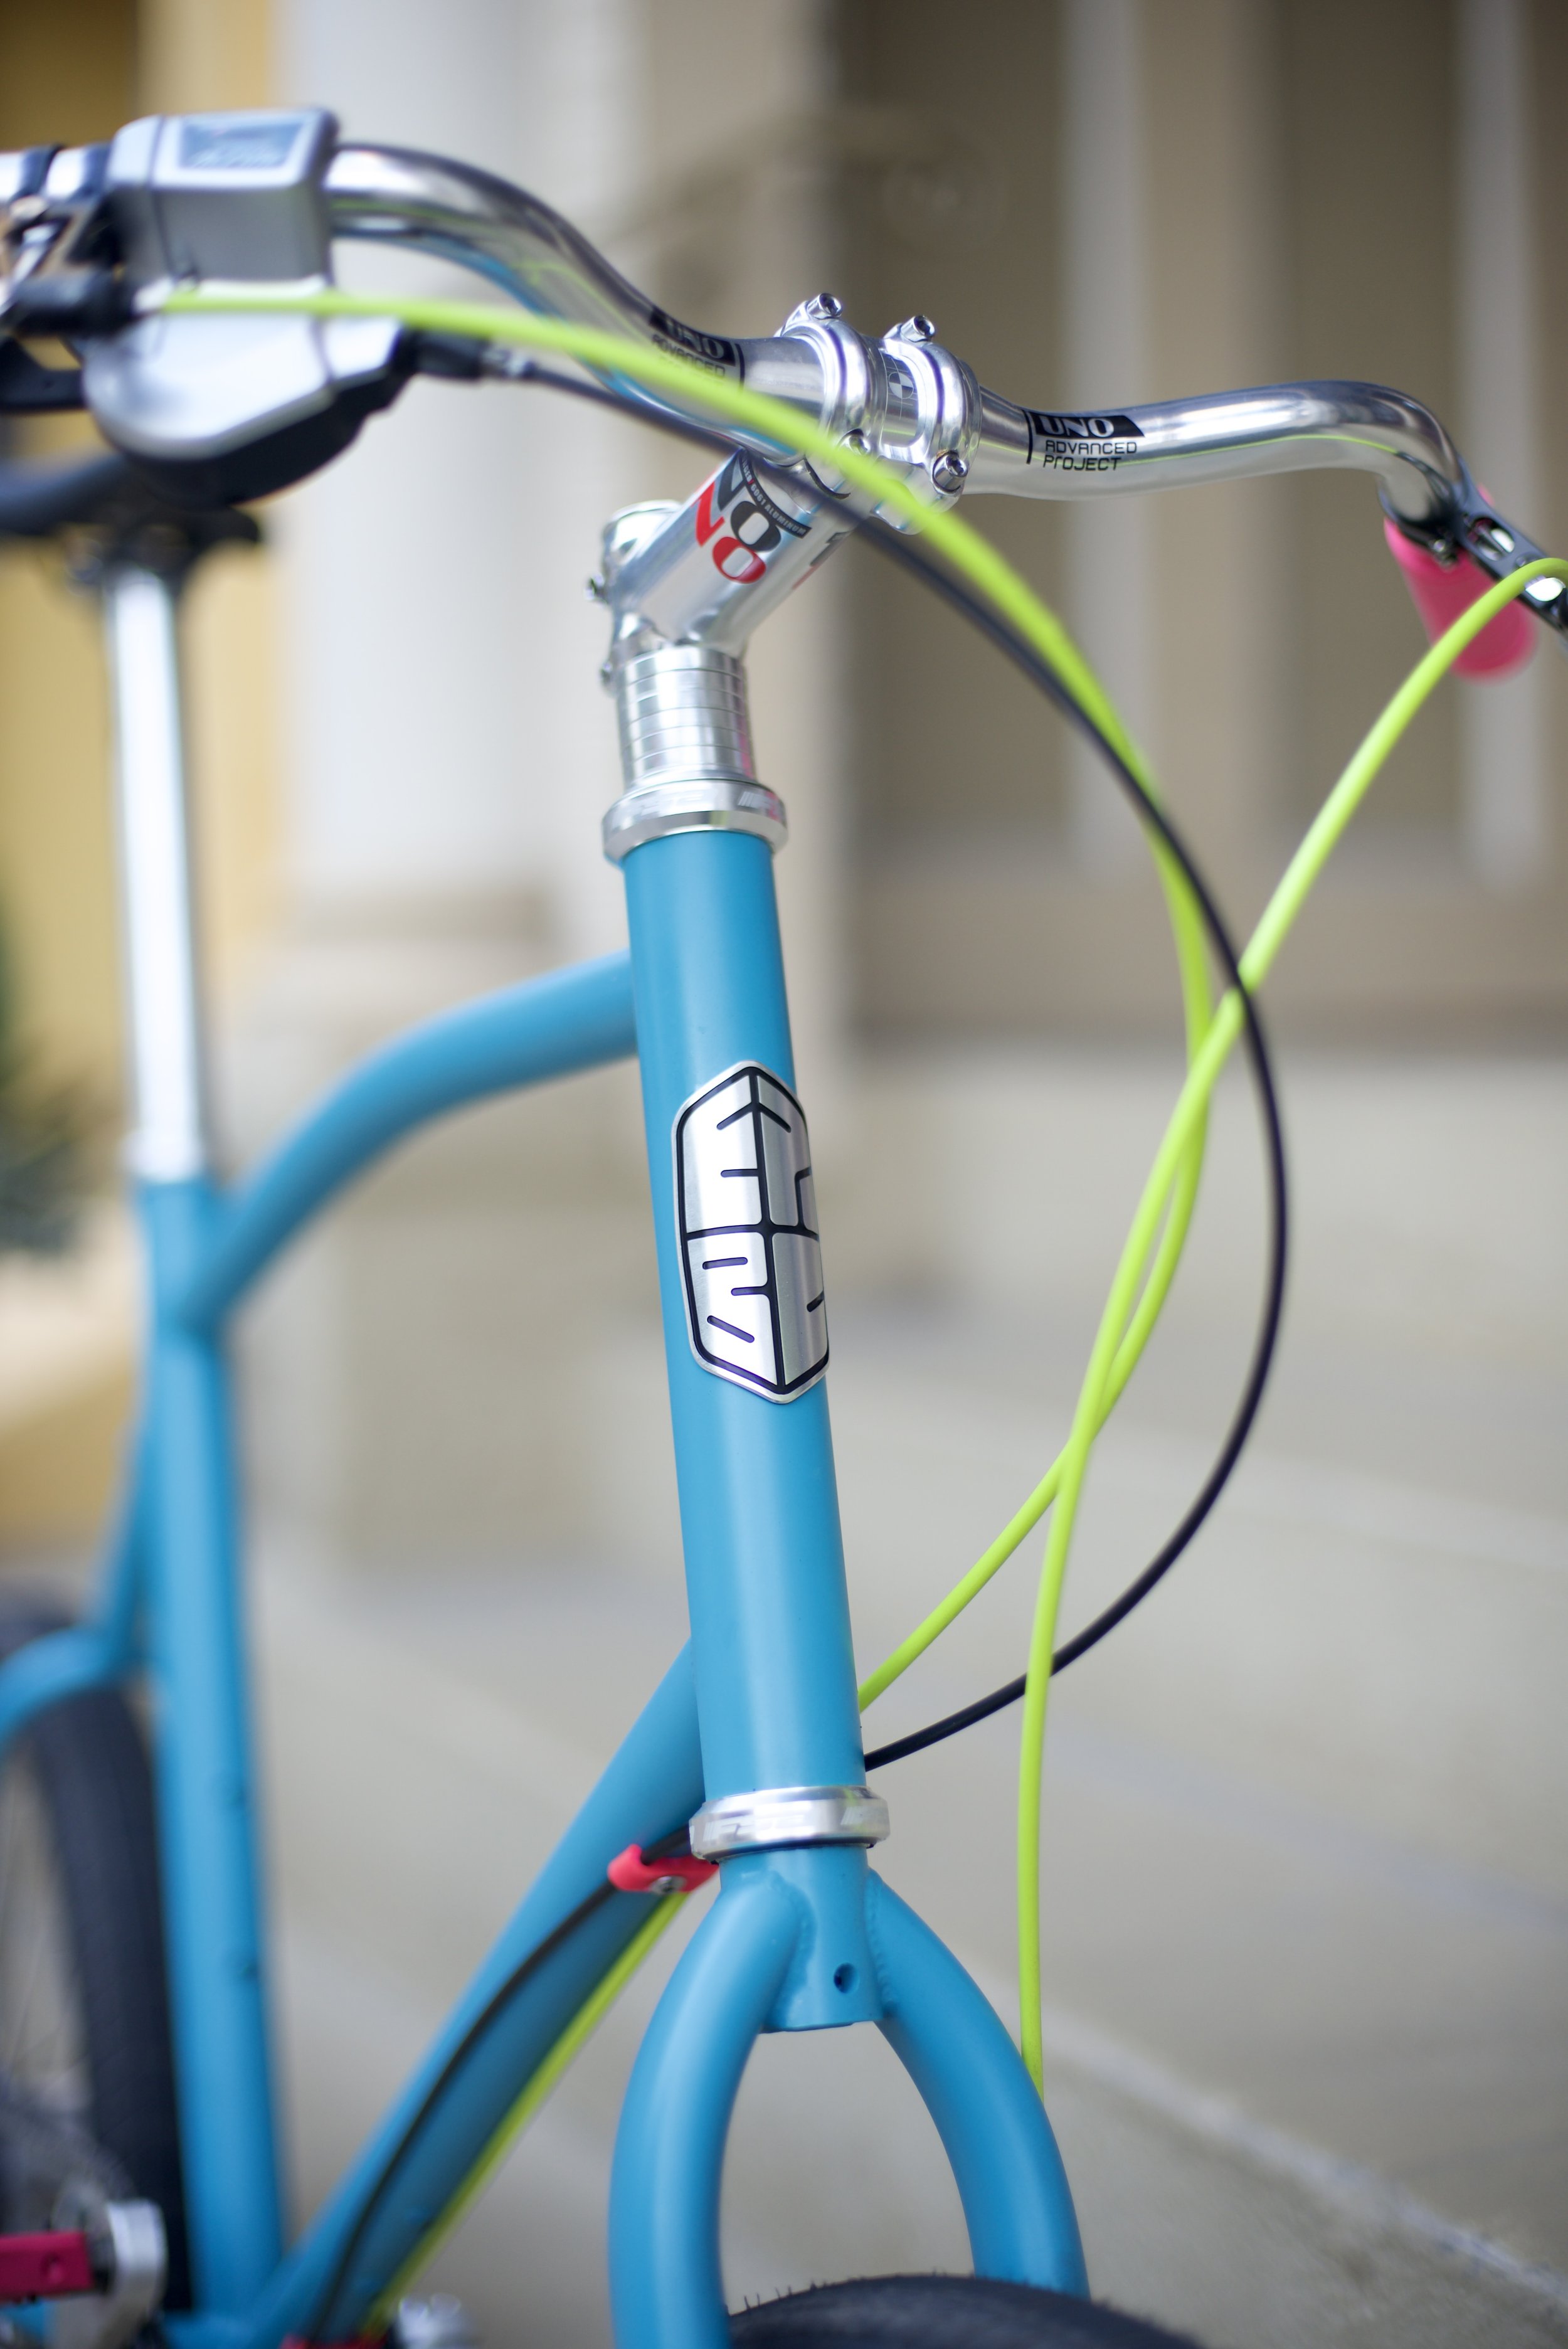
We took a lot of inspiration from the Neutrino geometry and design. That bike seems incredible, playful, and versatile. We wanted to be very transparent about attribution, and we decided to pay homage to Velo Orange’s great work when choosing the name of our frame: the EPBC Positron. EPBC stands for East Portal Bike Company. When we lived together, Sam and I were very near the East Portal end of the Twin Peaks Muni tunnel. Portal is a fun word, EPBC has a fun ring to it, and we settled on this as the name of our “bike company”.
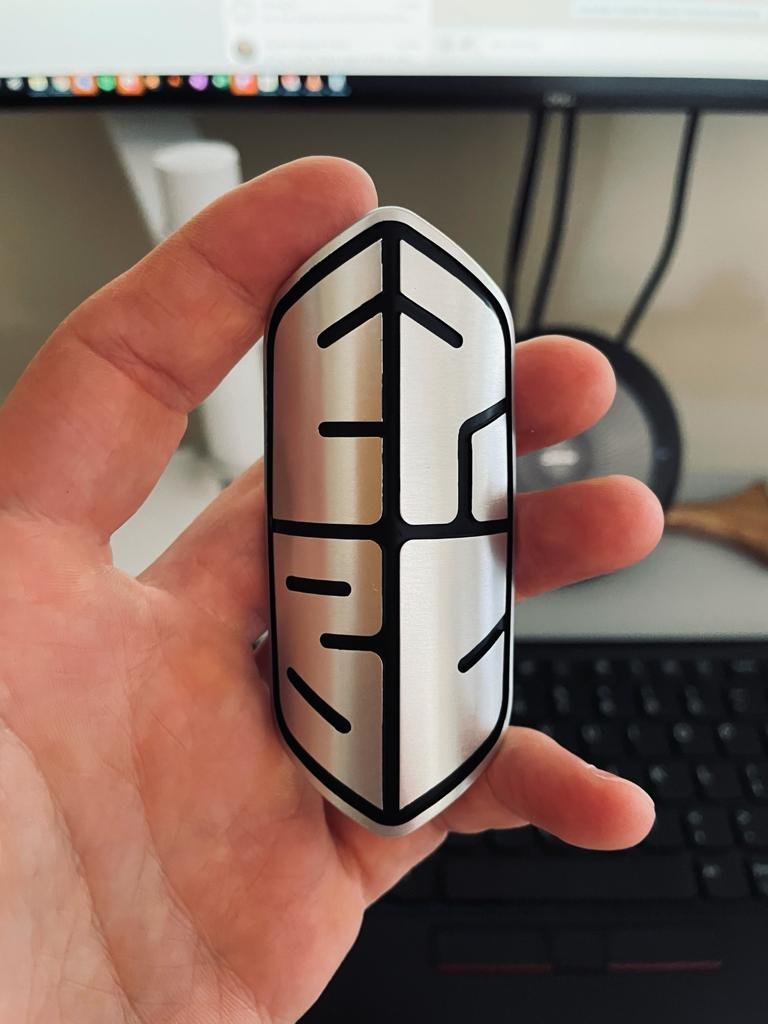
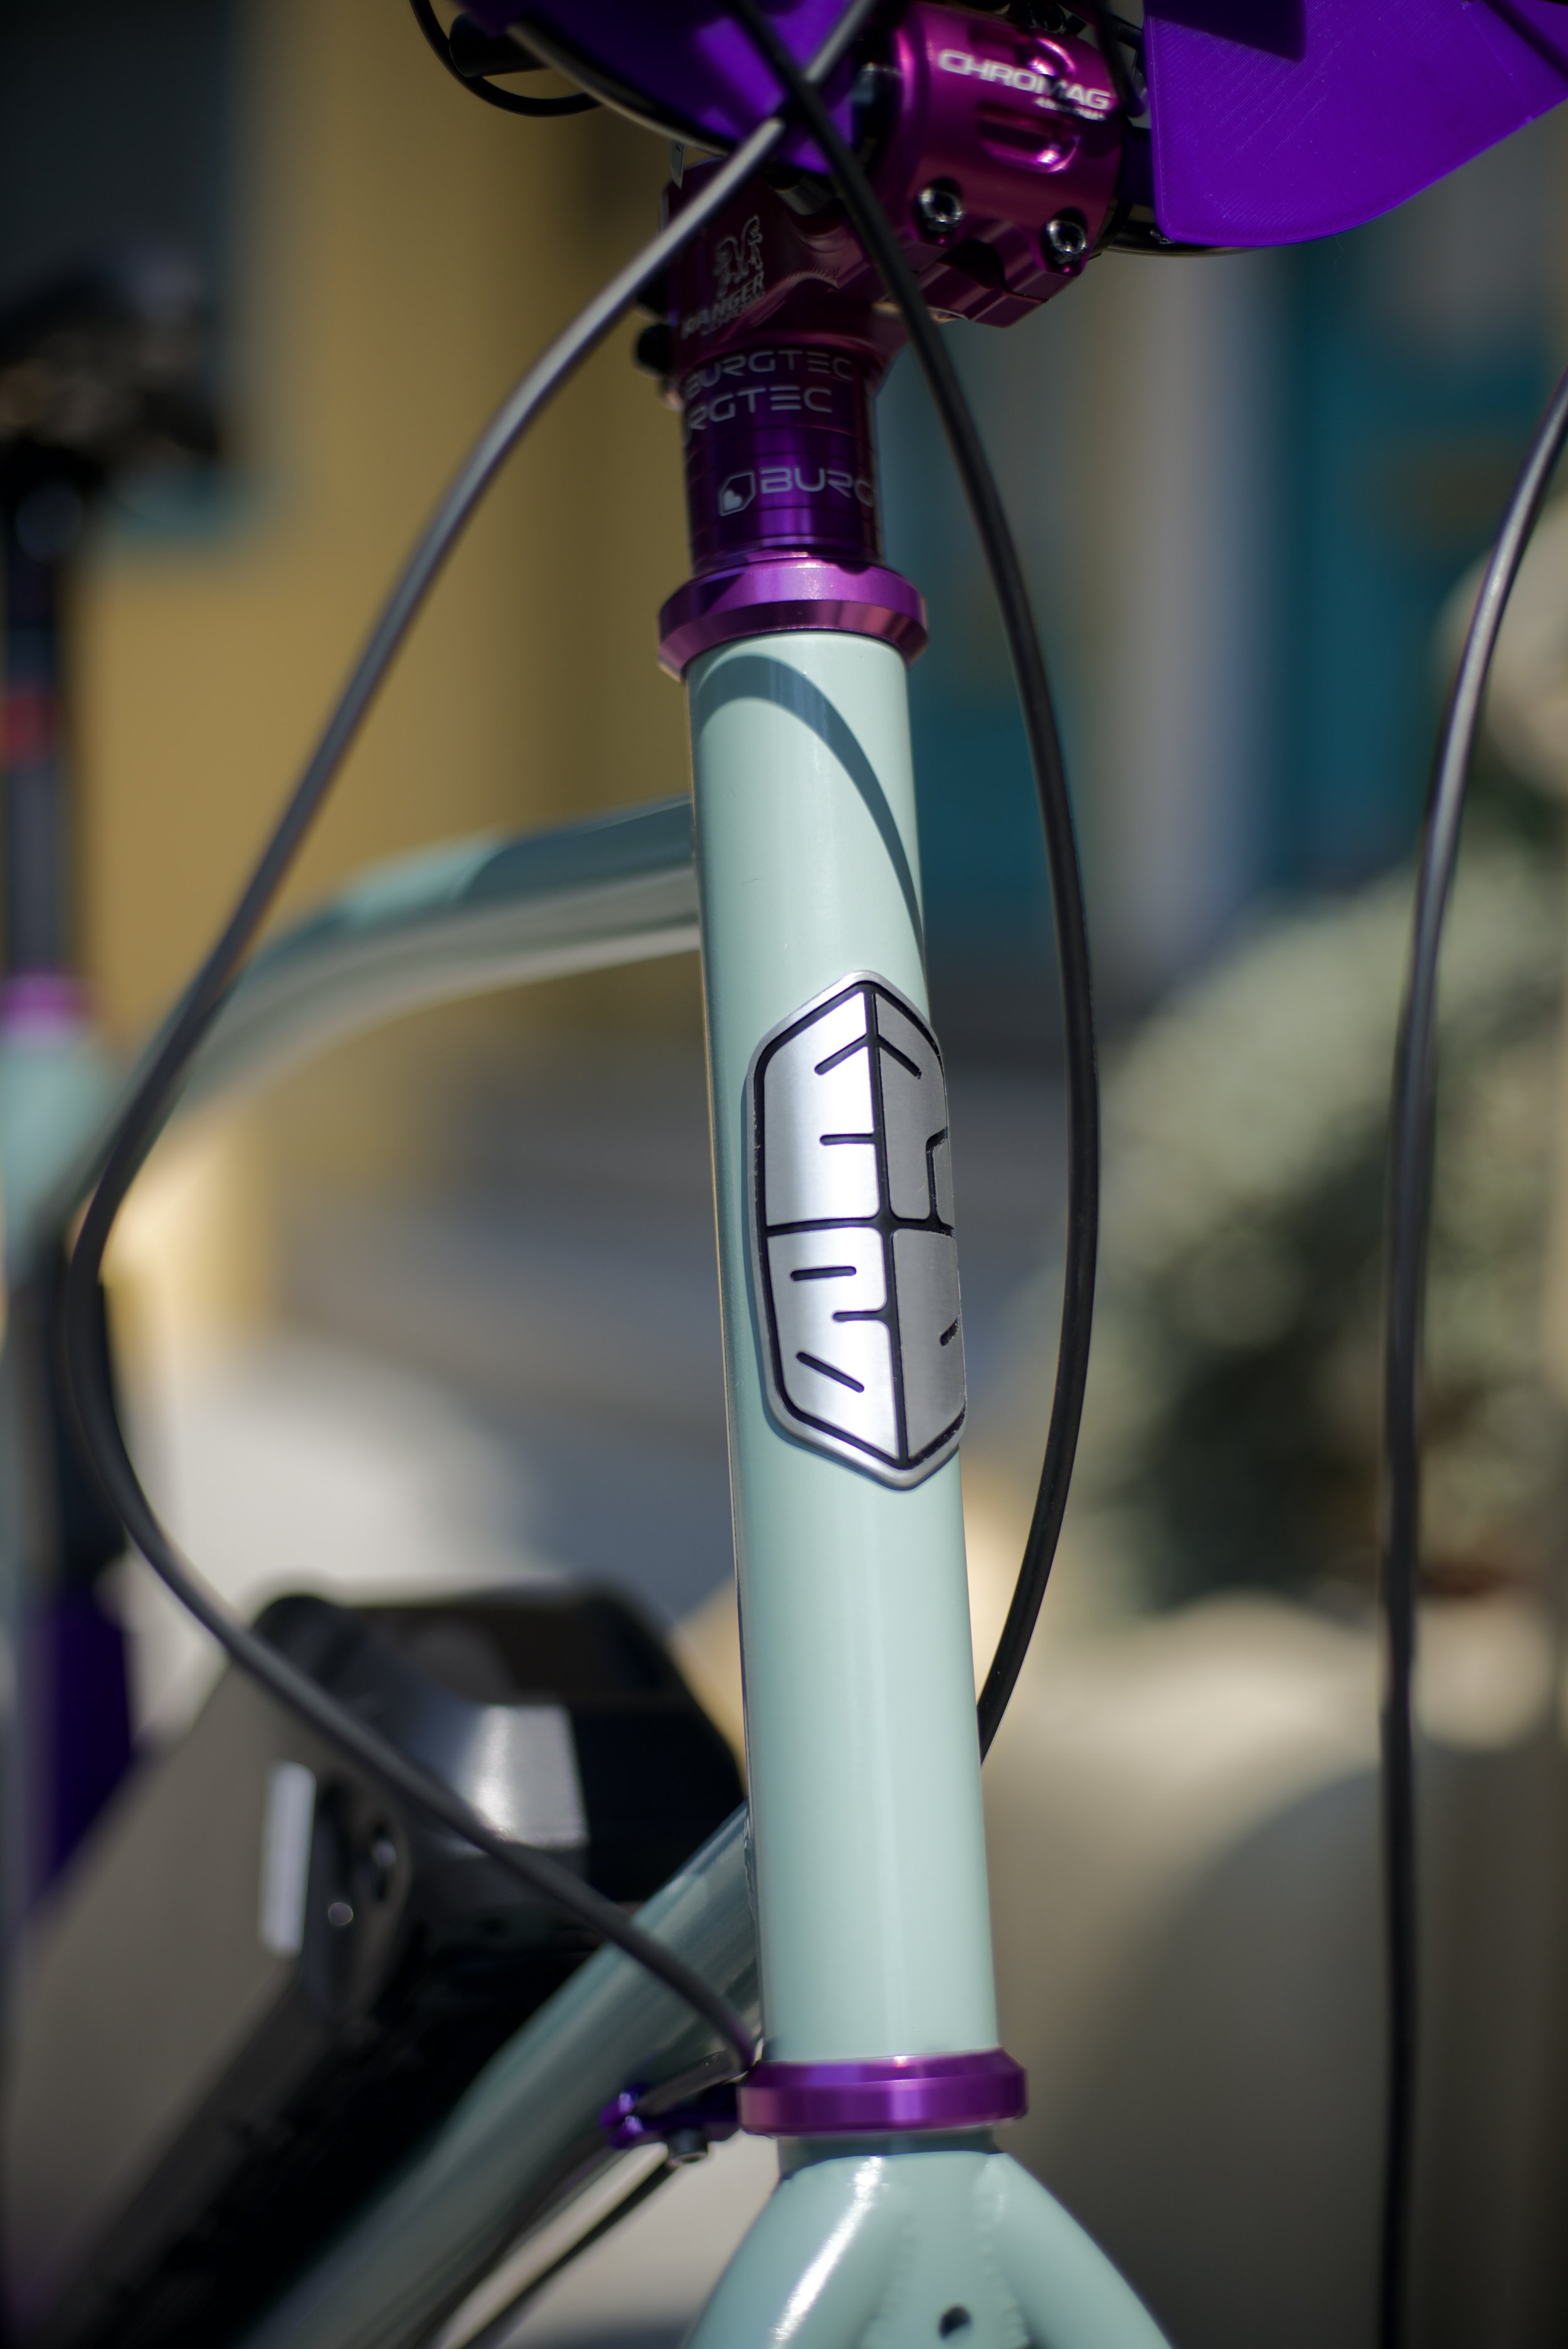
I’m not a graphic designer by any stretch of the imagination, so I decided that it would be a fun challenge to design a custom headbadge for our bikes. After a few fruitless attempts to design something based on the actual East Portal tunnel entrance, I had a visual epiphany about the shapes of the letters EPBC themselves. I 3D printed a couple of trial headbadges and then worked with an overseas machine shop to make the final articles. The final headbadges are CNC machined out of flat aluminum sheet before being bent to match the head tube radius. They are then clear anodized, and the grooves are filled with black paint. It would be more efficient to investment cast the headbadges for a large production run, but machining (especially out of flat stock) made sense for making a the low quantity we needed for this order.


_General_Plan_and_Profile.jpg)
I love the look of mini velos, but I think that big cassettes & derailleurs look kind of strange on a 20” wheel. I wanted to build my bike up with an internal hub to avoid this issue. Sam was excited to assemble his as a single speed. We decided to design the frame around an eccentric bottom bracket (the same one we used on the Porteur when I was at Faraday).
The bottom bracket shell for an EBB needs to be pretty big, and the aspect ratio of the wall thickness and size of the shell means that it’s at risk of warping from all the heat that gets dumped into it from the down tube, seat tube, and seat stay welds. You can solve this with a heat sink, and you can catch this with a quick fit check at the end of the welding process, but we didn’t think to specify either of these details to our vendor. We ended up being unlucky in addition to being negligent. All of our frames landed with ovalized EBB shells. We considered removing a little bit of material from a dozen EBB’s and handing those off to our friends, but this felt like we were avoiding the root cause problem. We decided to do the right thing and fix the frames themselves.
Sam tried out a couple different toolpaths, and we settled on using a boring head on a vertical mill. It’s pretty scary to fixture a nicely painted brand new frame on a mill and then carve off a bit of steel very carefully, but we got our process pretty dialed. After a pretty fun but long late night machining session (and two cutters, whoops), we successfully remachined all 12 frames without any casualties! I put together a short video below that shows the process.
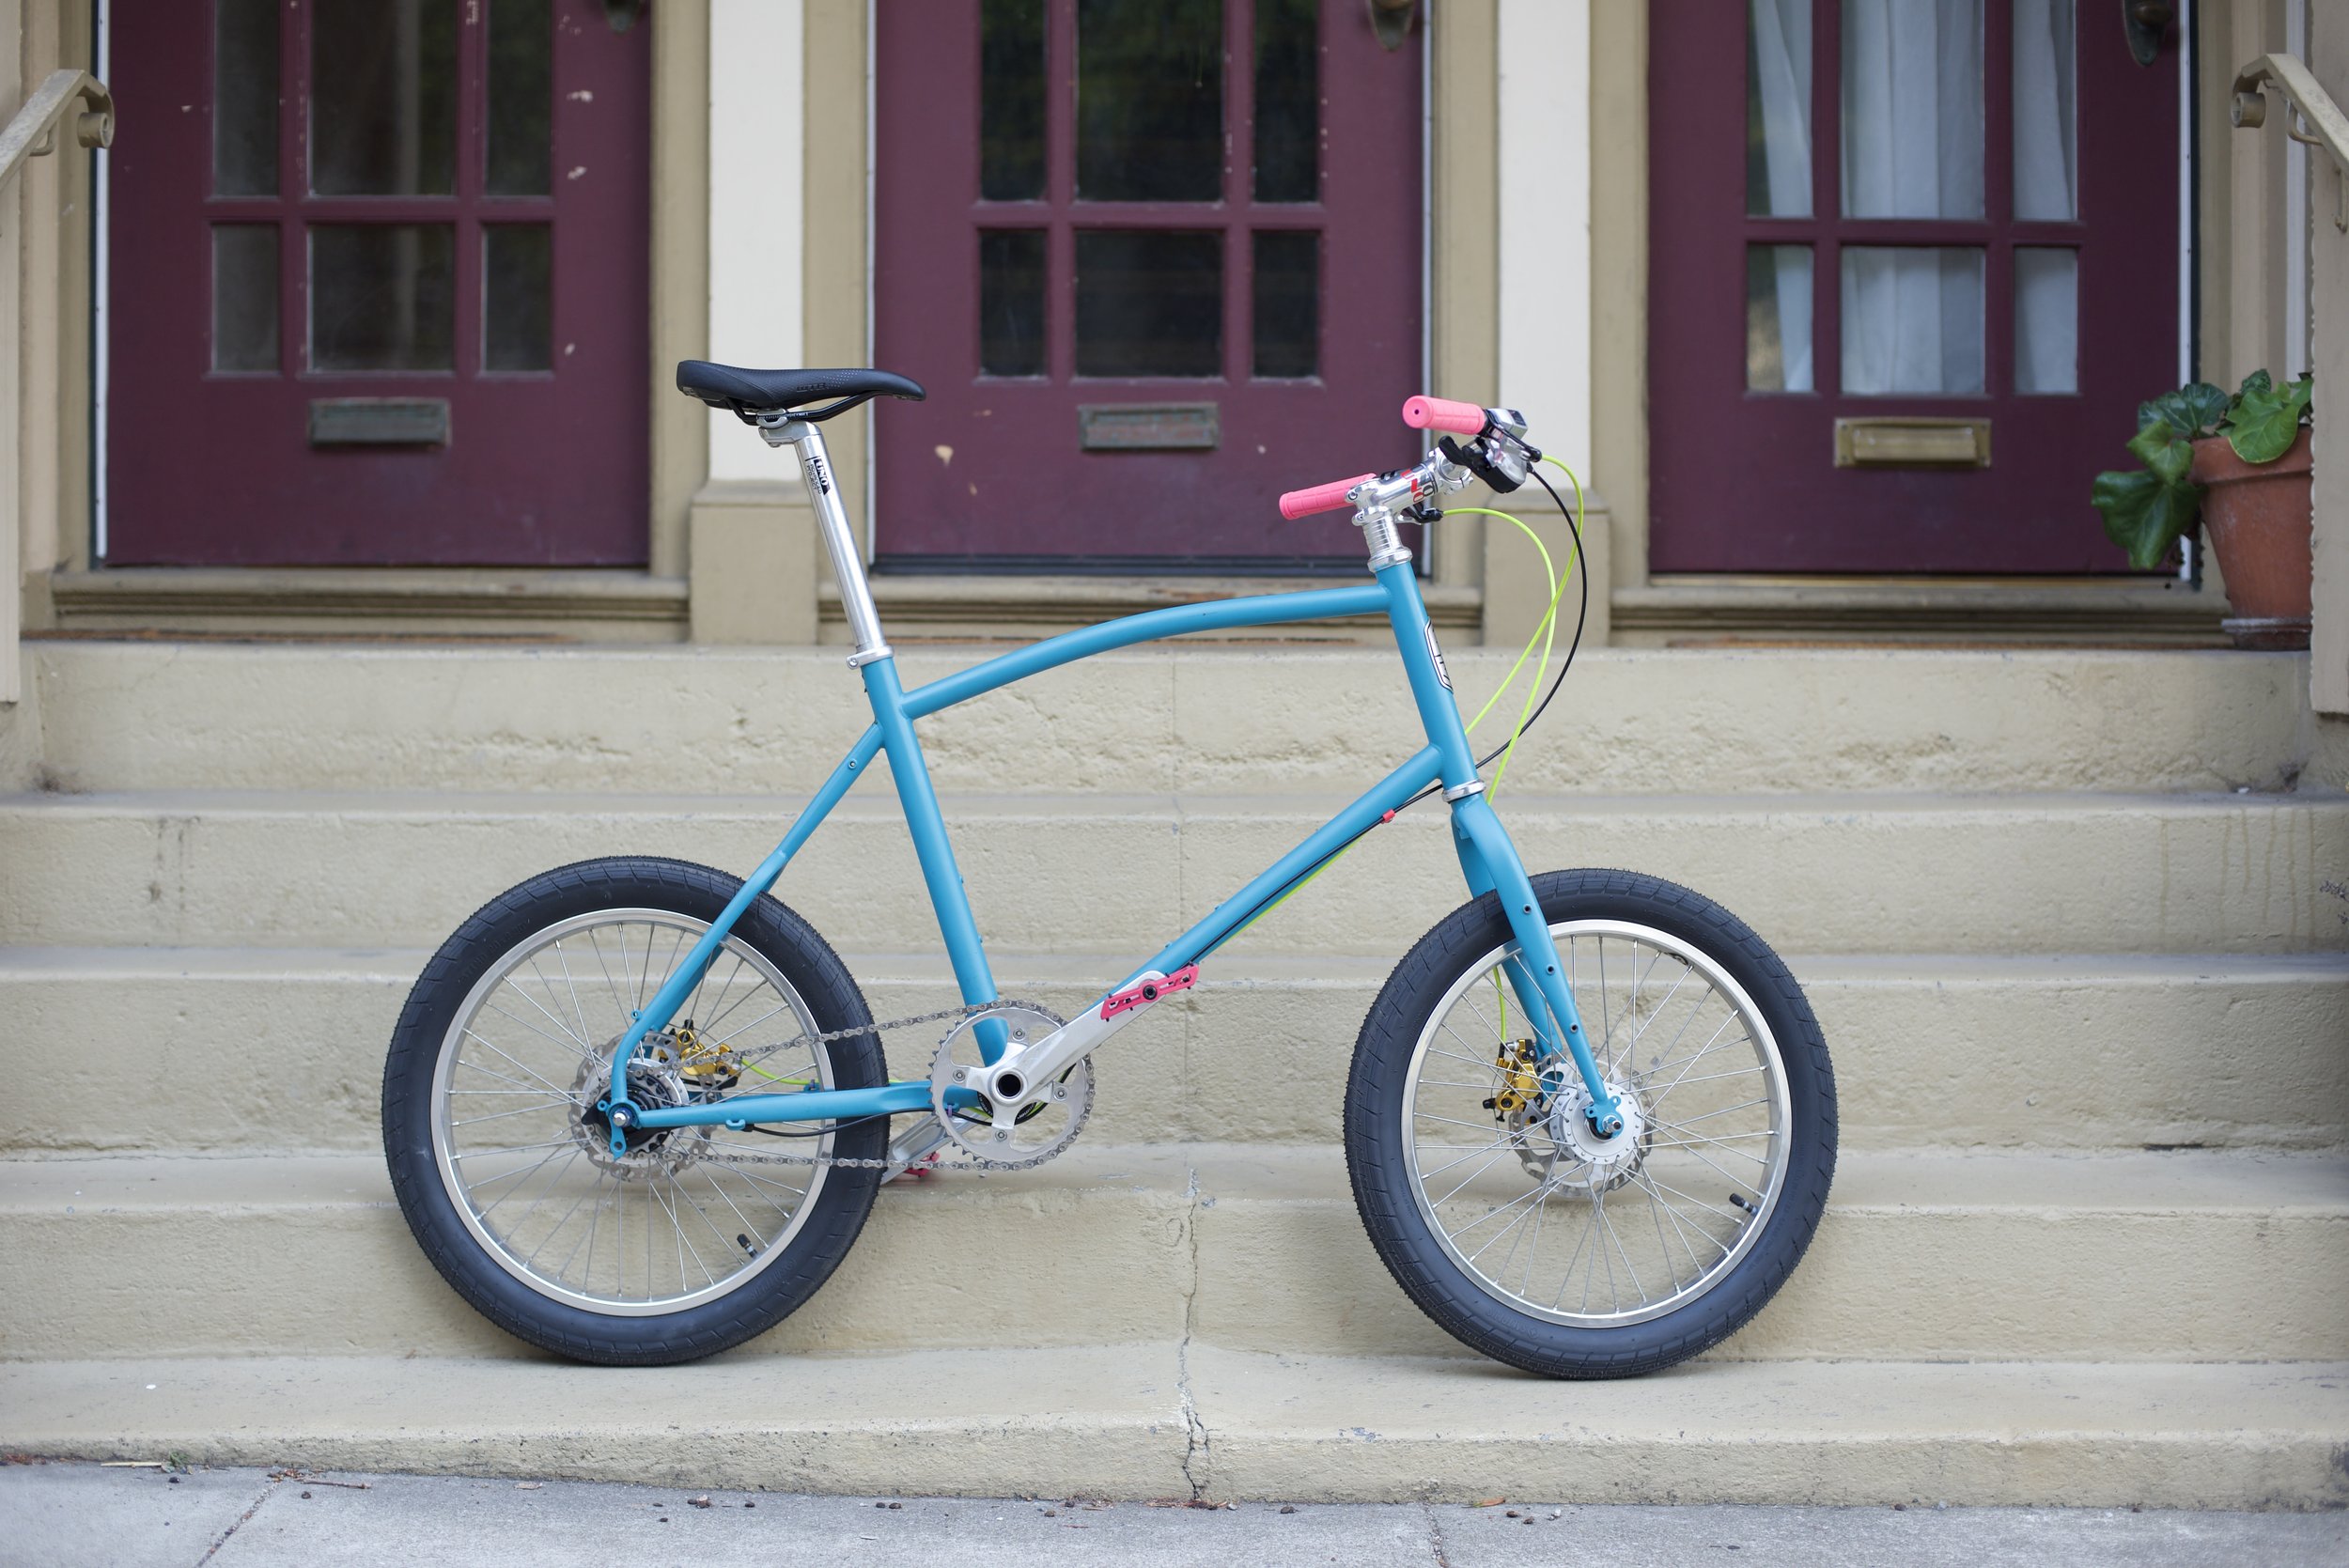
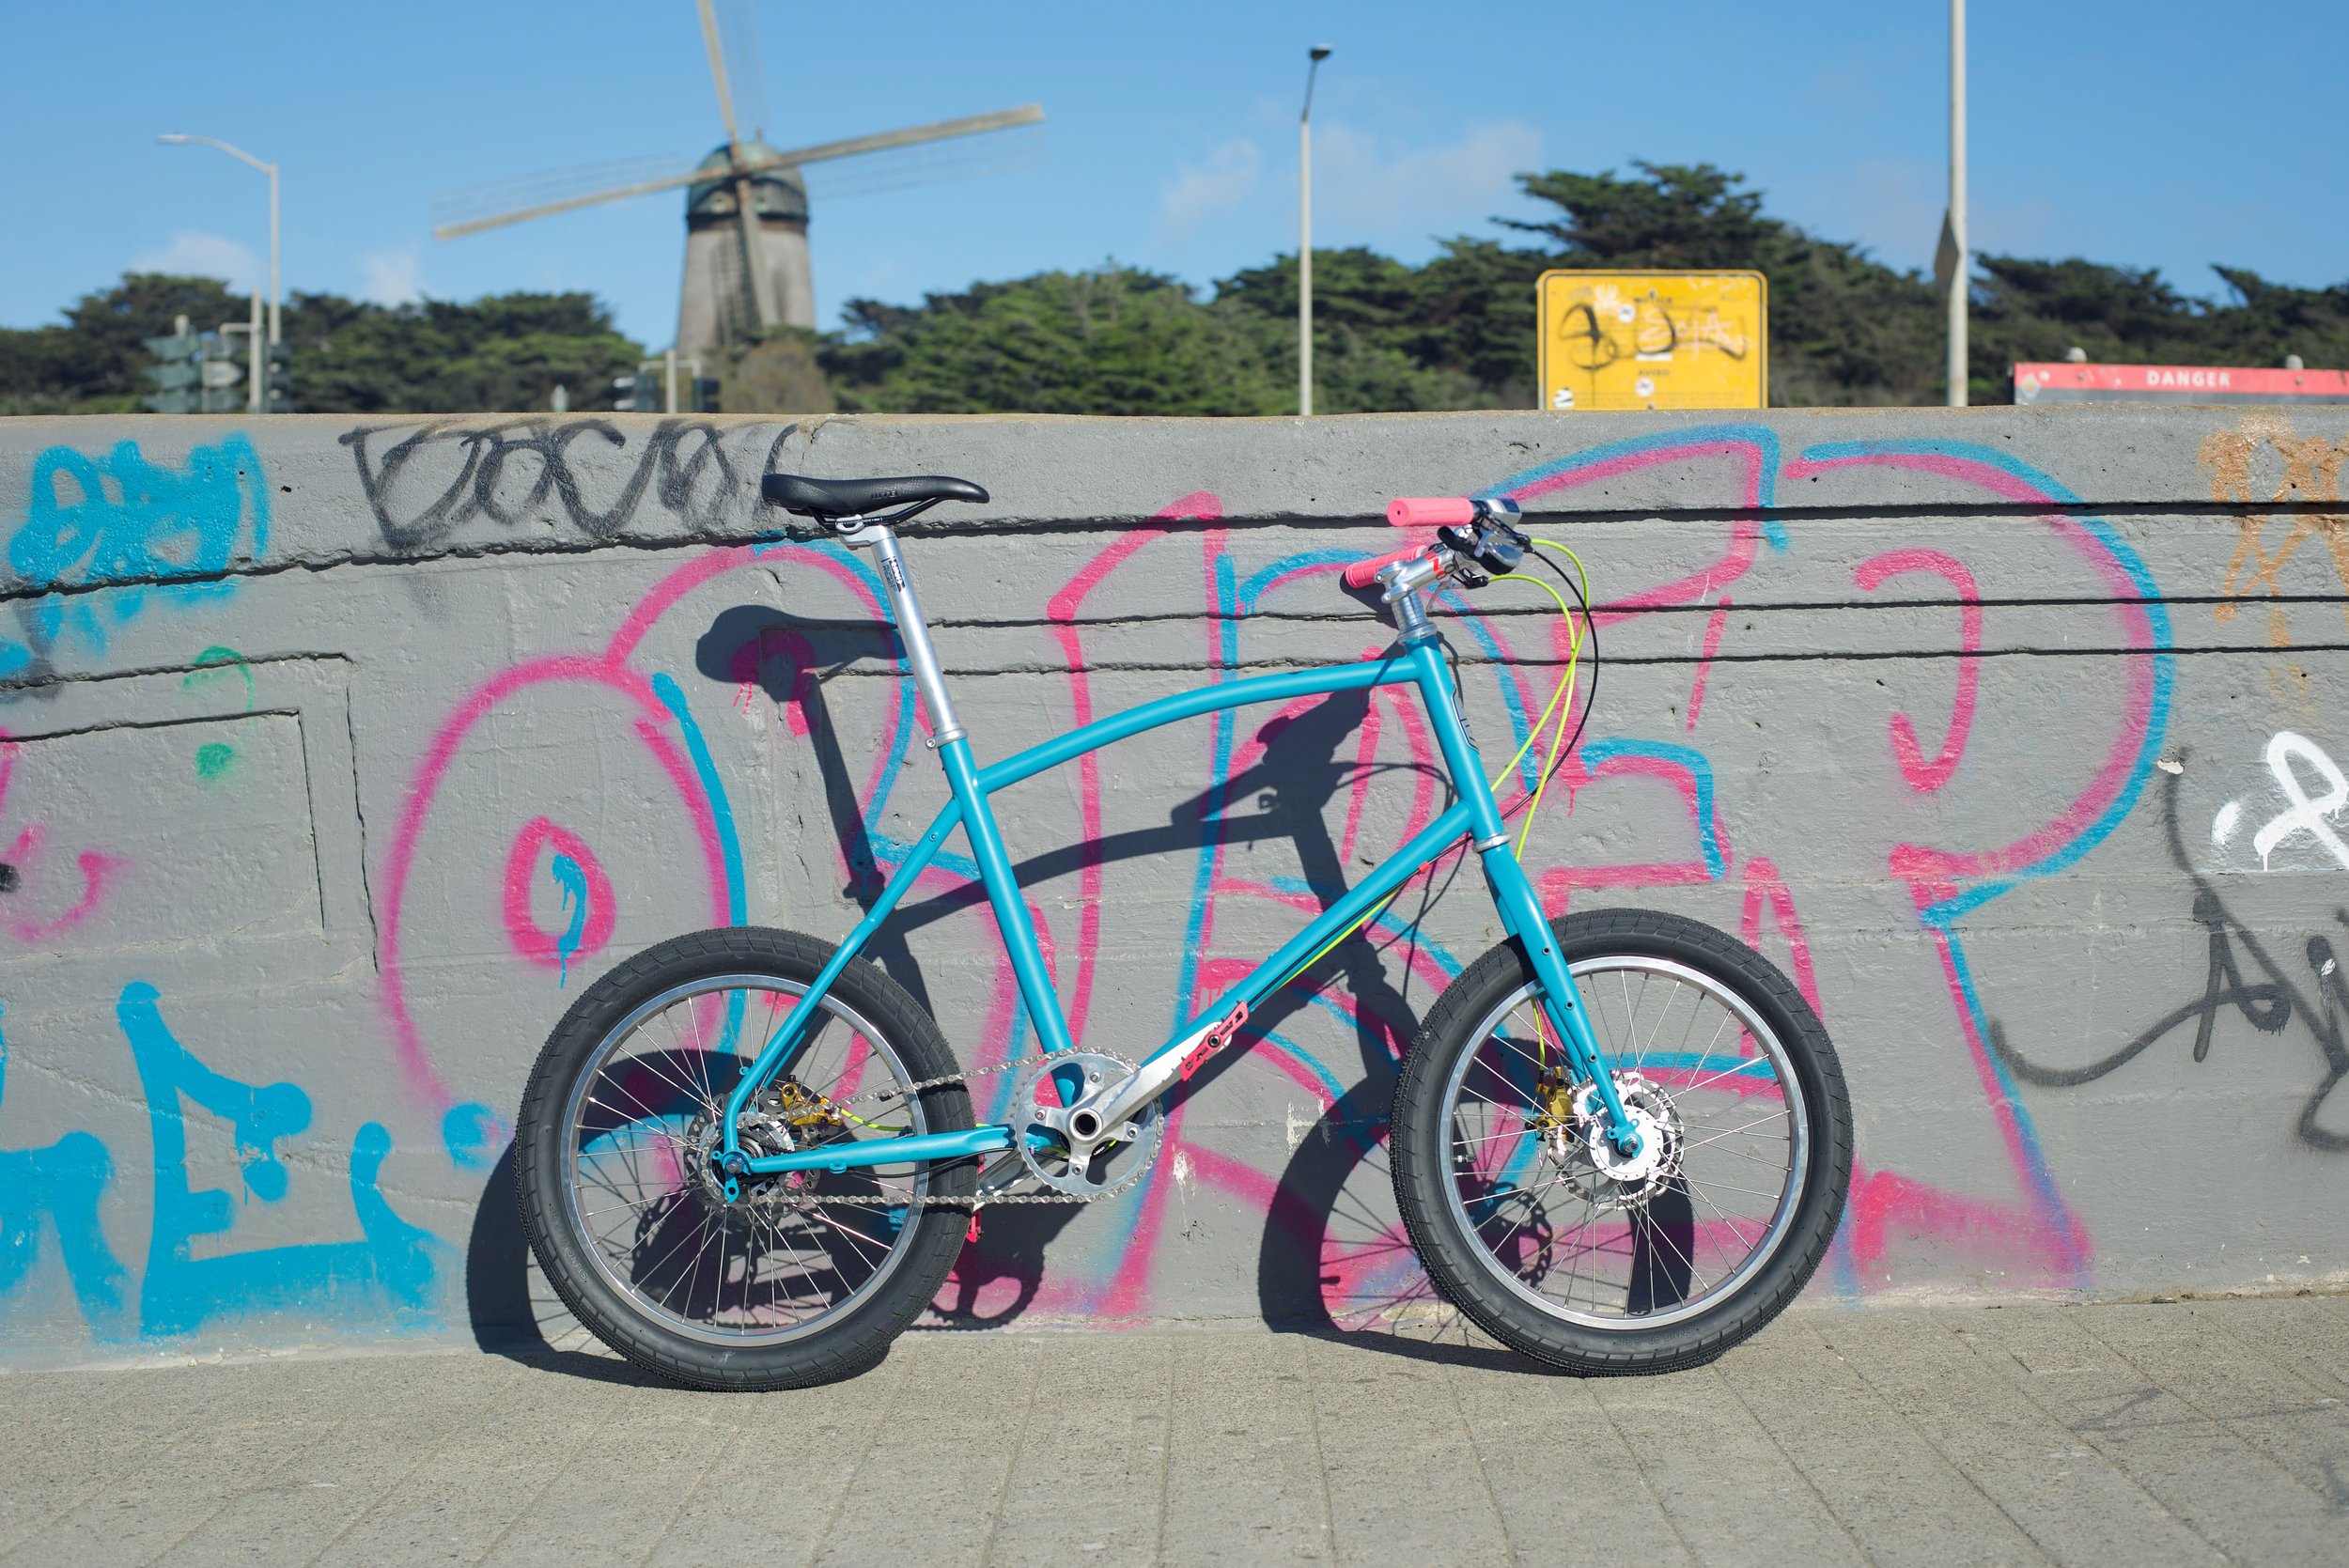
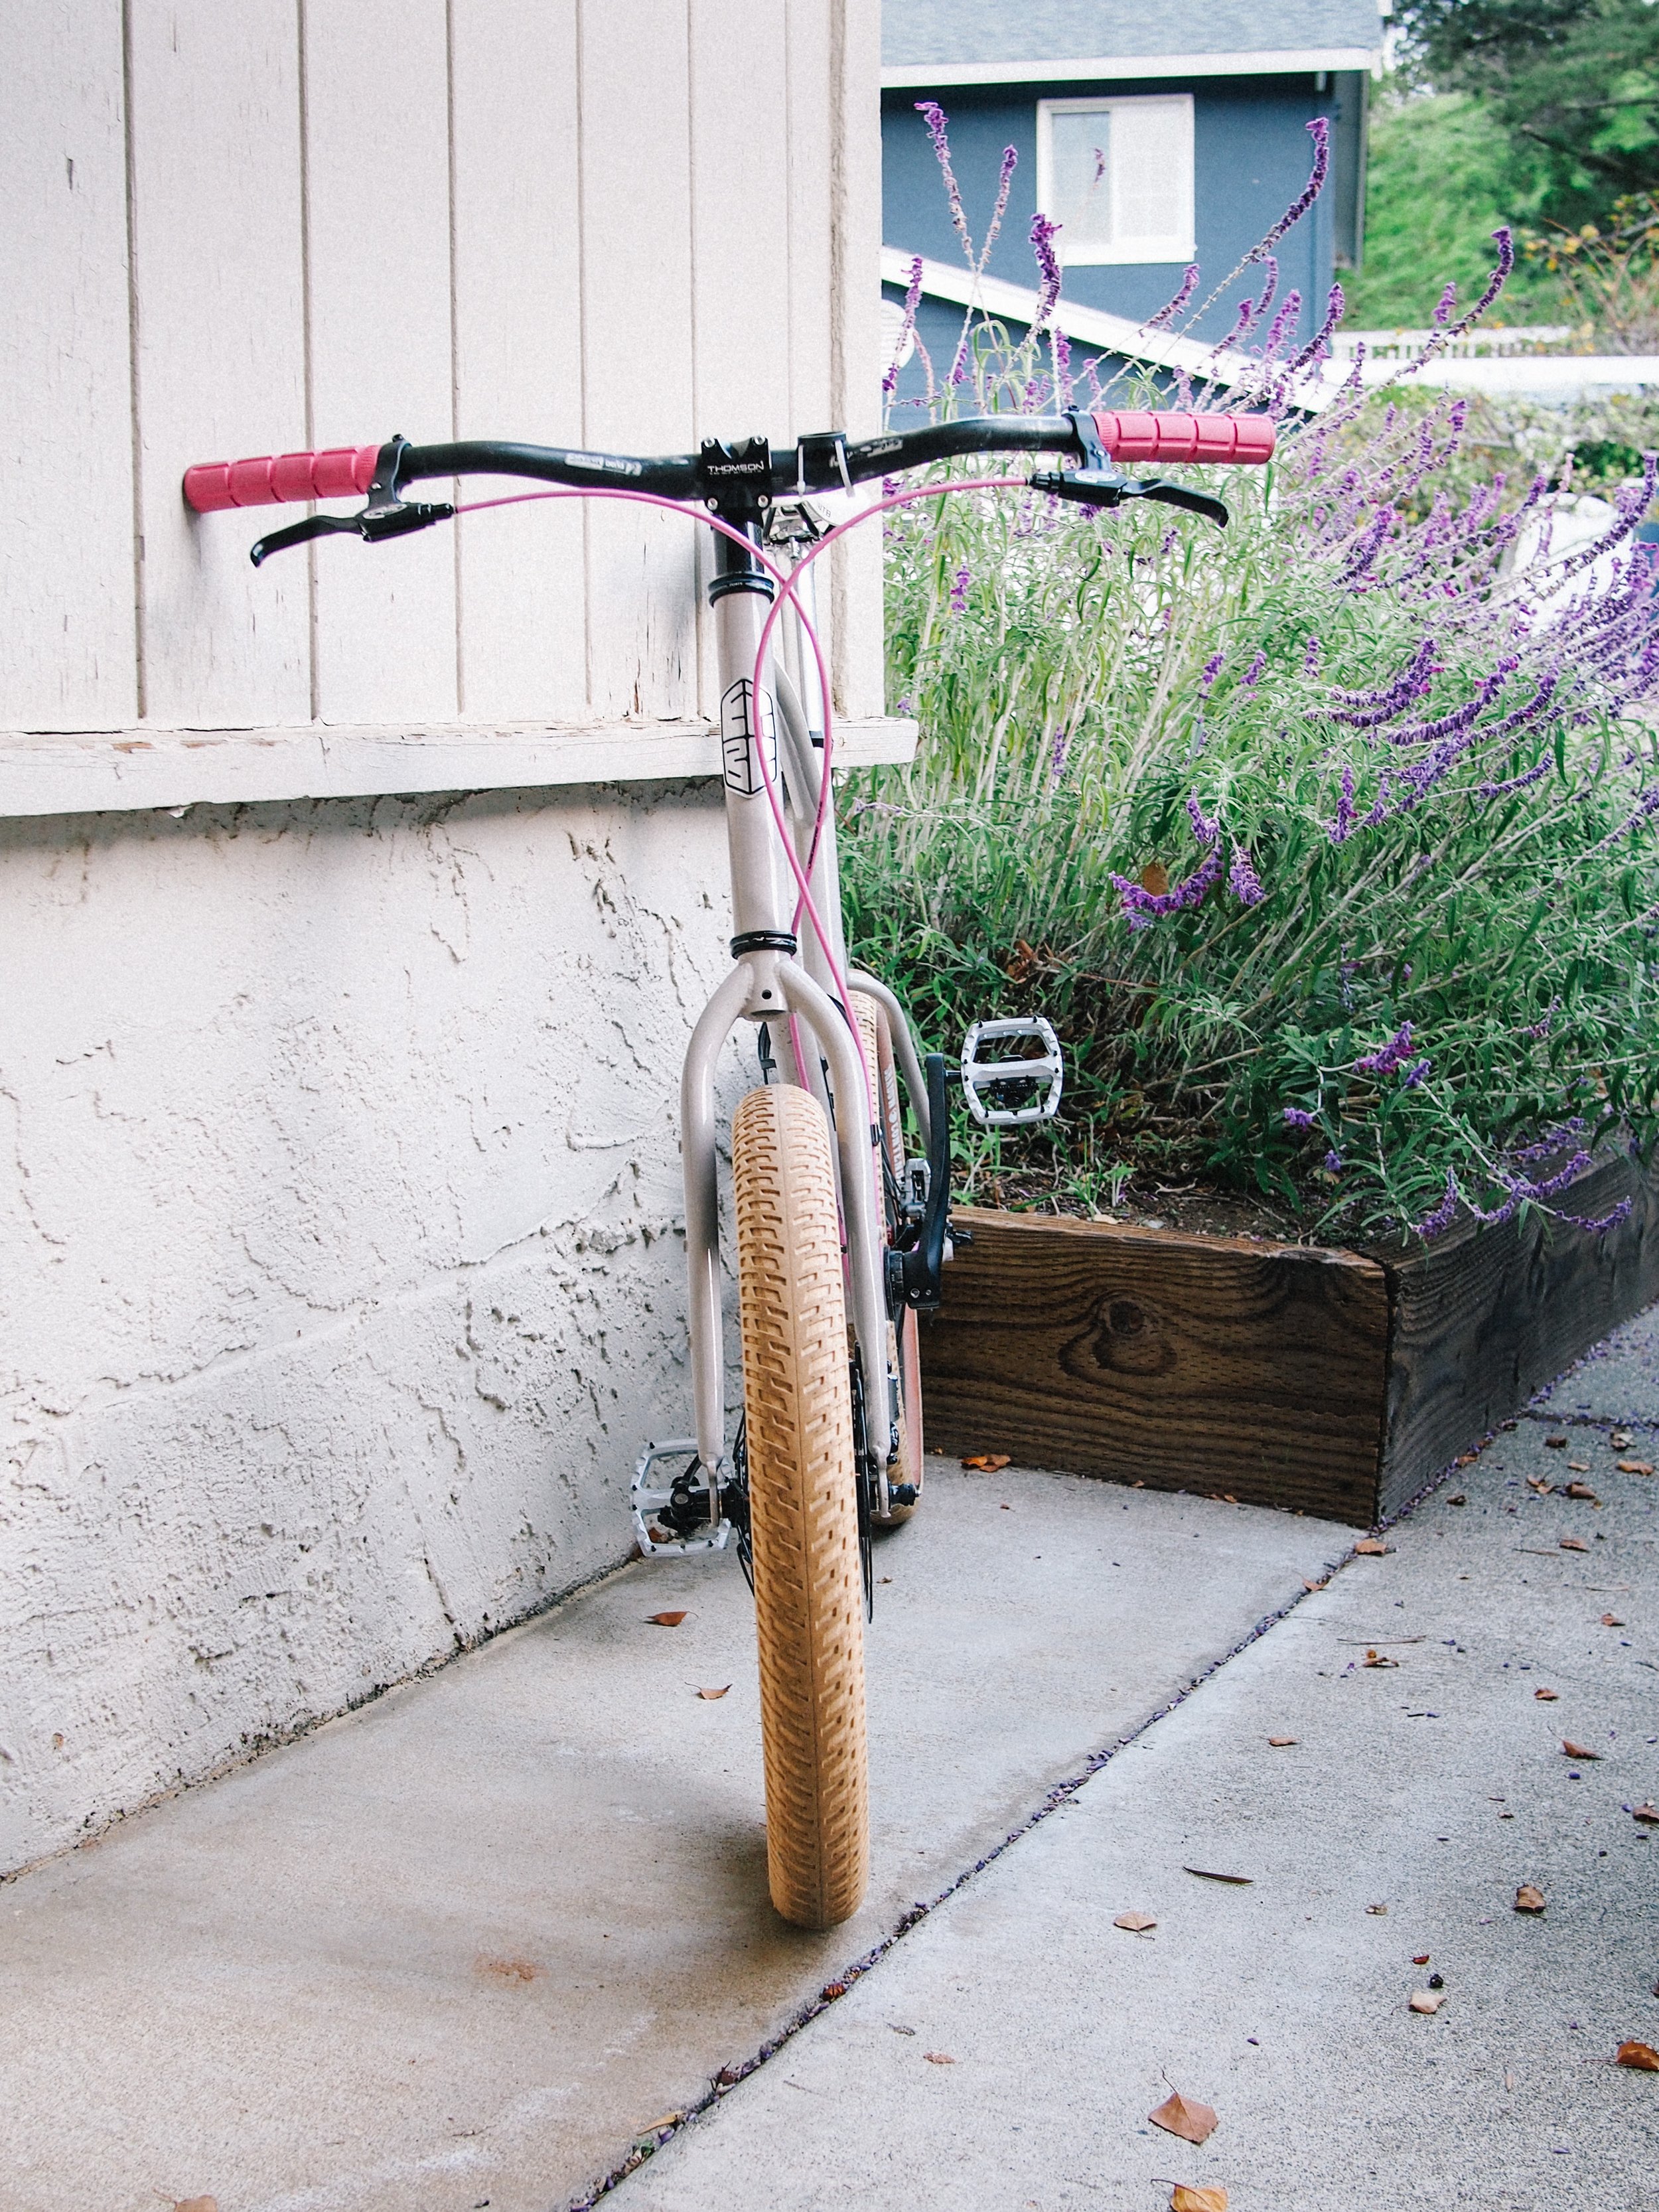
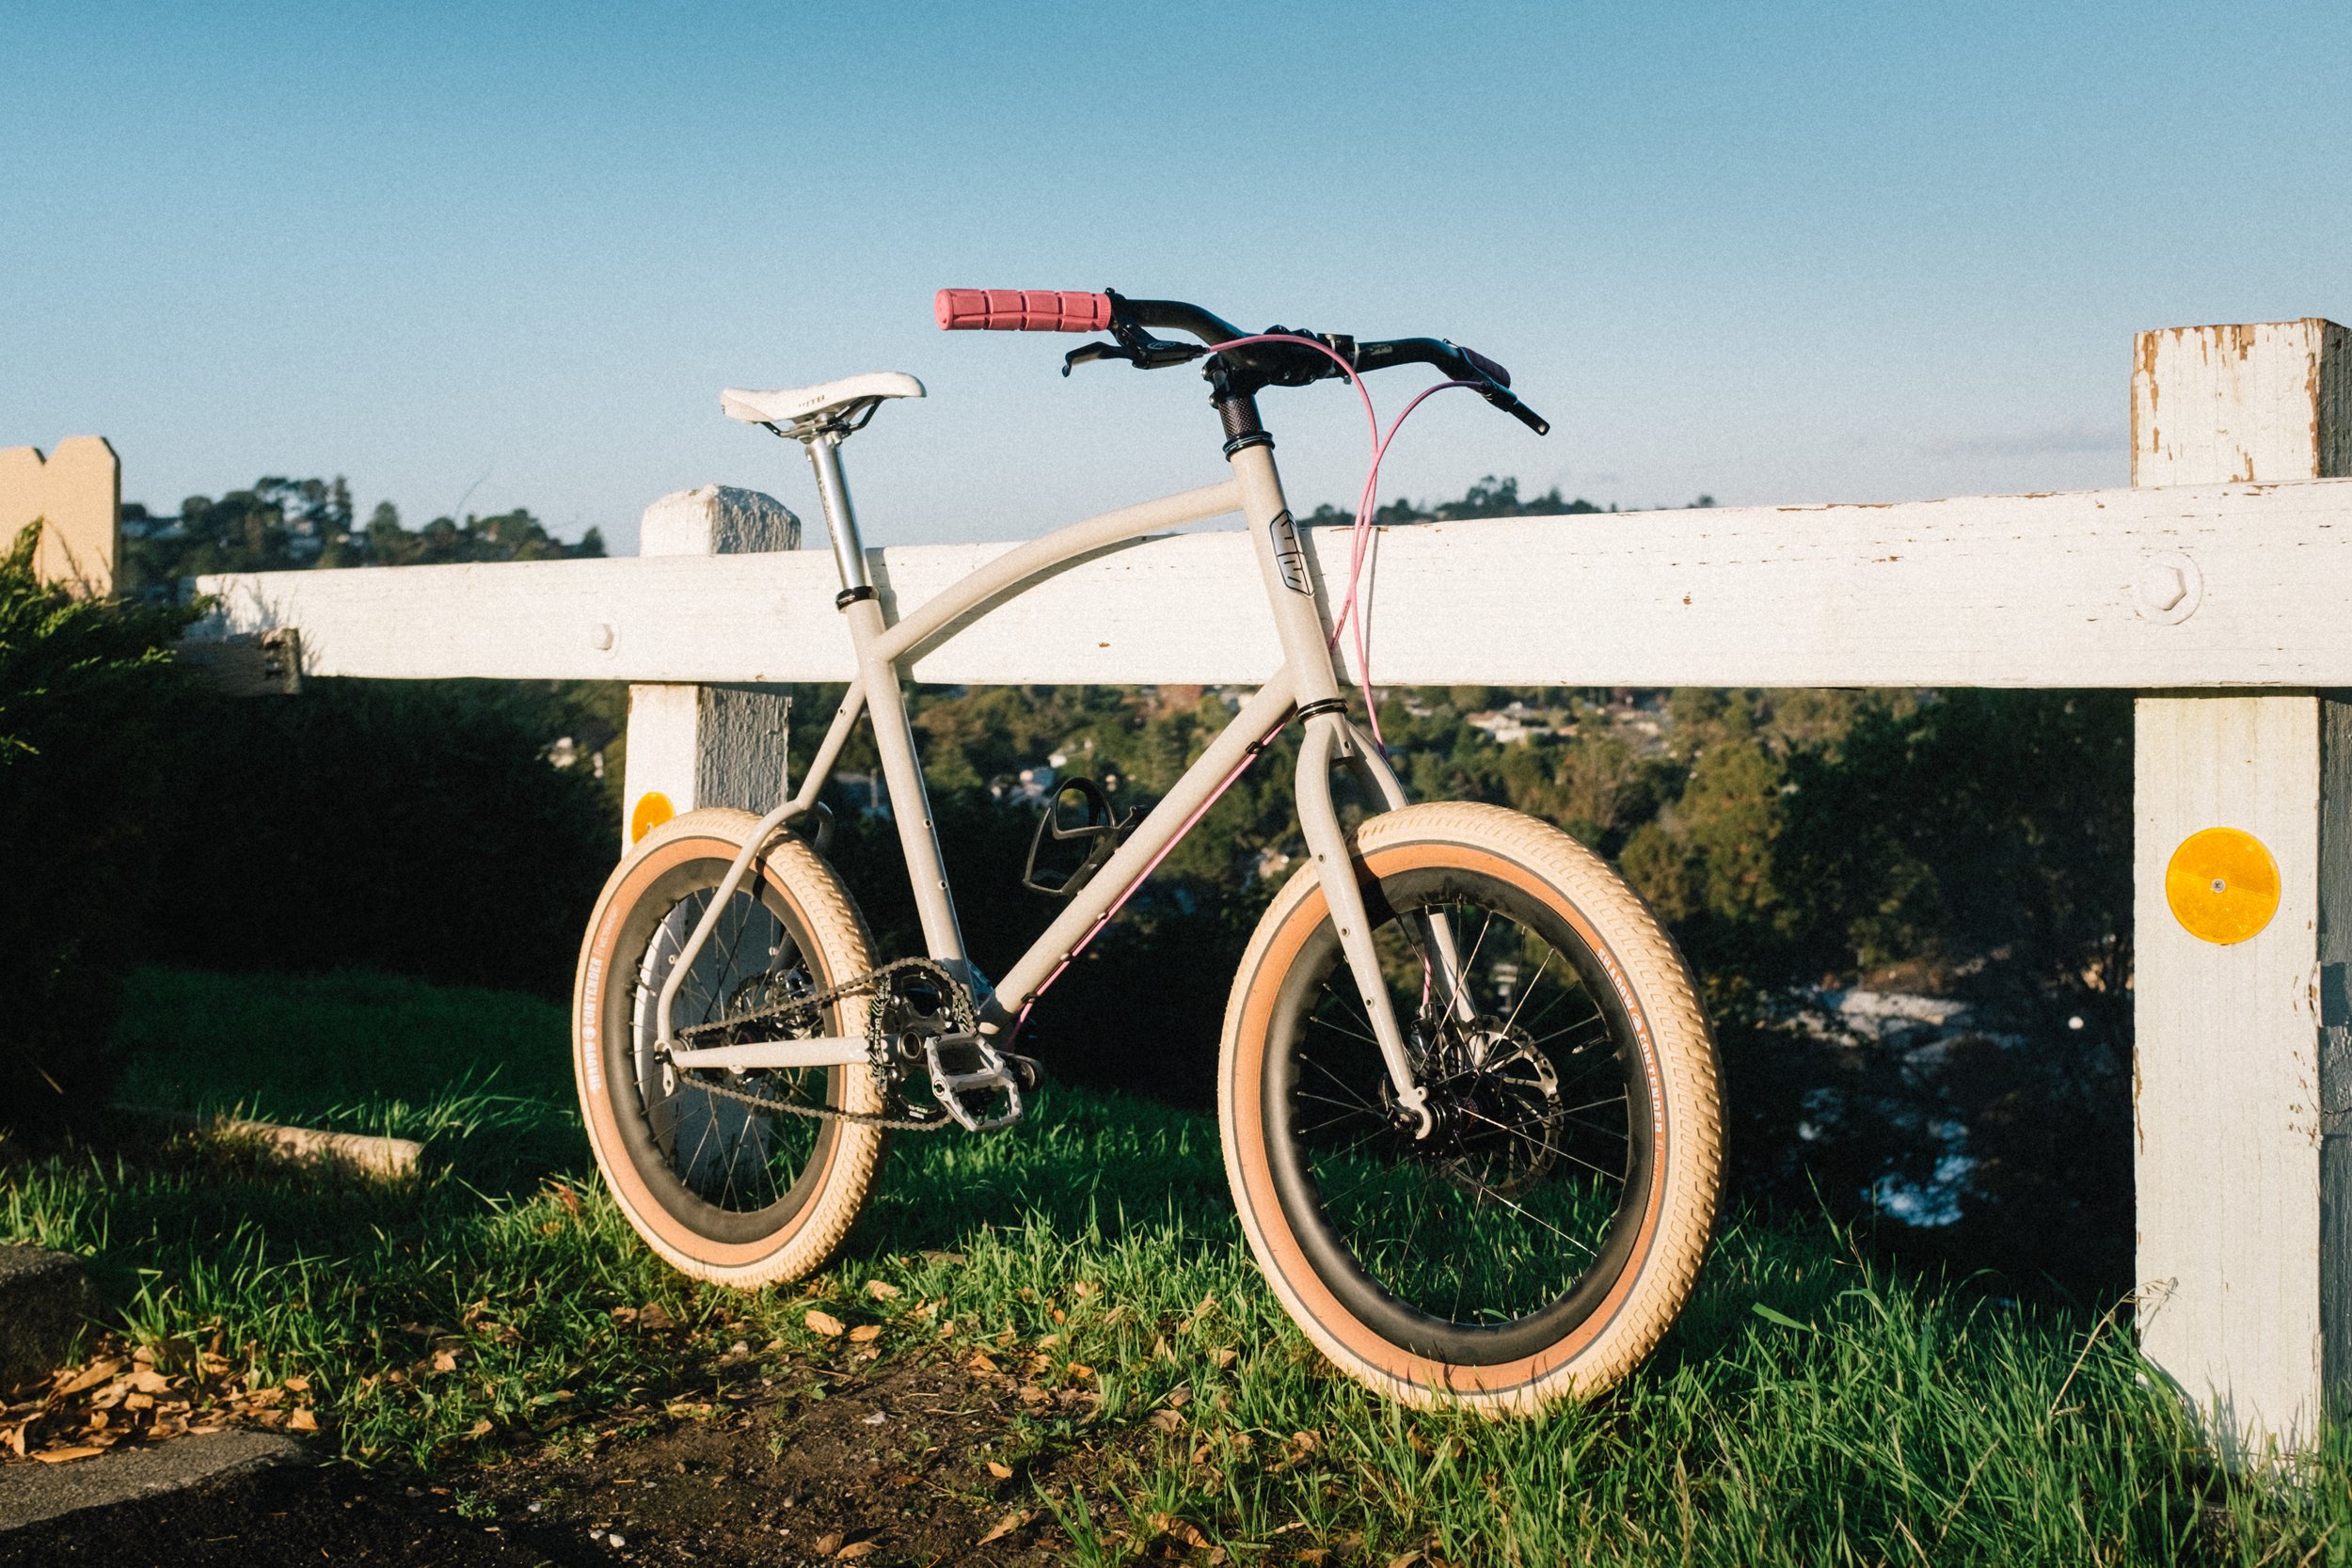
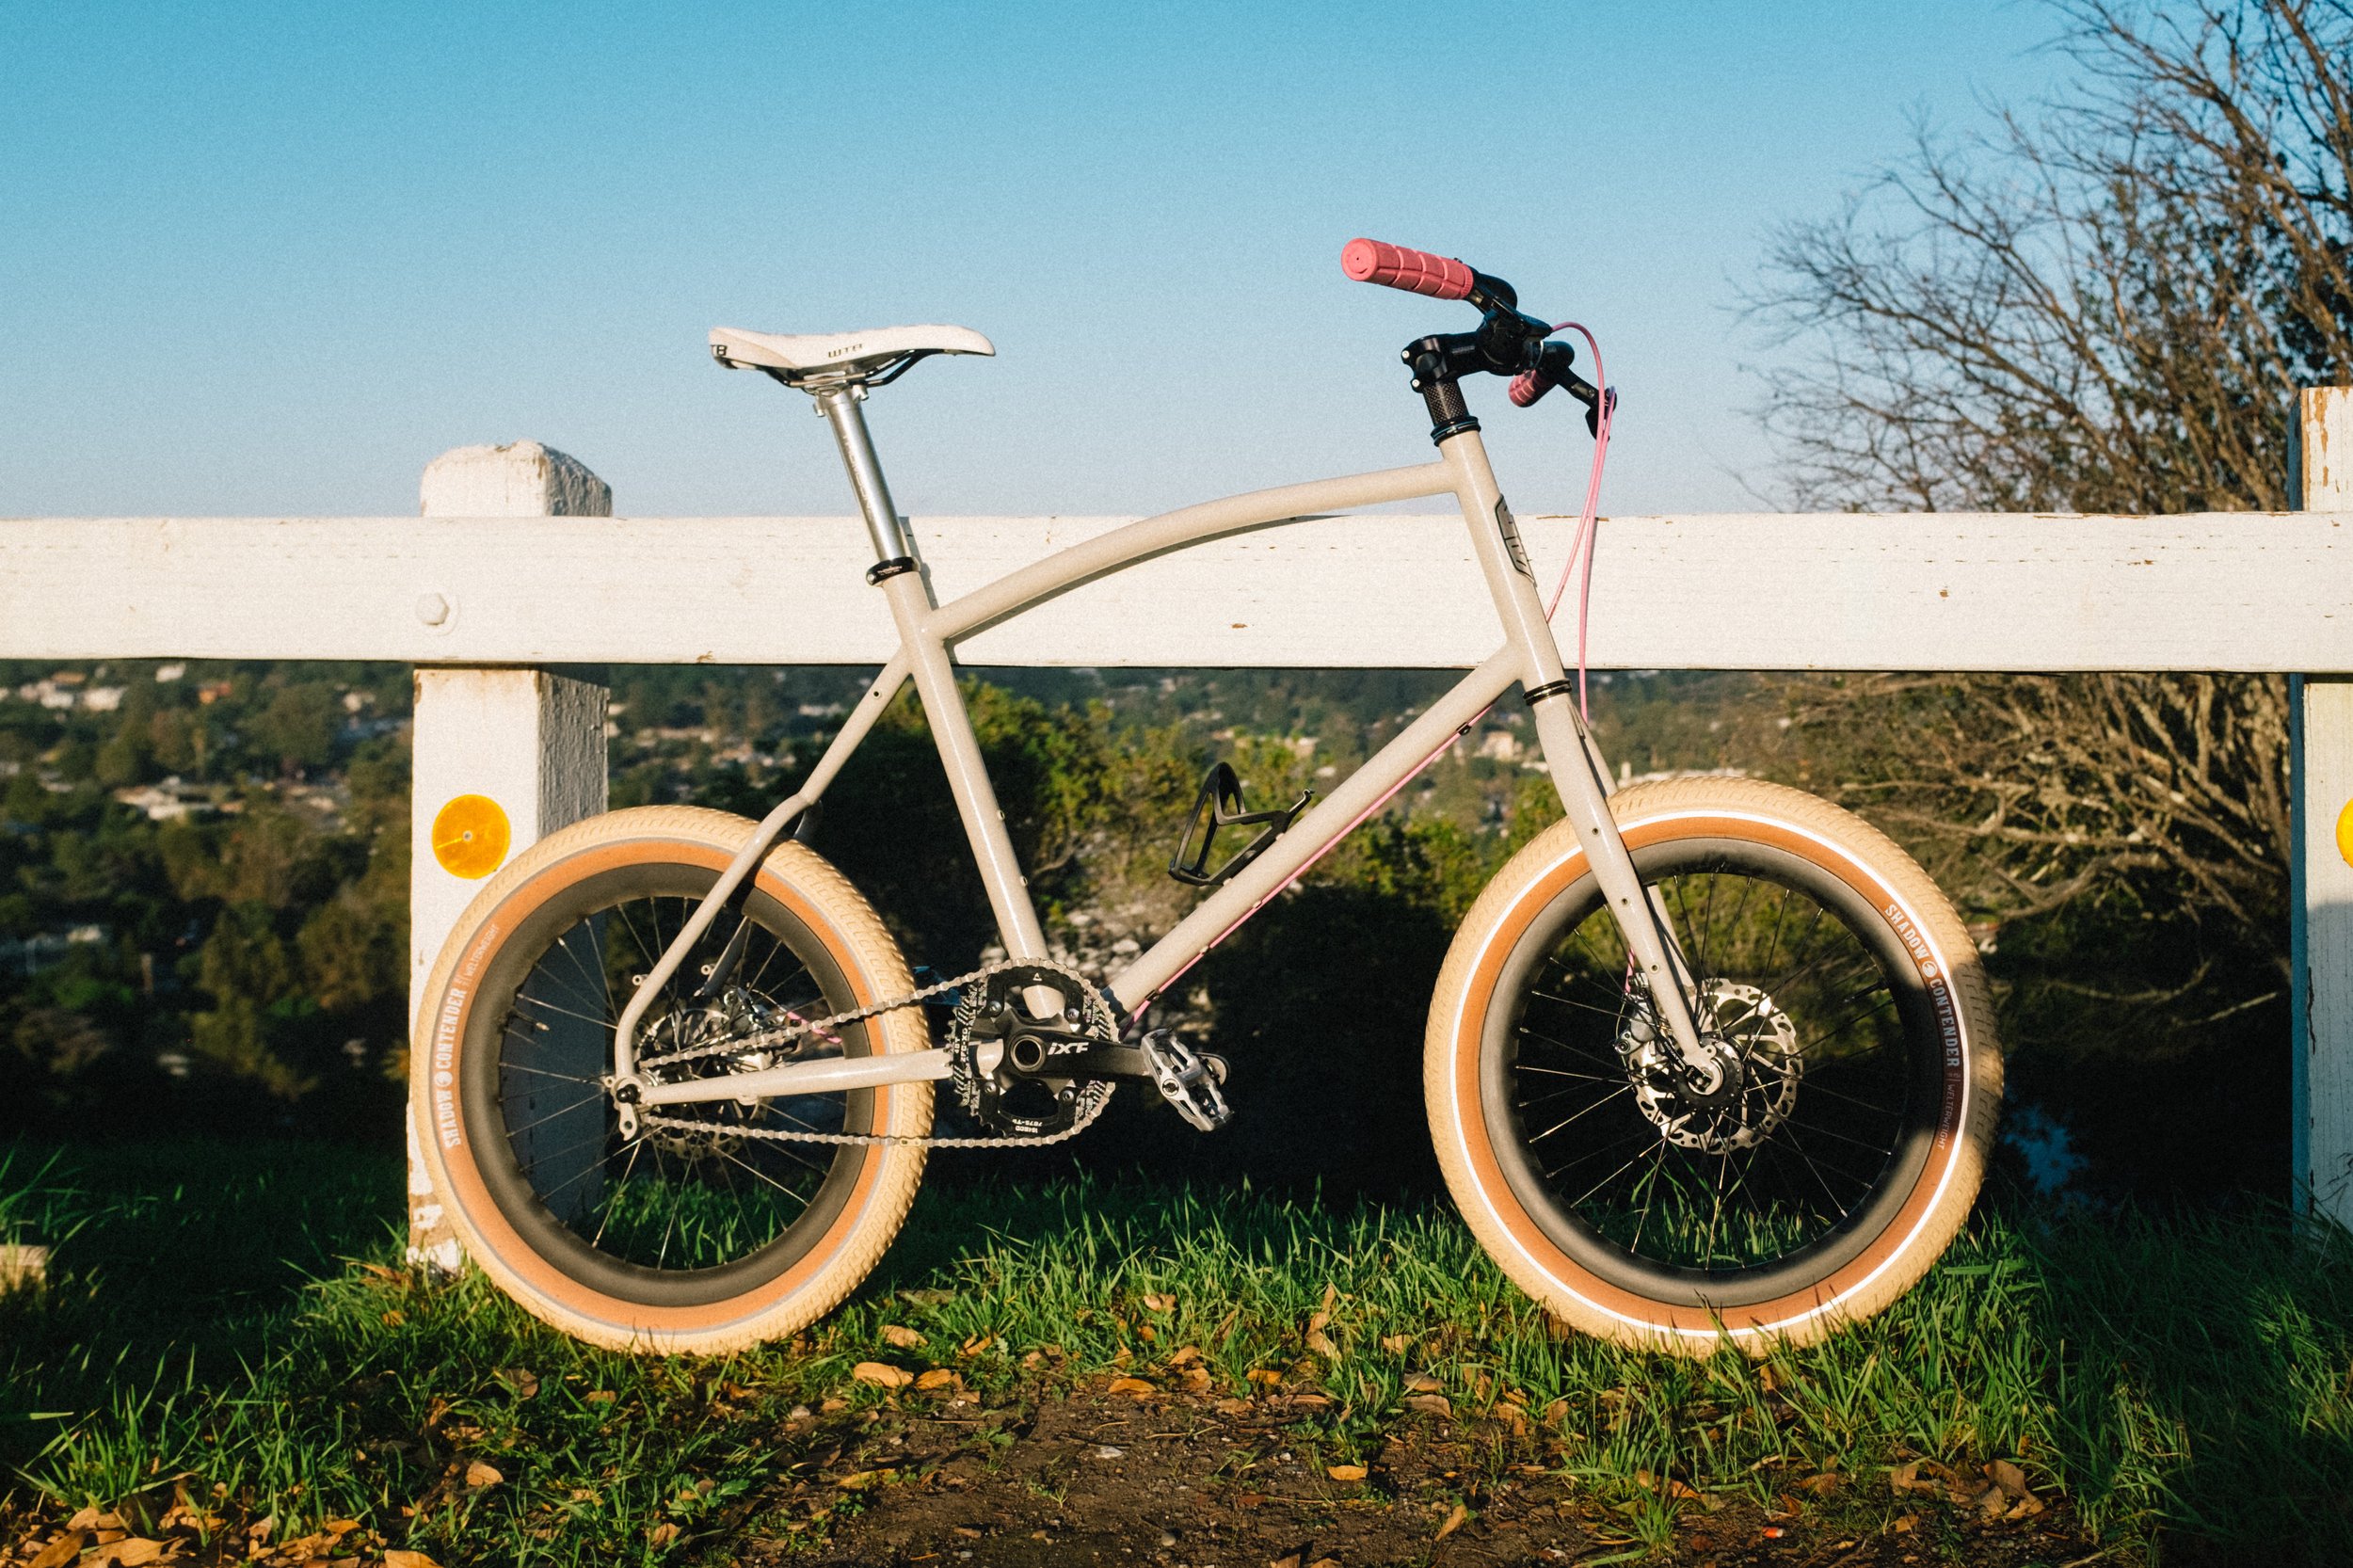
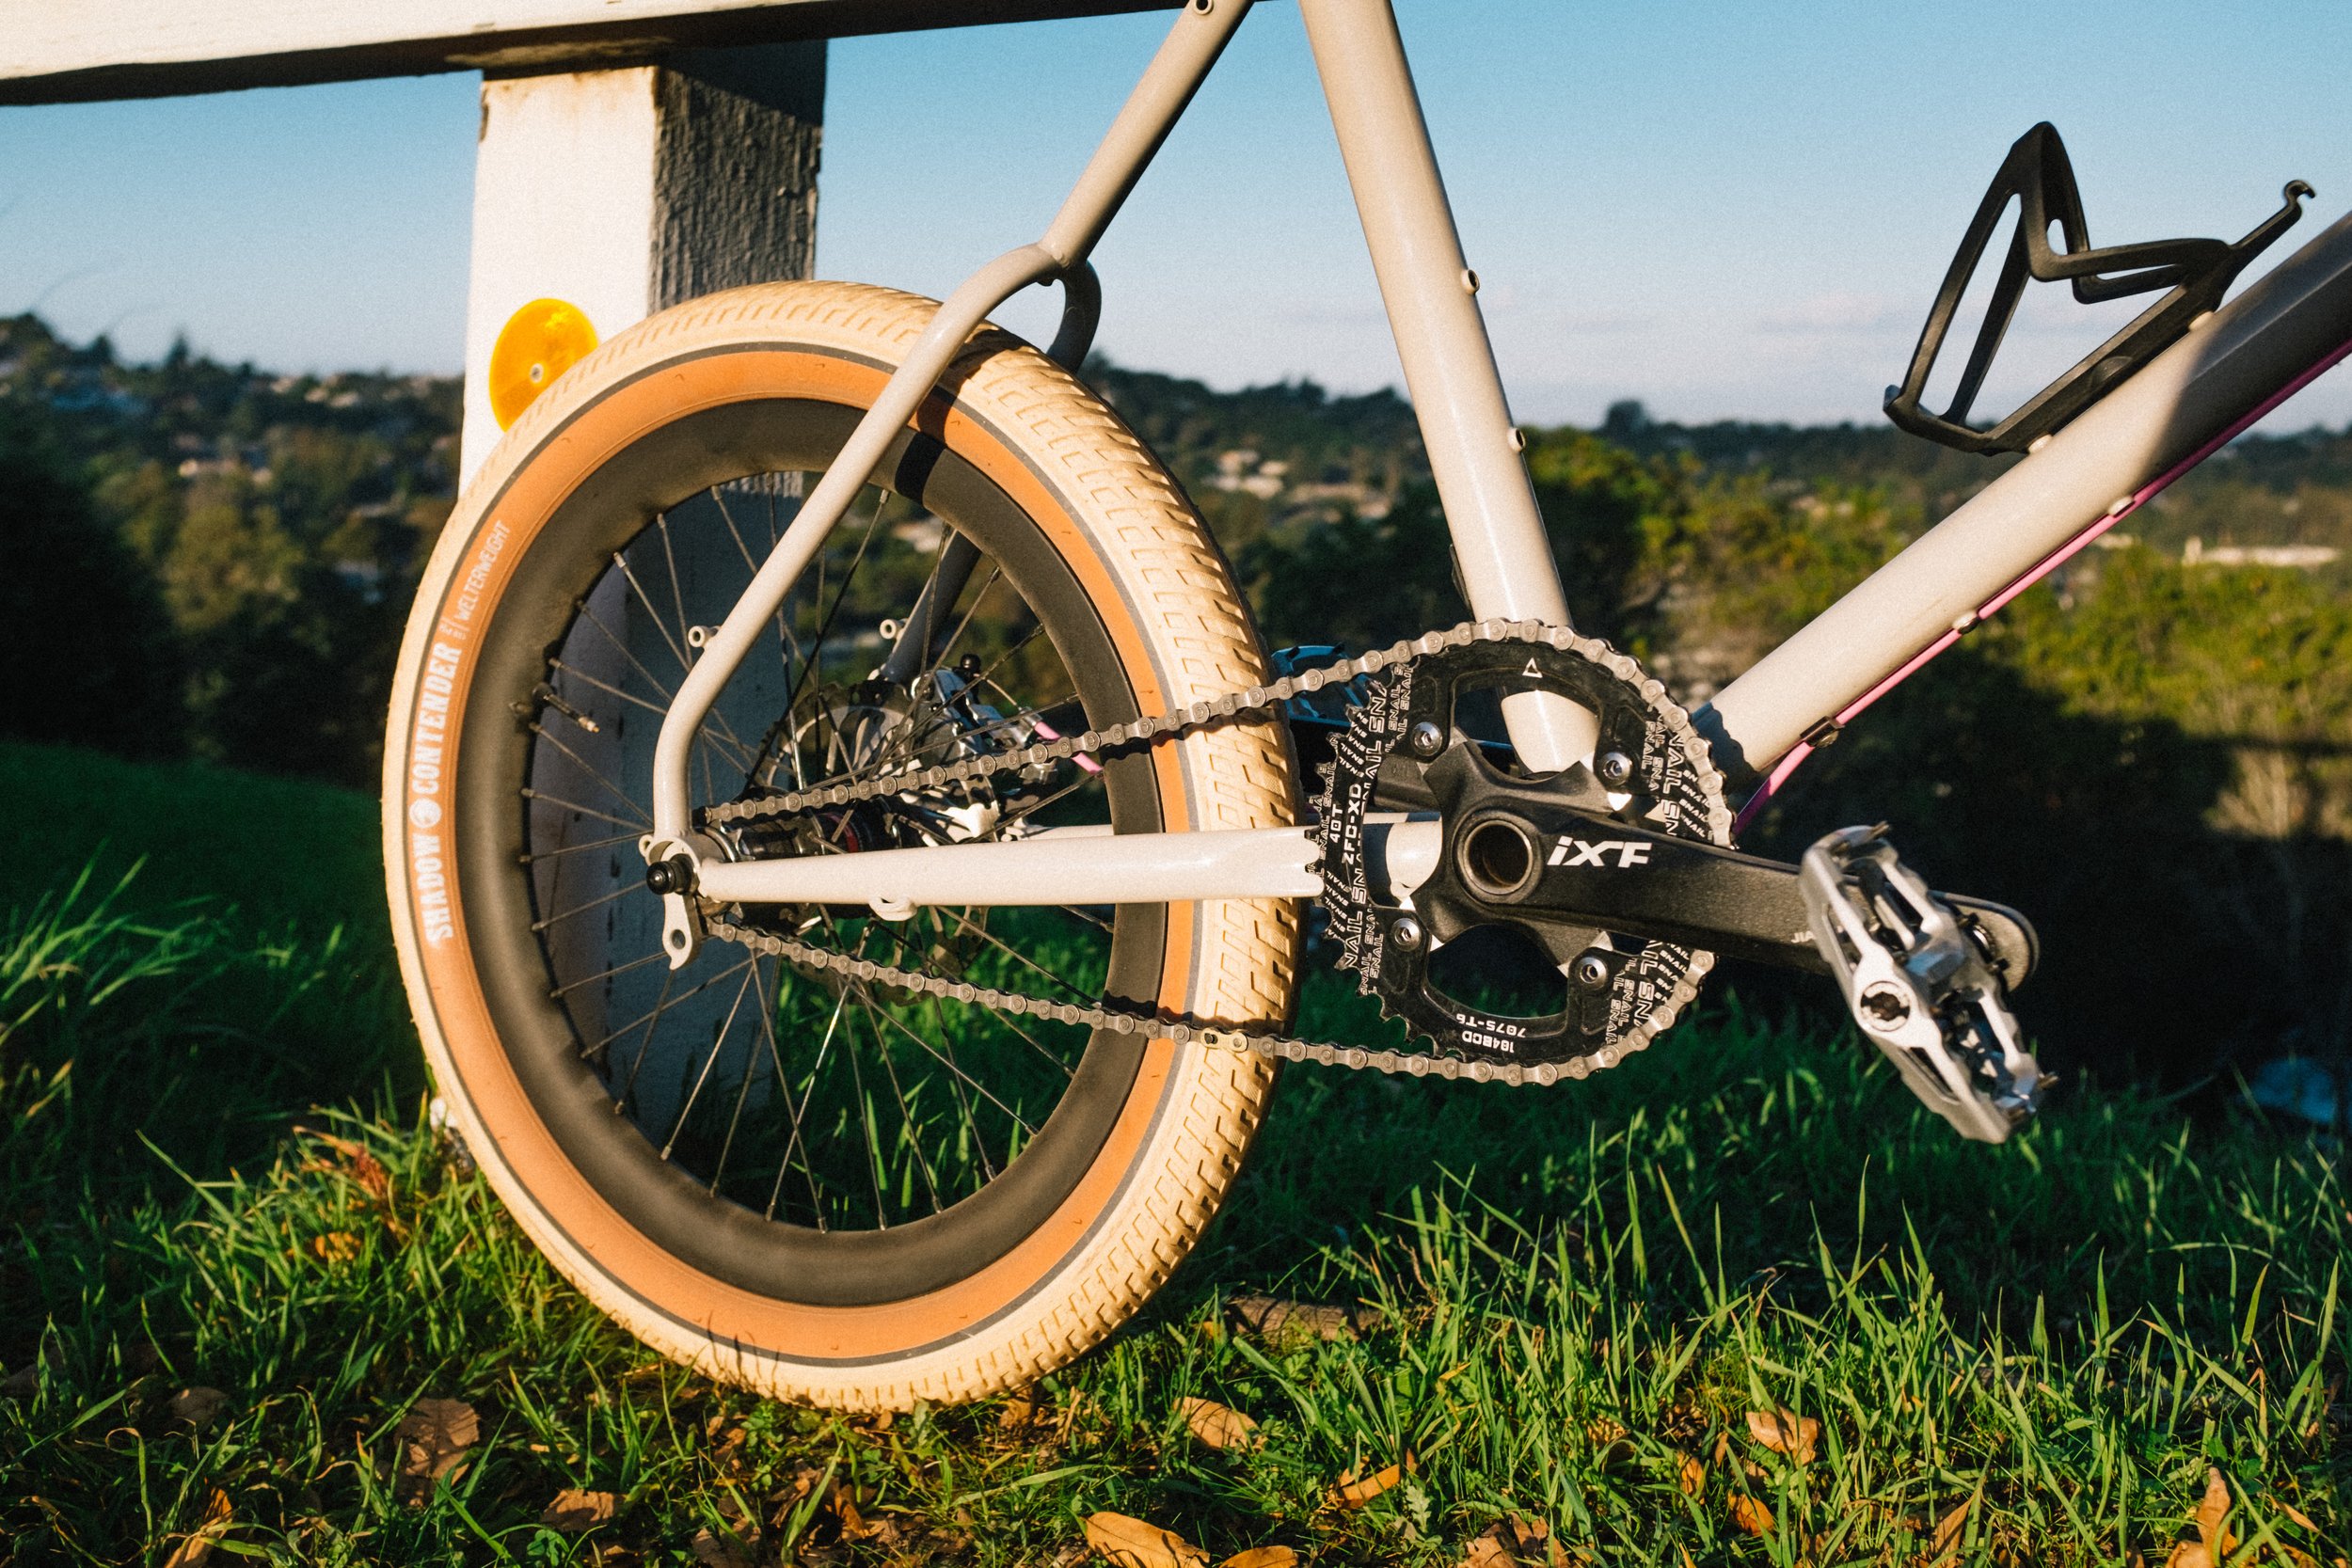
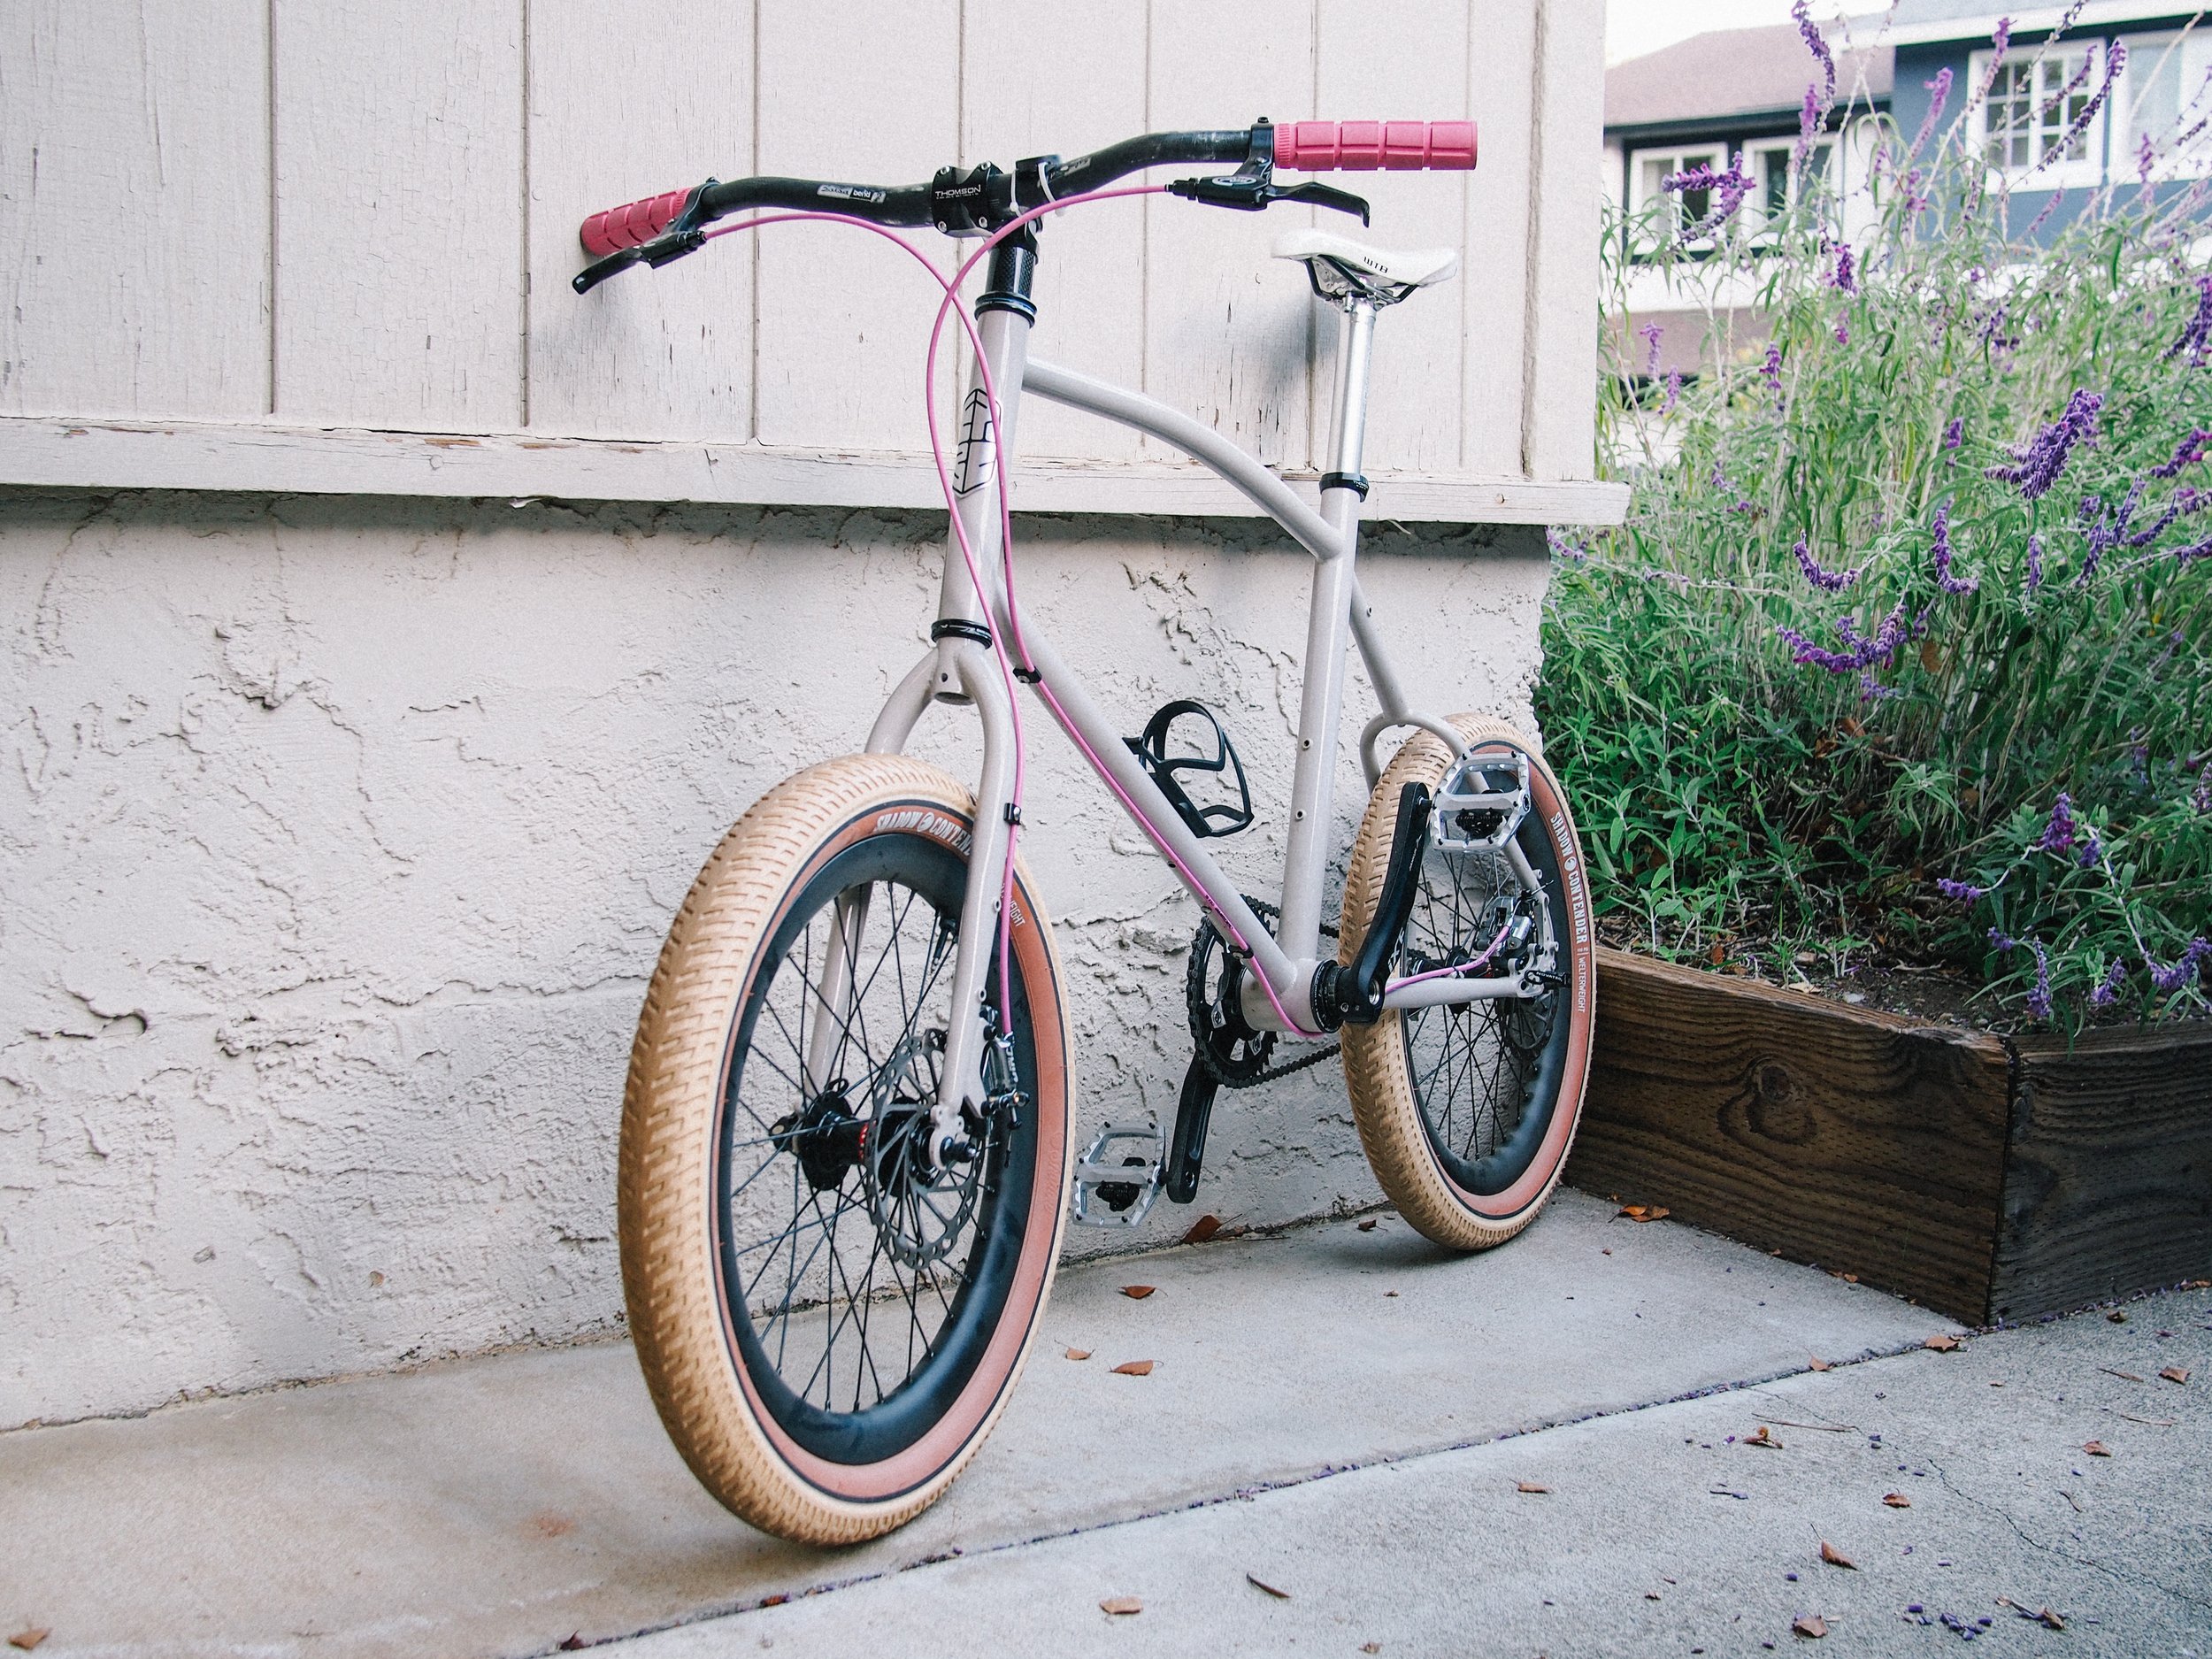
And, at long last, I got to build up my bike! Some details on my personal build:
Shimano Alfine 11 speed internal hub
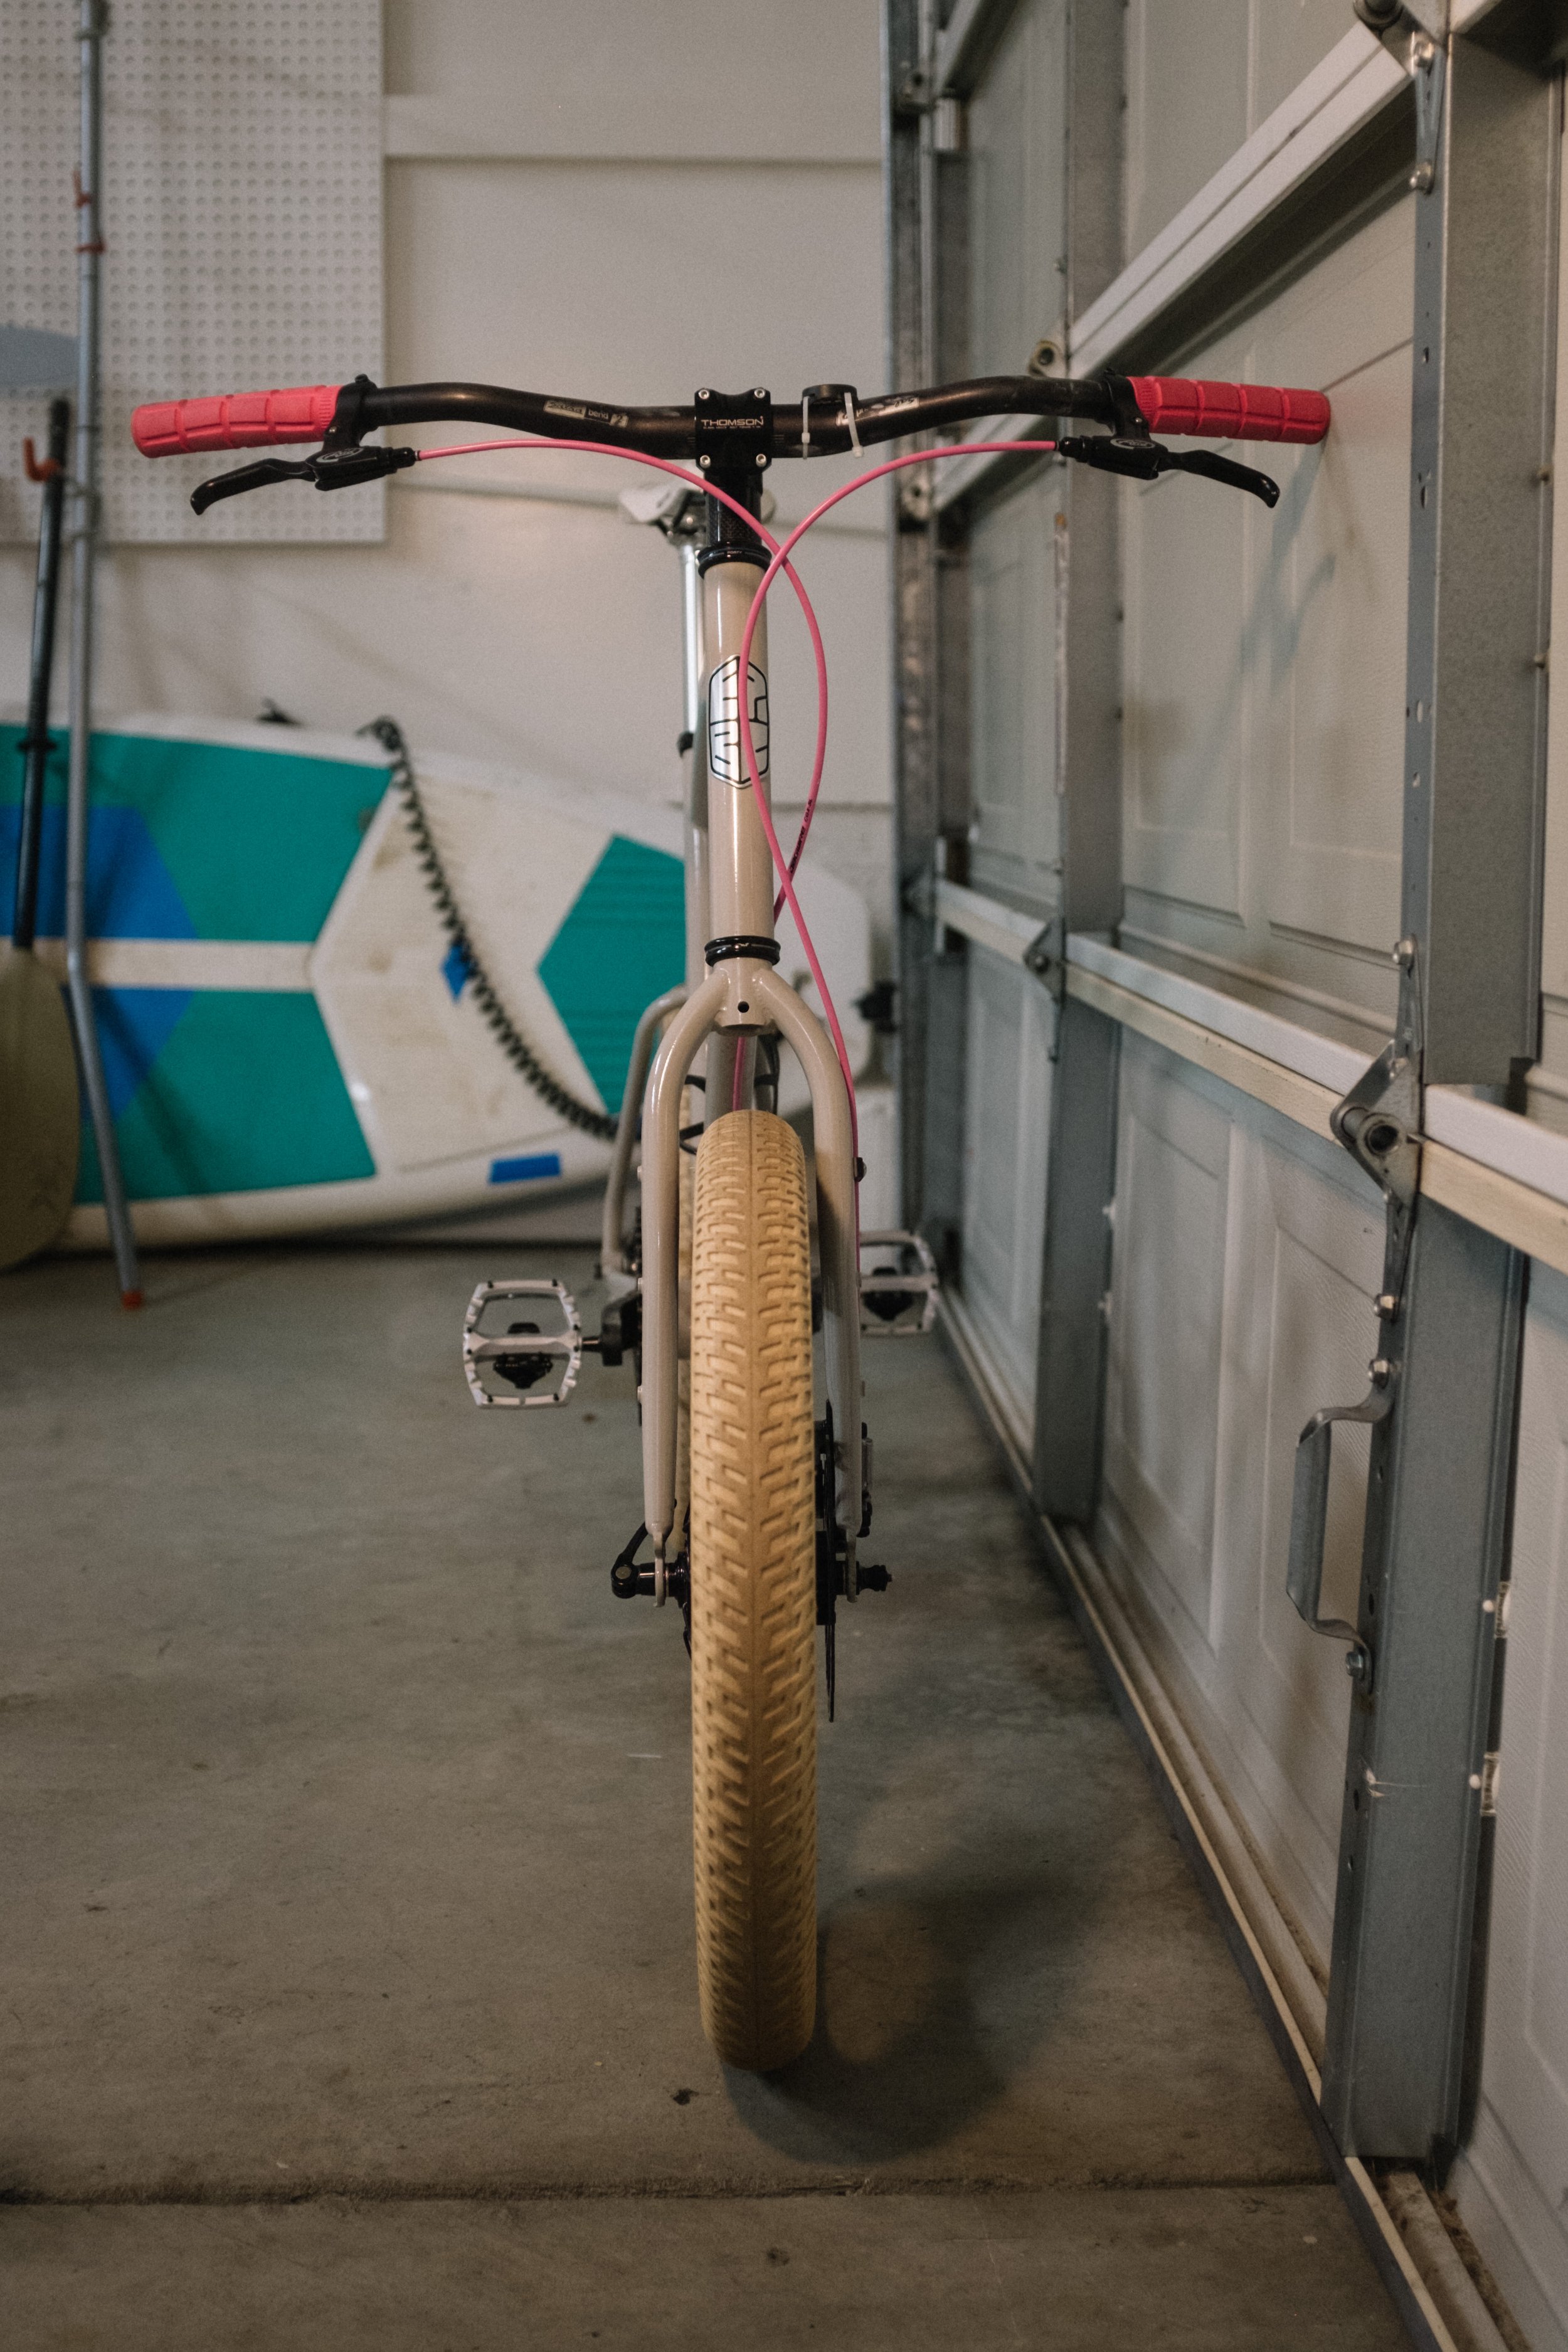
Shimano DH-3D37 Dynamo front hub
Salt Plus Summit Rims
Wheels handbuilt by Box Dog Bikes in San Francisco
Busch + Müller Toplight Line Small Rear Light (not installed yet)
Busch + Müller Lumotec Myc T senso plus (not installed yet)
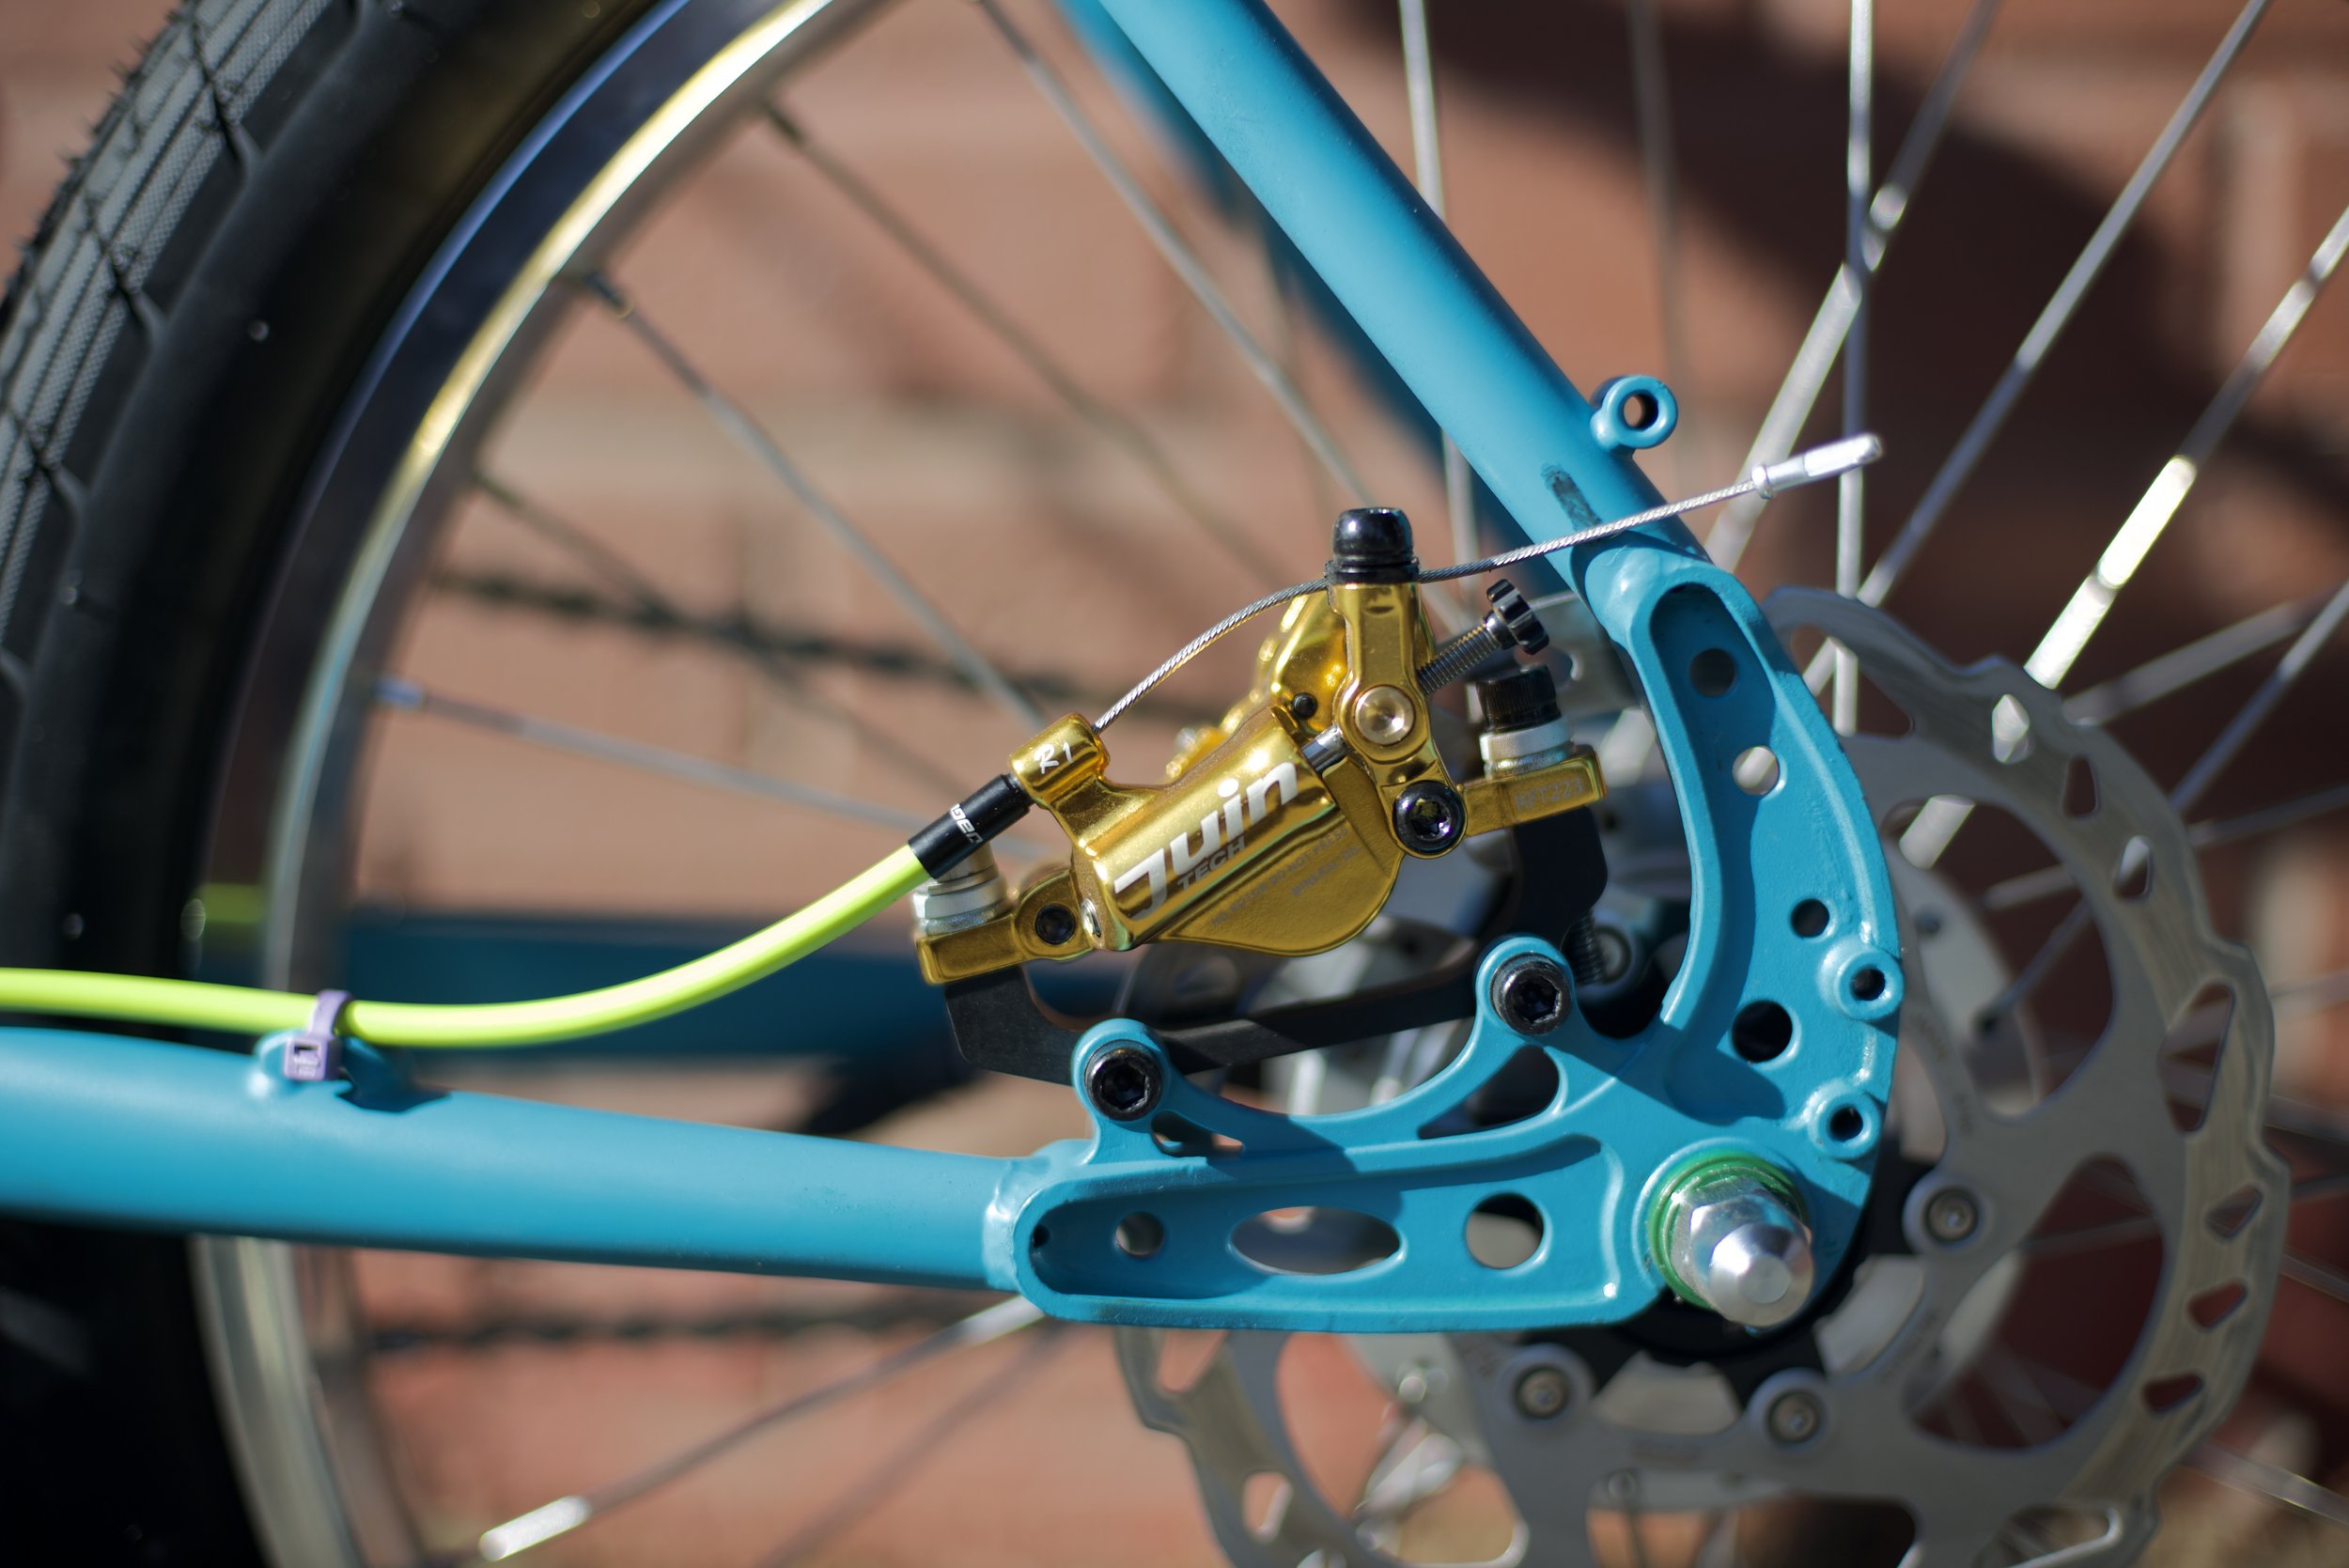
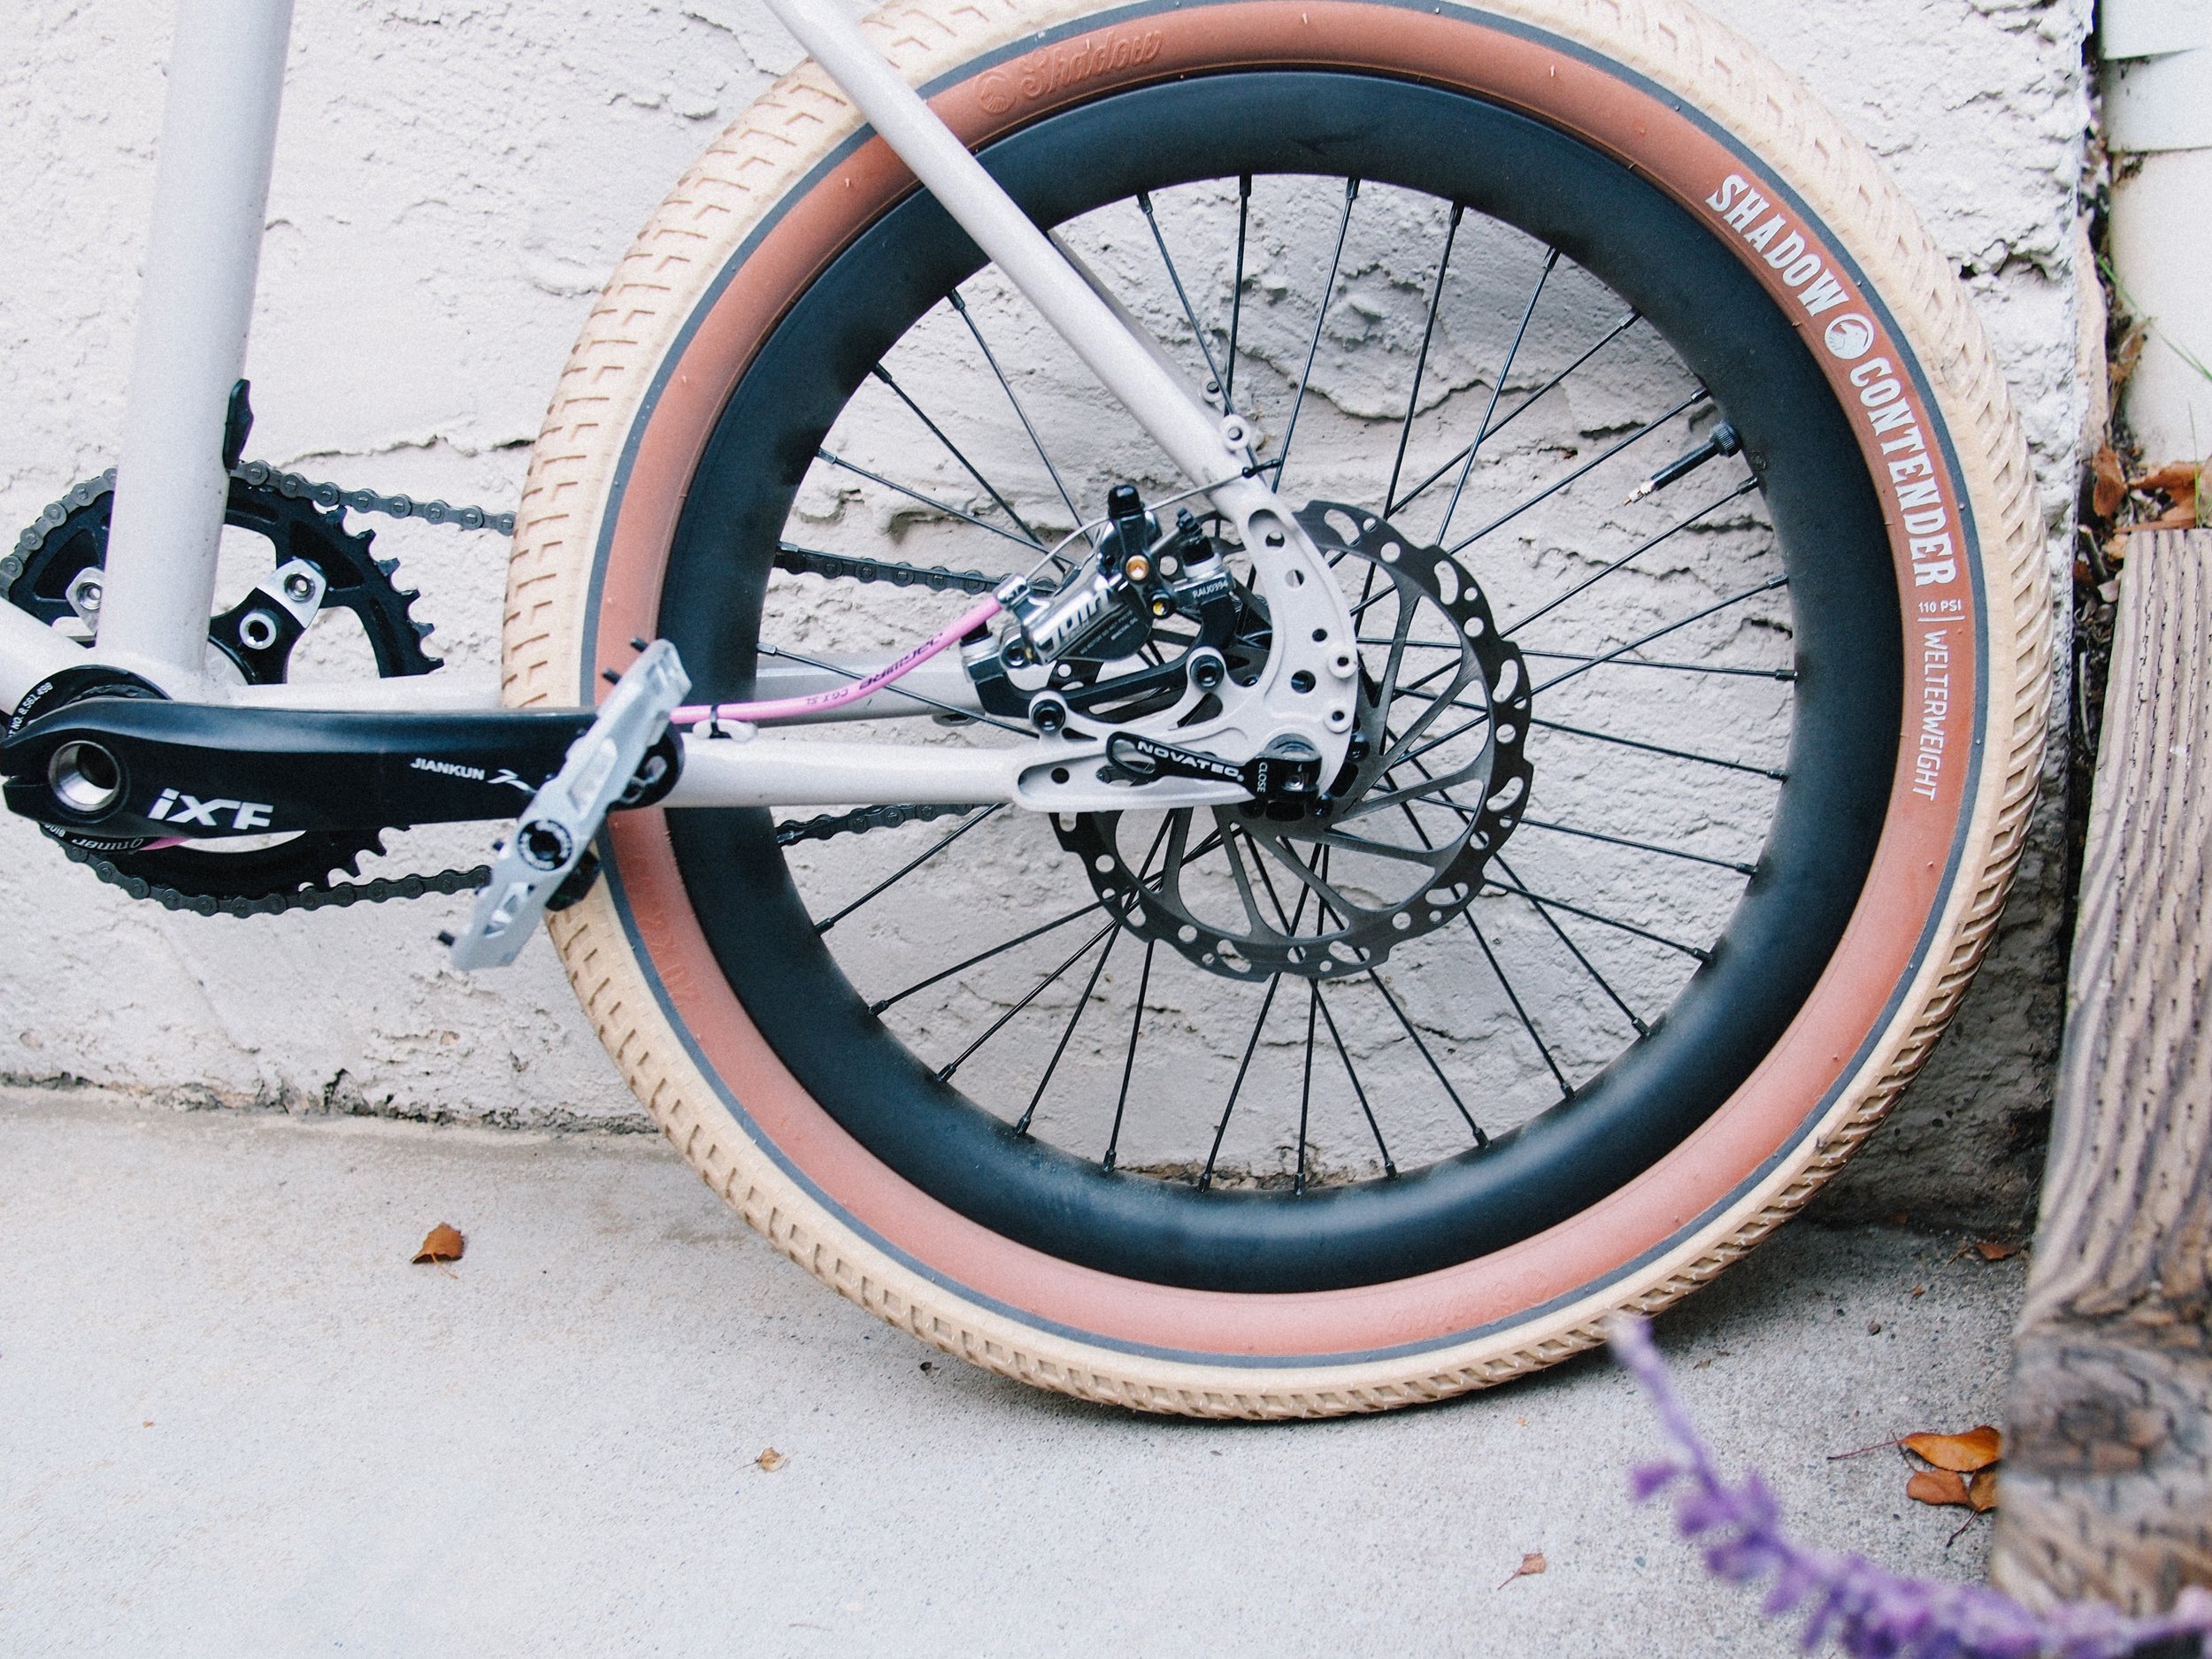
Juin Tech R1 mecha-hydro disc brakes with compressionless brake cable housing
Custom 3D printed cable and hose guides
A fun mix of Aliexpress bits to finish the build
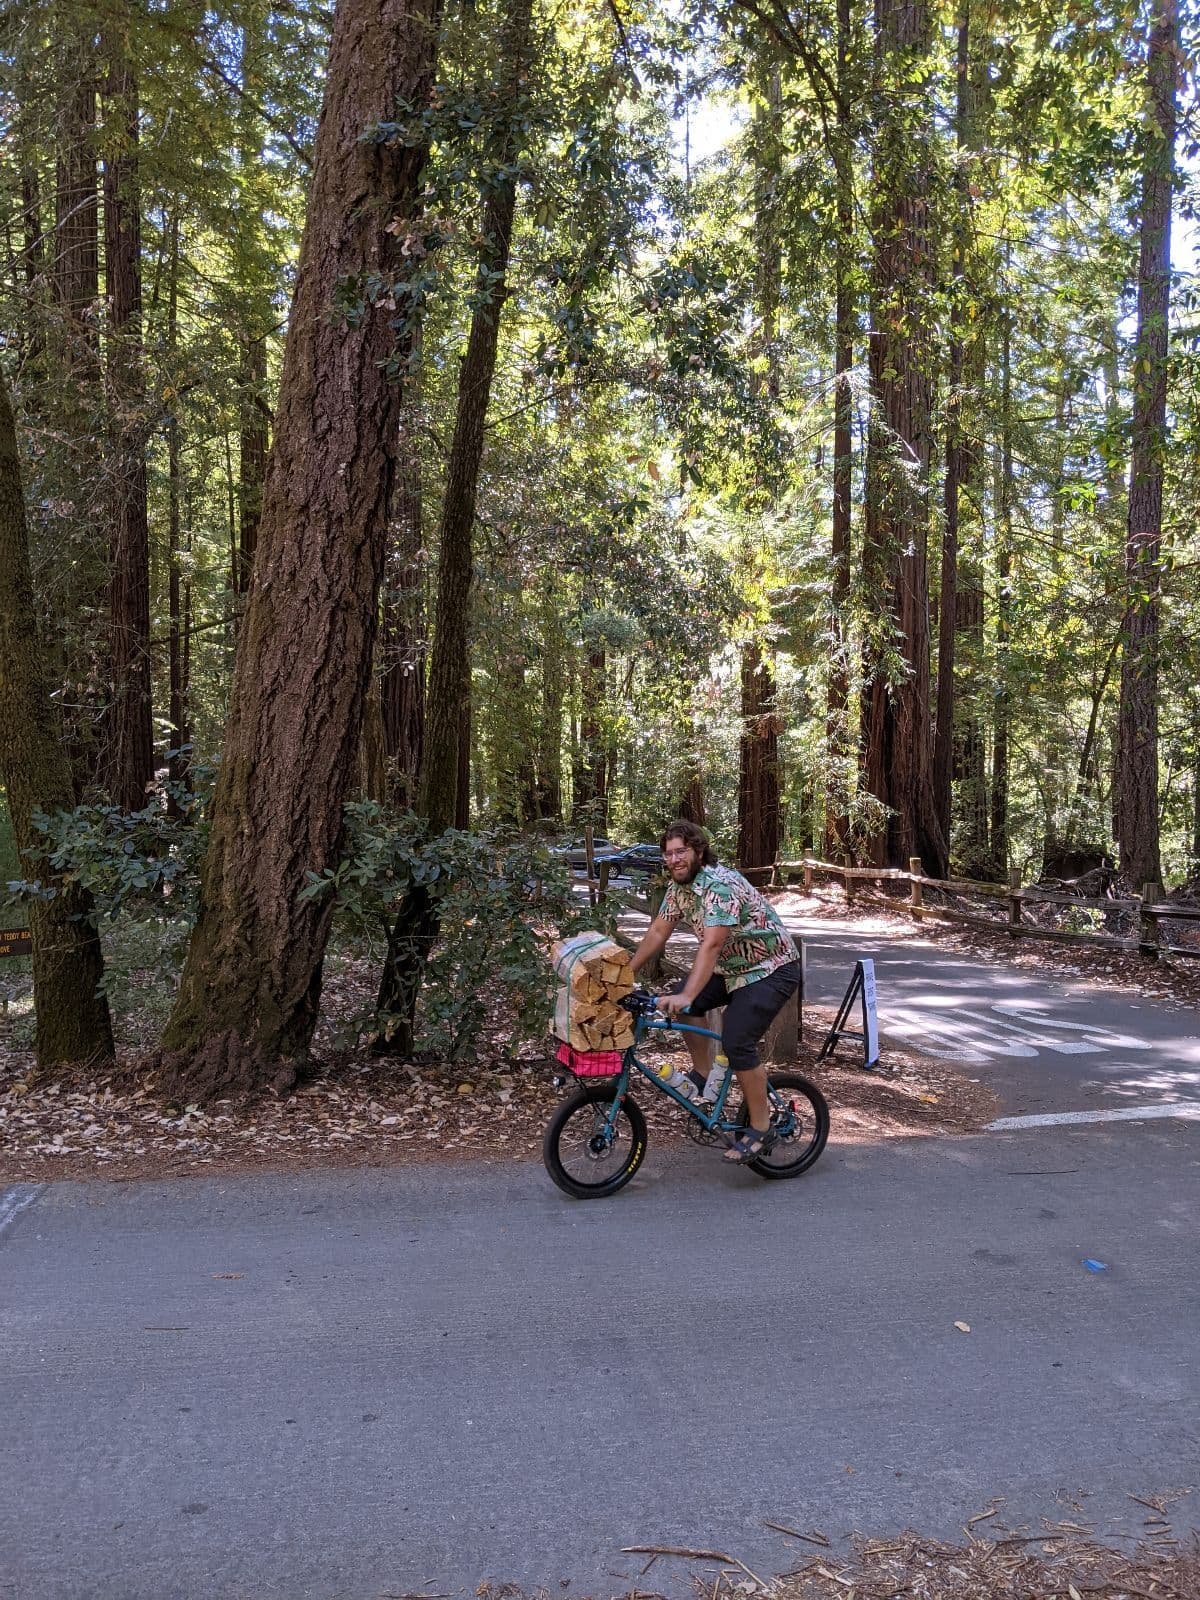
This bike is a HOOT to ride. It accelerates really quickly. If you’re taking off aggressively, you can feel the front wheel lift off a bit. The small wheels are also really easy to whip around when steering, so it’s pretty fun to do low speed maneuvers. Riding the bike indoors around furniture is one of my favorite things to do.
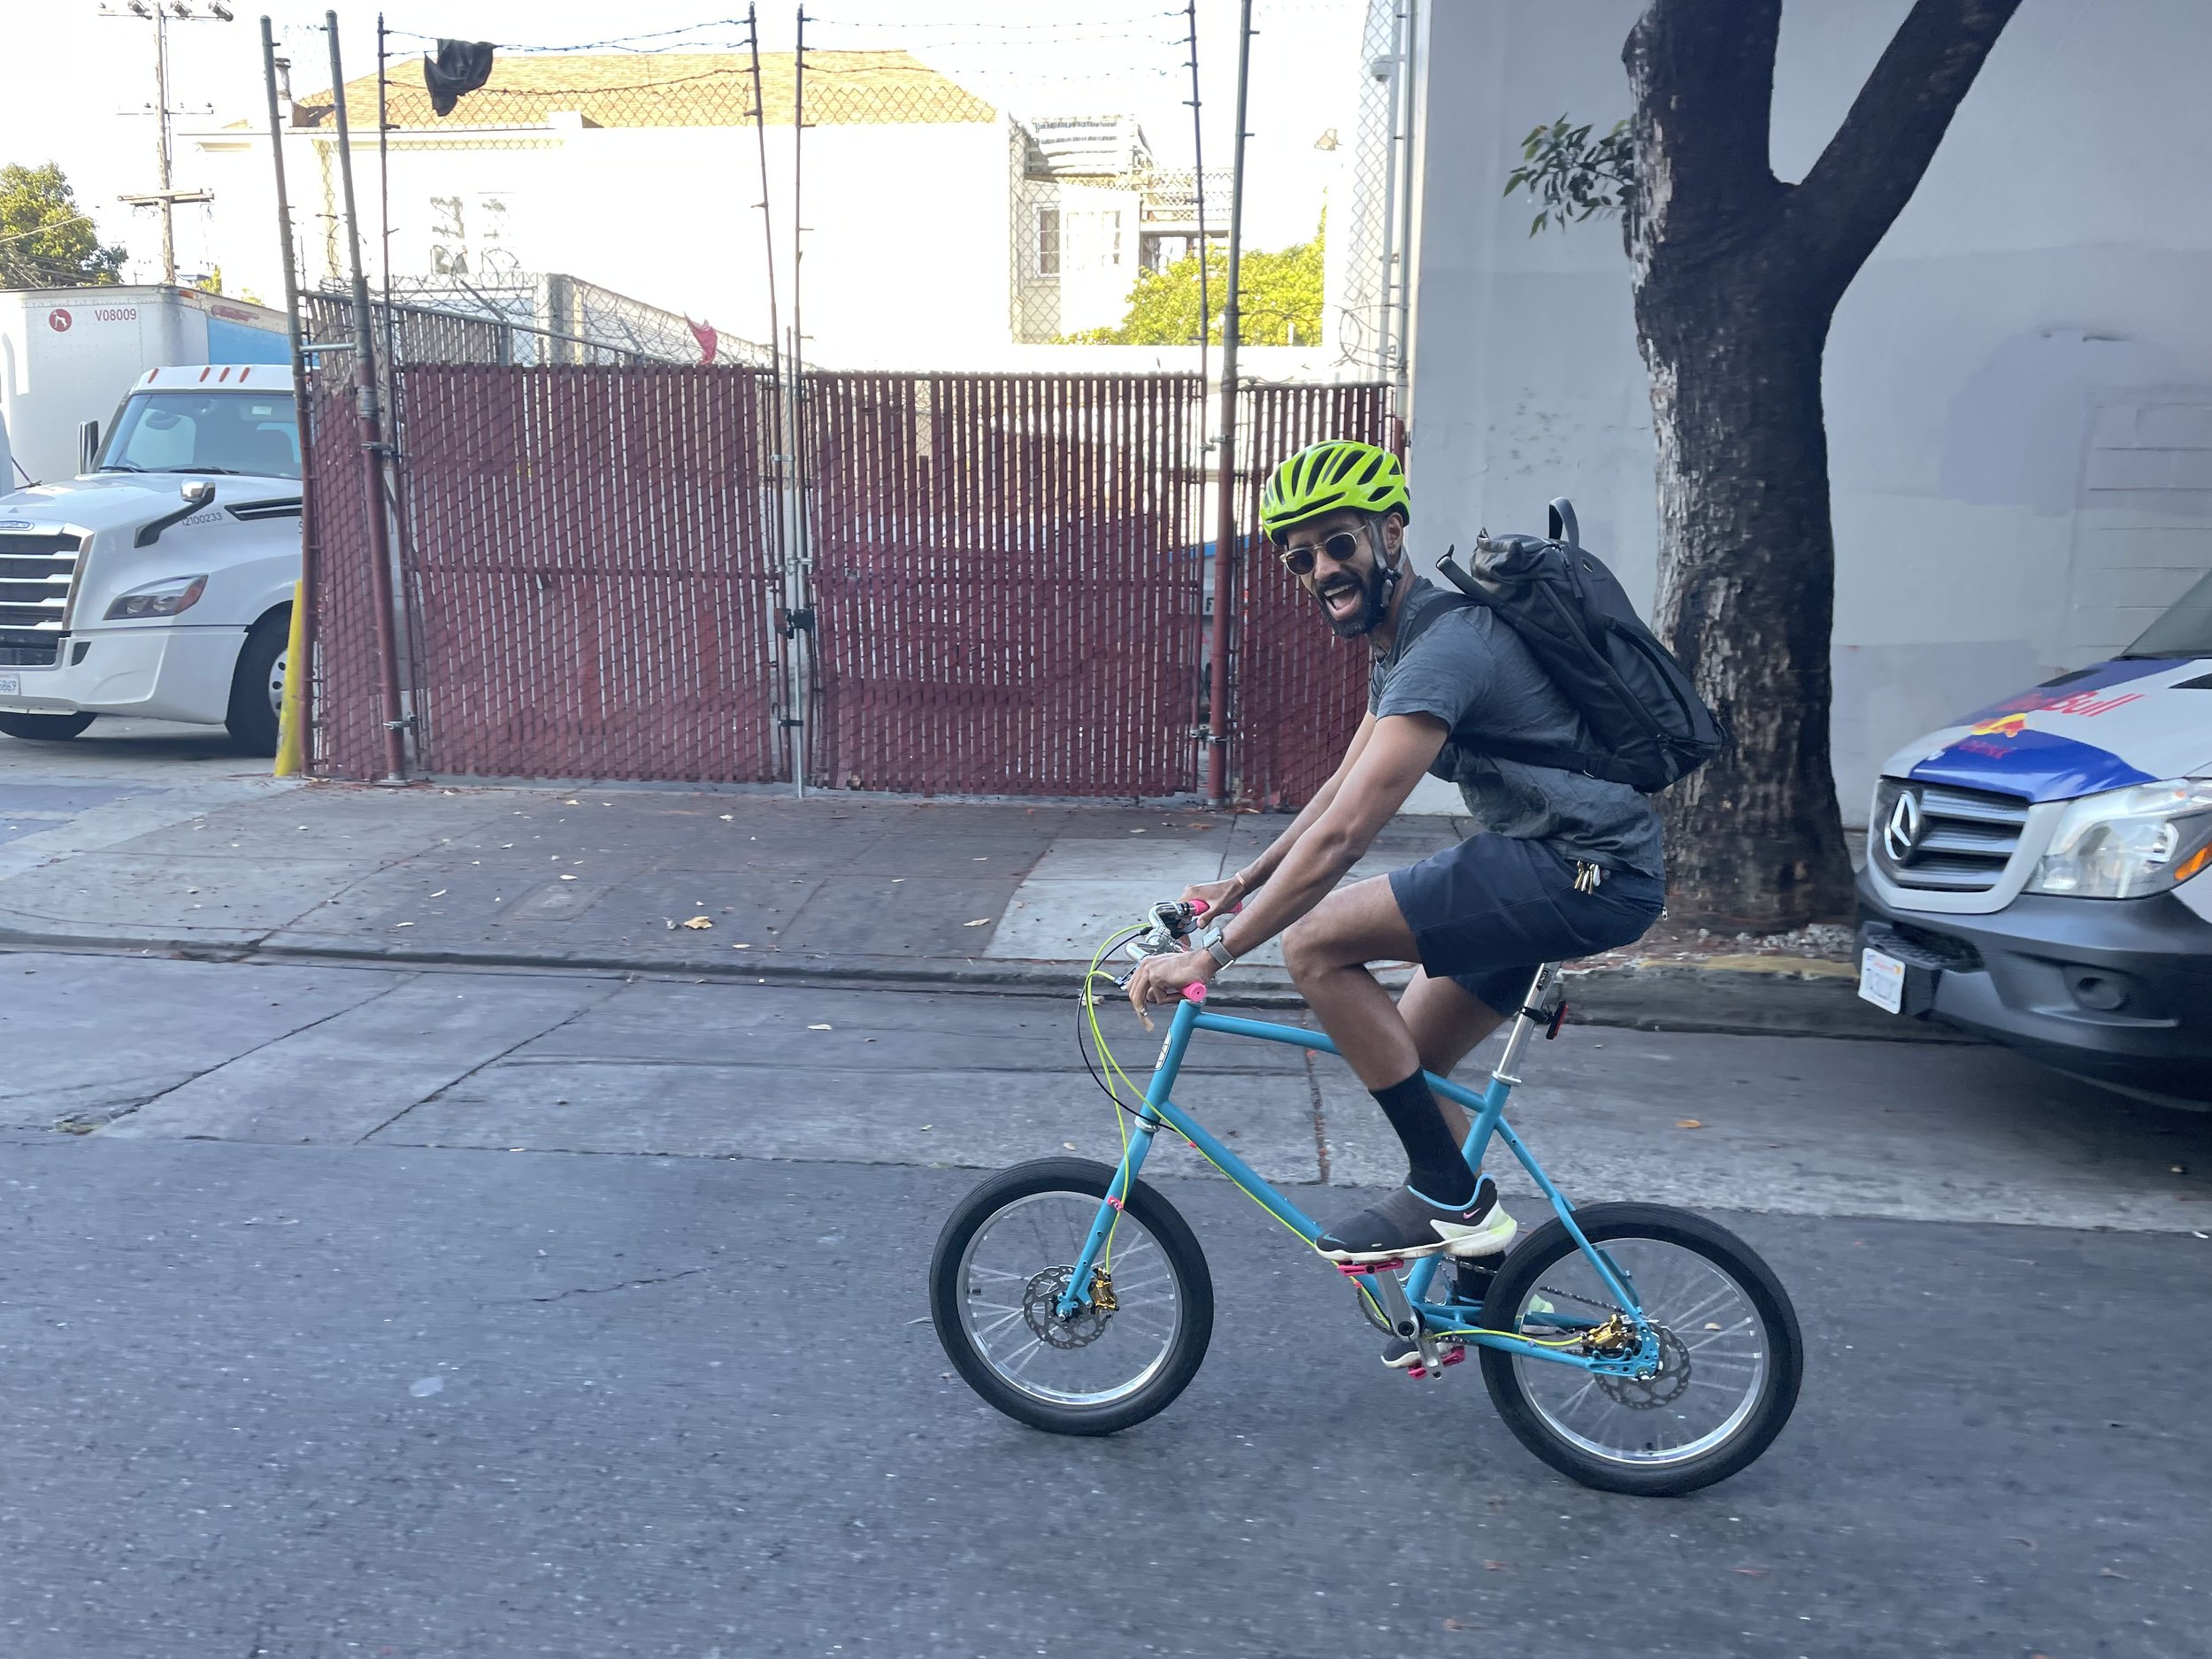
Even though the bike is pretty snappy when accelerating, it doesn’t hold its speed super well. I made a couple decisions to optimize for practicality (IGH, dynamo) and based on cost/availability of components (the BMX tires I have on here are hardly supple). Each of these choices makes sense in isolation, but when added together you start feeling noticeable drag. Smaller wheels are also inherently worse at maintaining momentum, so it can sometimes feel like you’re working pretty hard to keep this bike at a healthy clip. I’m considering doing an e-bike conversion, but I’m also trying to be more appreciative of this bike for what it is in its current form.
Our friends are assembling their bikes as they finalize their build specs and track down components. It’s super fun to see how the same frame can be transformed into such different final forms. I’ll update this page with more photos as more folks finish their buildouts!
[2021]
Sam’s Singlespeed
This project wouldn’t exist without Sam’s hard work, so it only seems fitting to feature his build first! Here are Sam’s thoughts on his bike.
I like small objects, and I like bikes. The mini-velo concept offers a fun-filled combination of both interests. For the design, I focused on making a frame that would take full advantage of the snappy acceleration of small wheels, and thereby elicit amusement, excitement, and joy (these are the emotions that arise when working on any project with dear Kiran) while riding in a city. I built my frame up as a single-speed to keep the bike as a "set it and forget it" kind of ride. On retrospect, the gearing is too aggressive, the frame tubeset is too heavy, the 2.4" wheels have too much rolling resistance- but boy do I grin wide whenever I ride this bike.
All photos in Sam’s build gallery are taken by him.
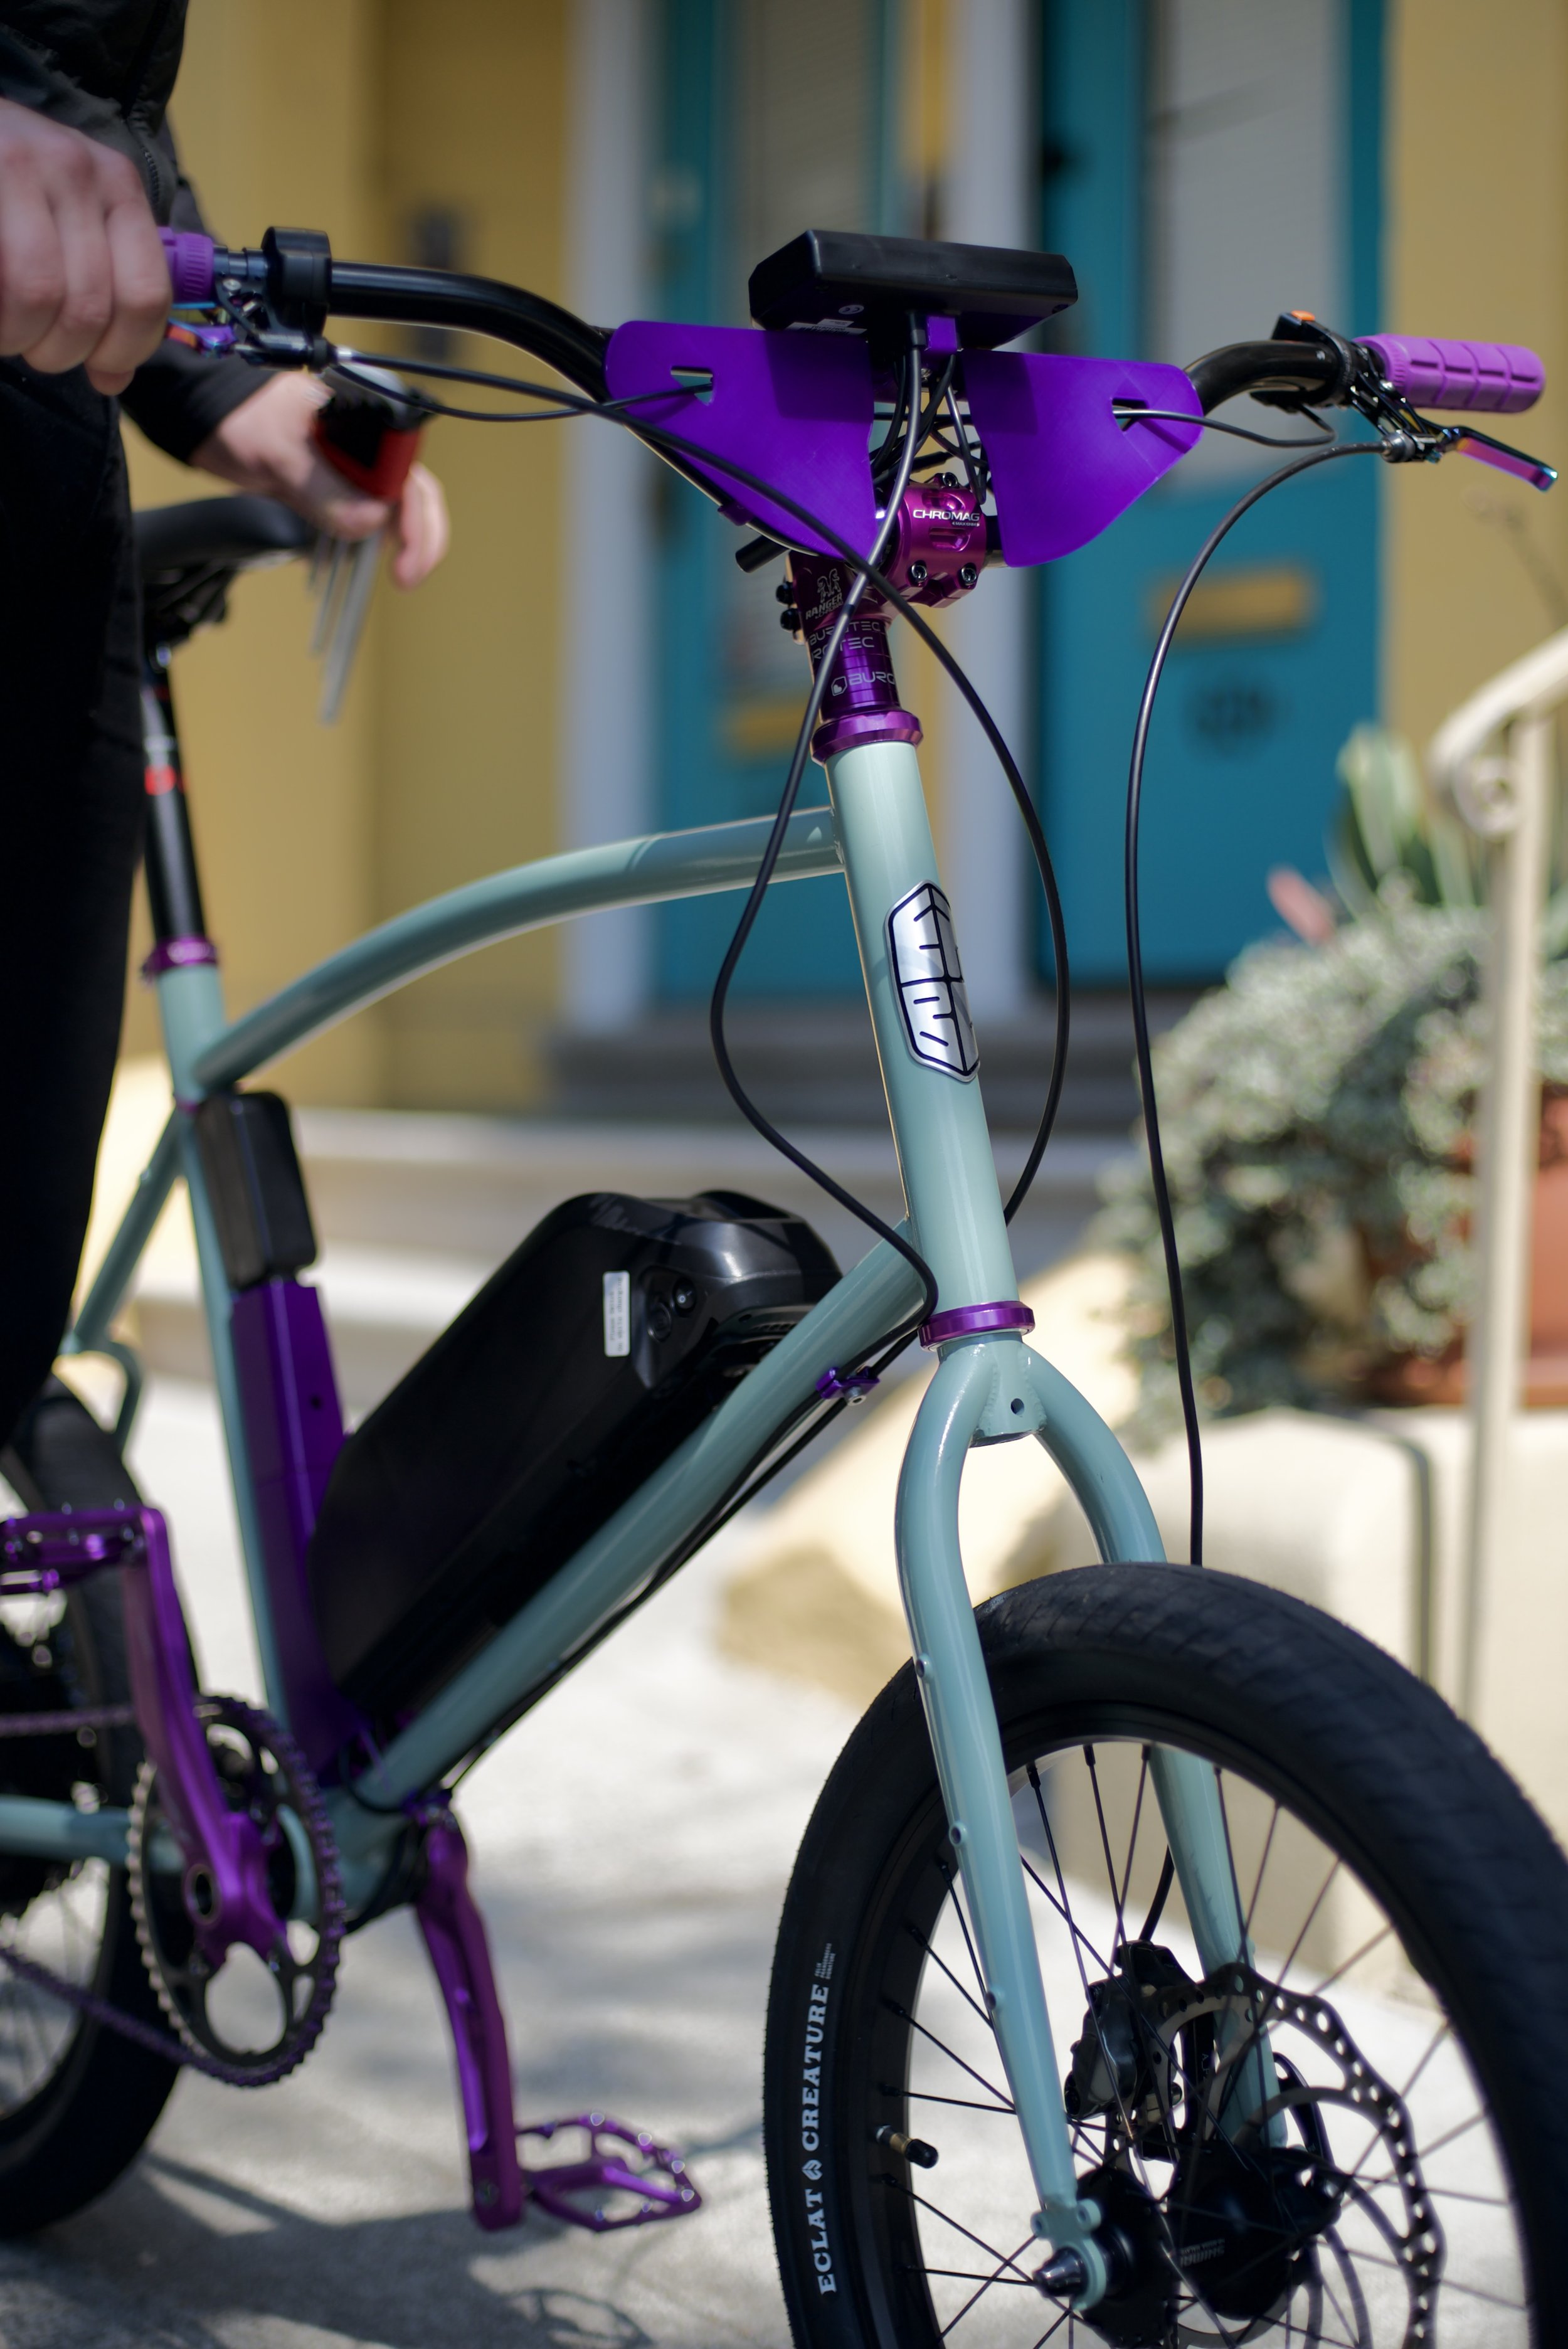
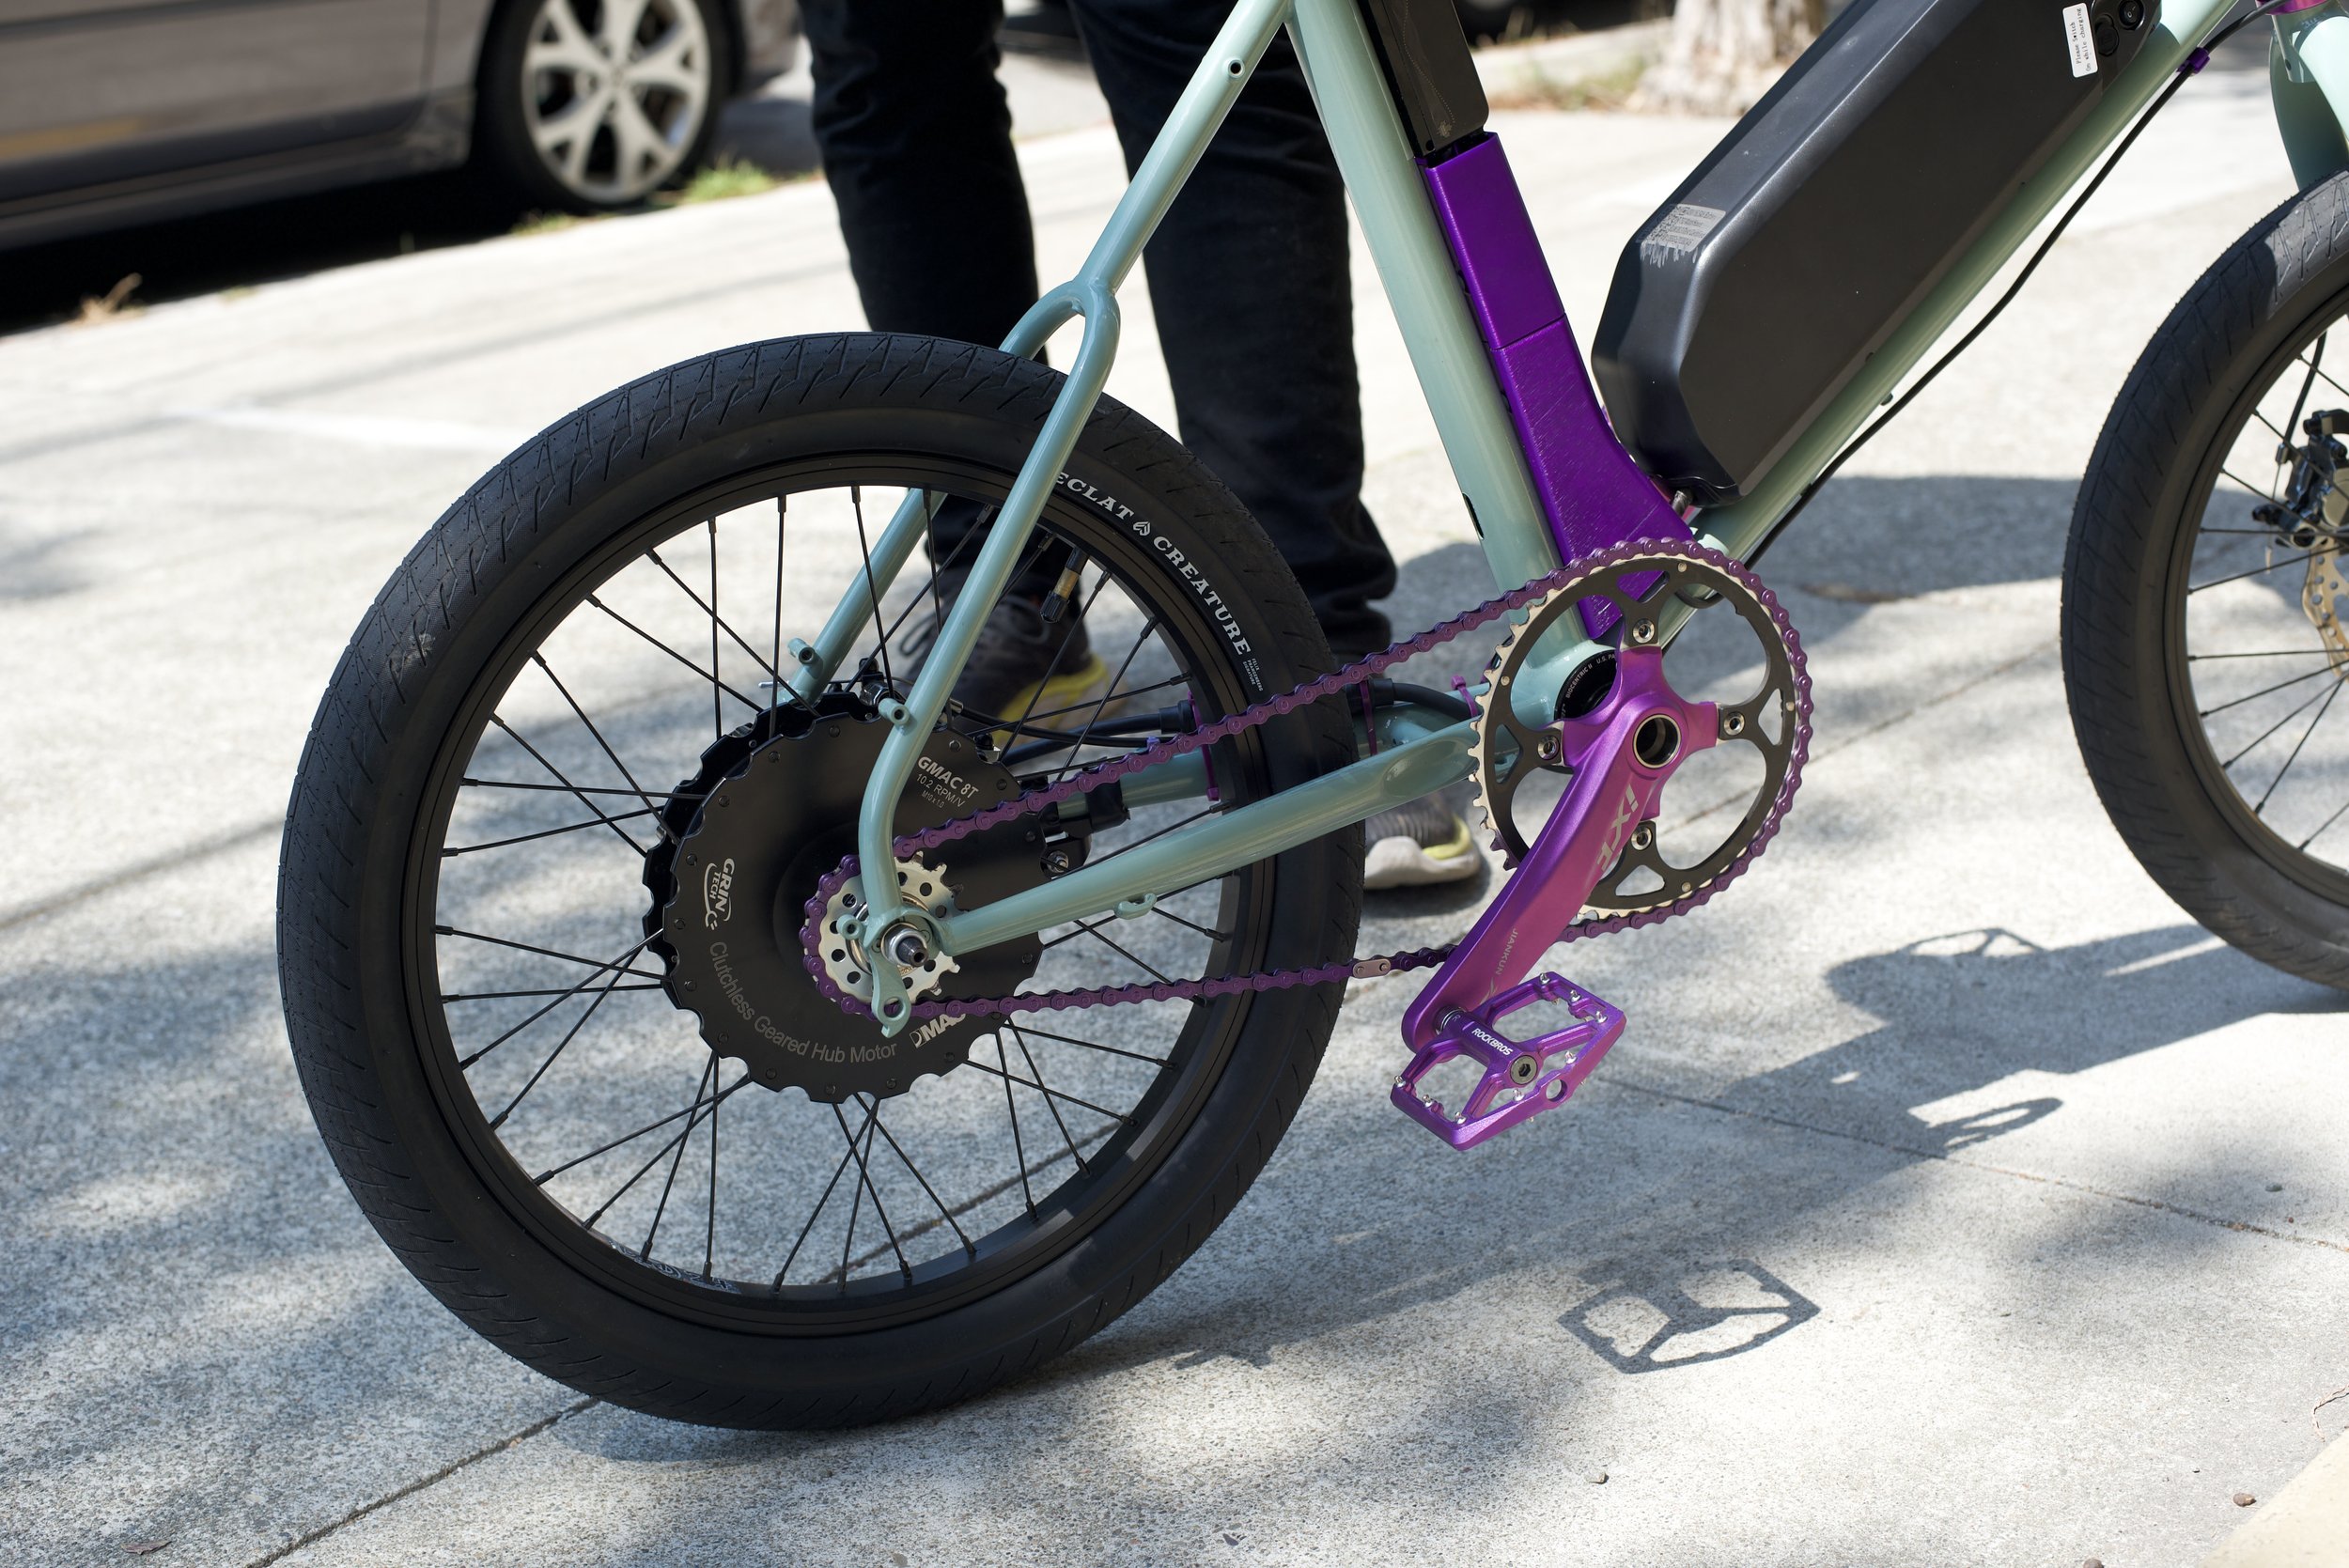
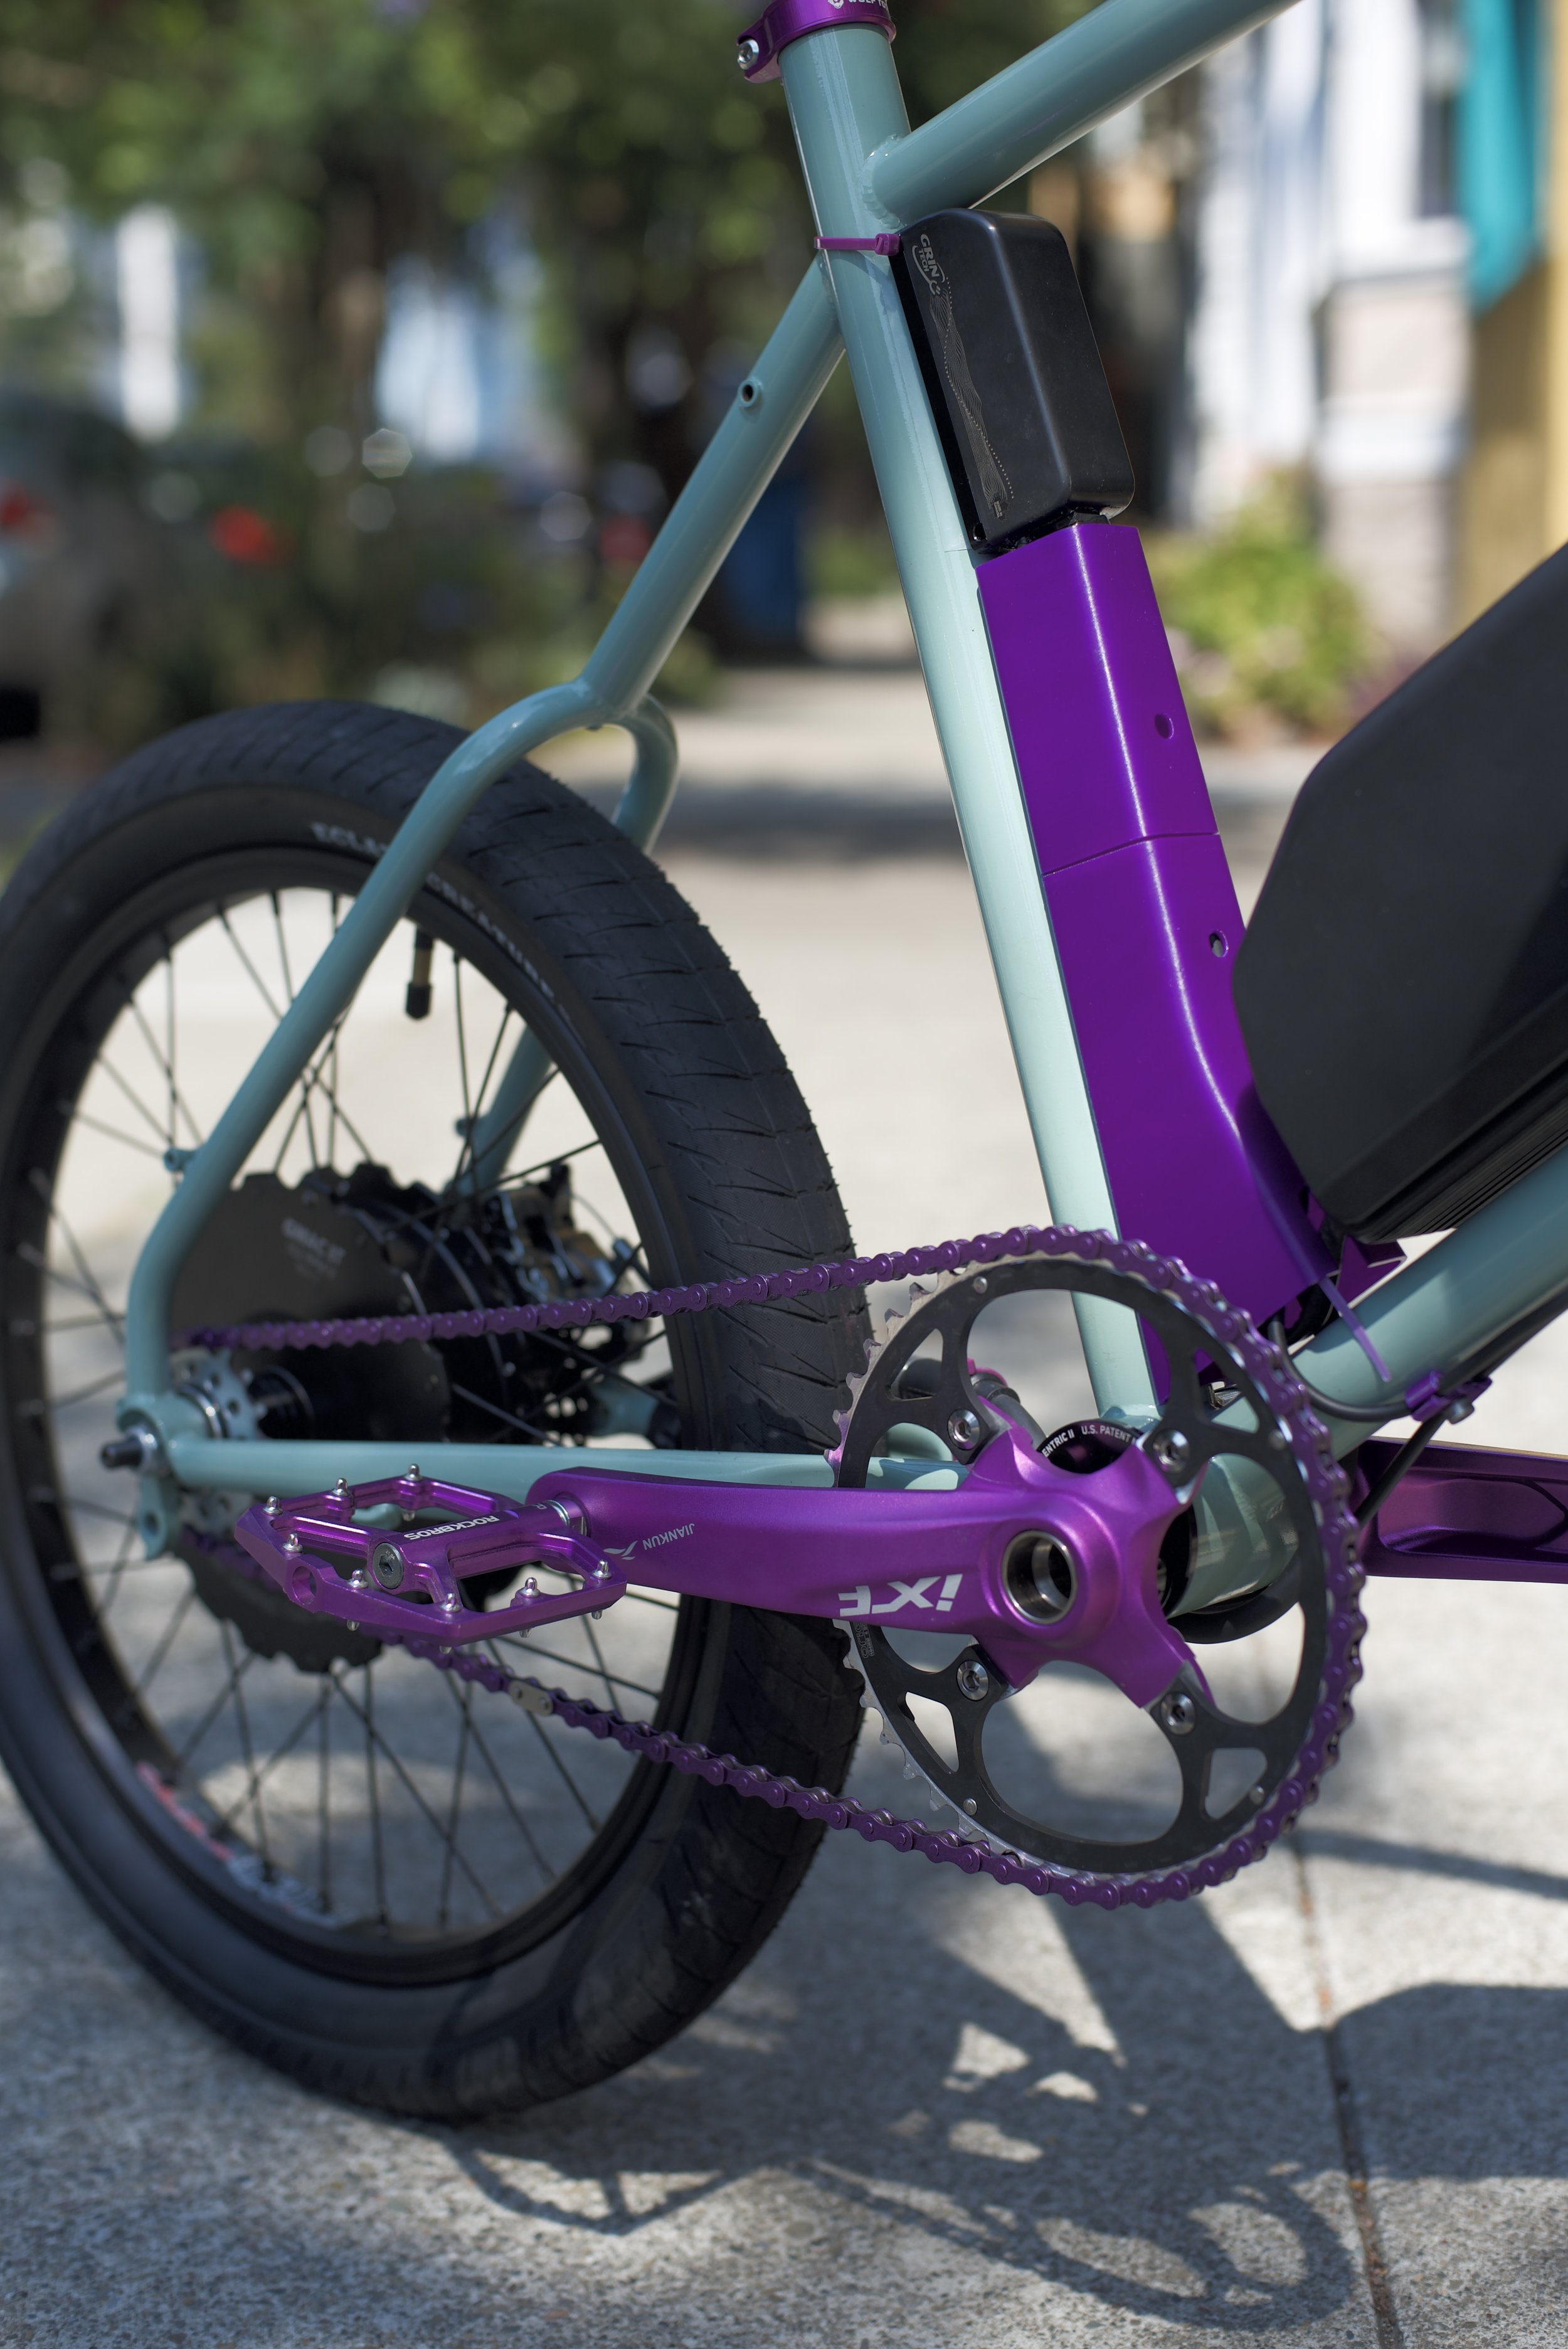
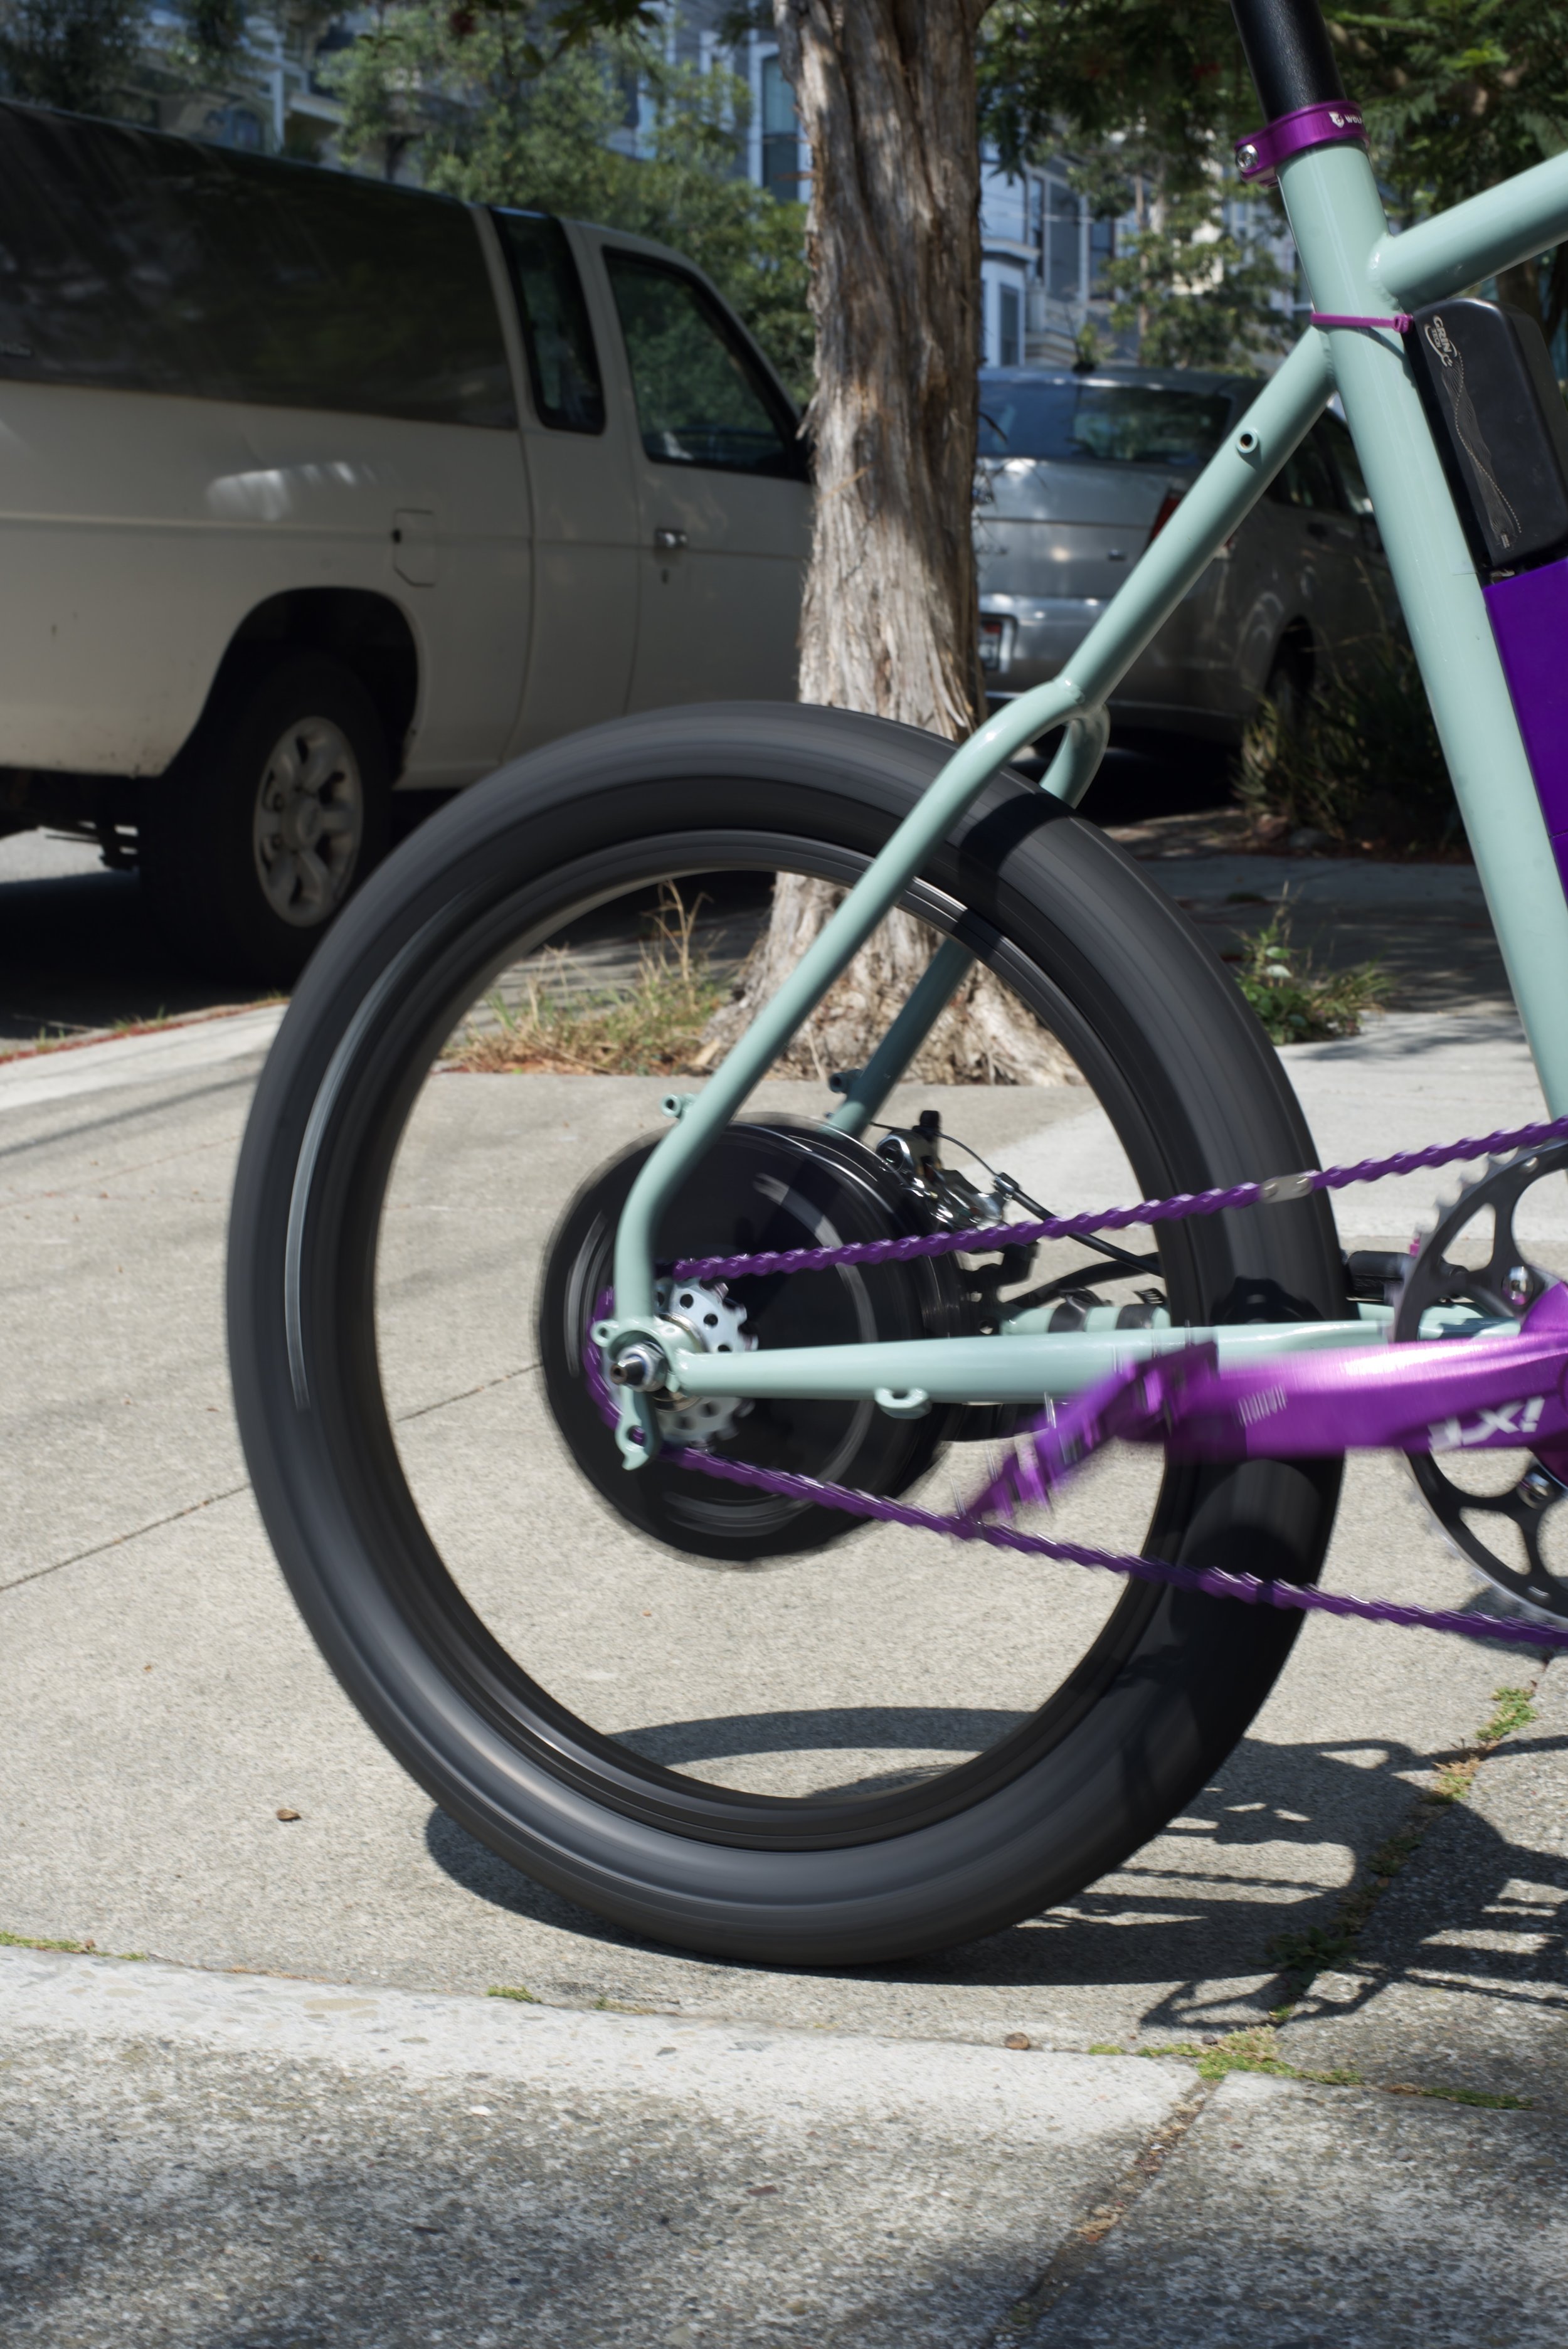
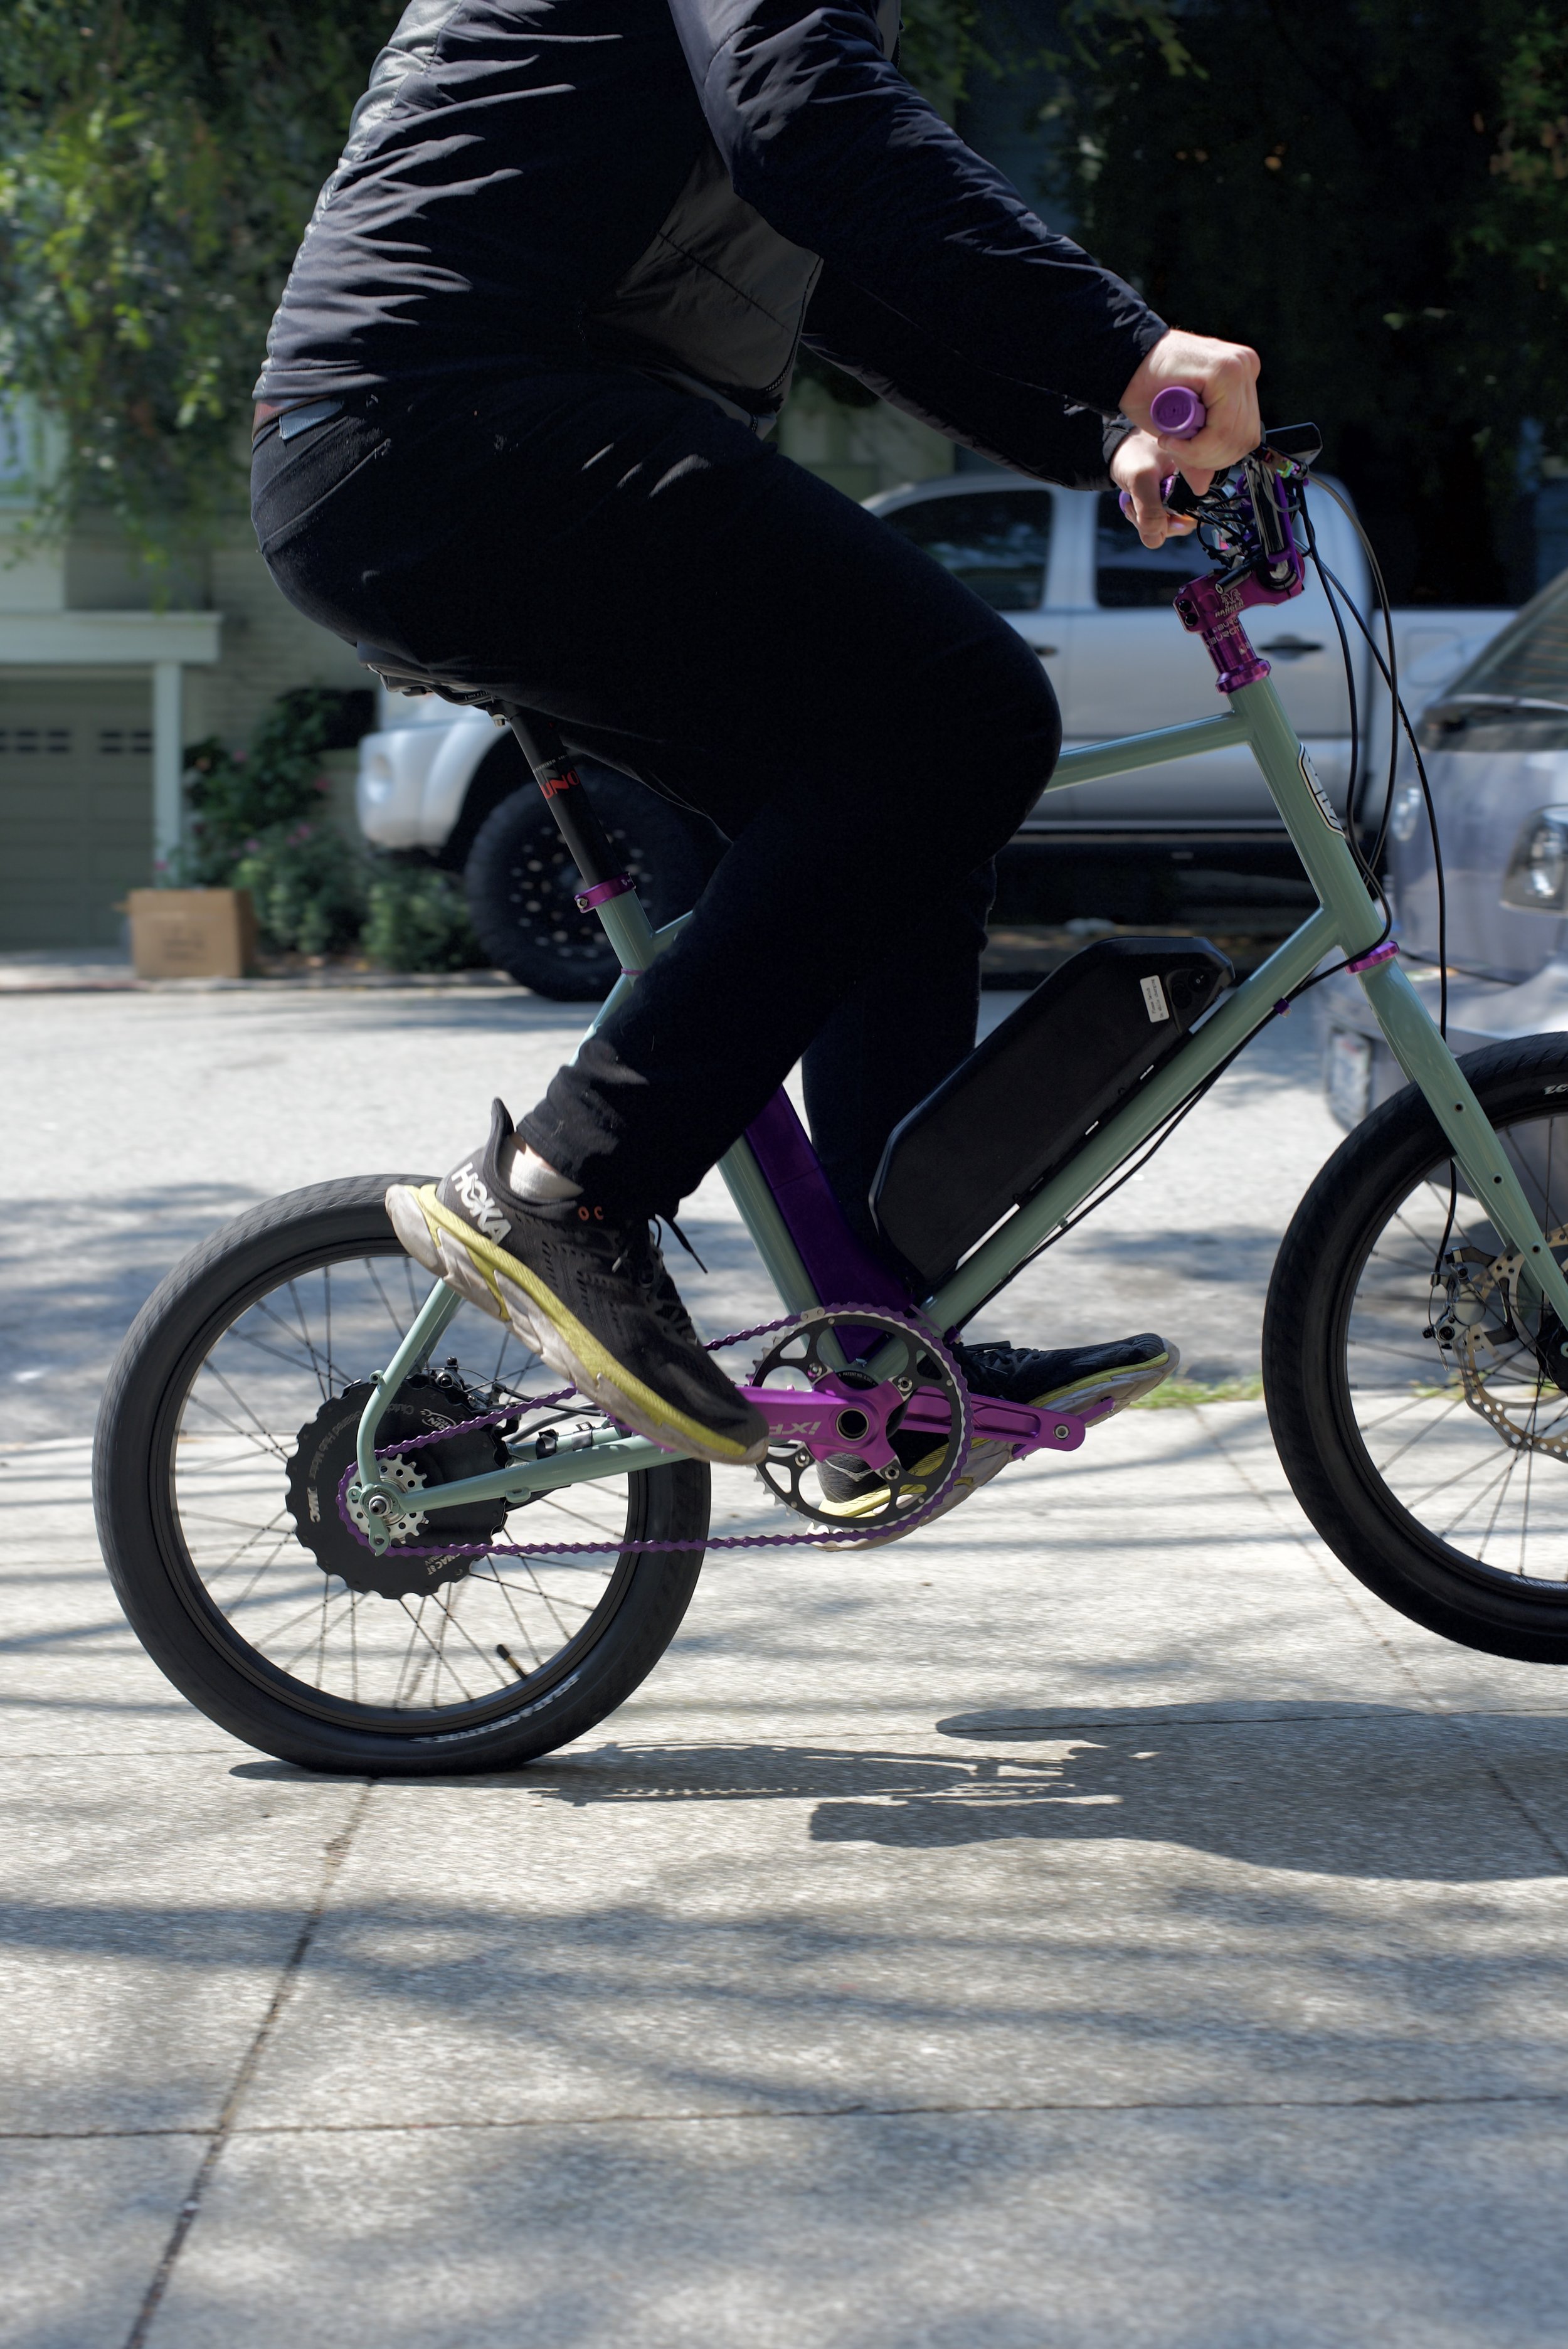
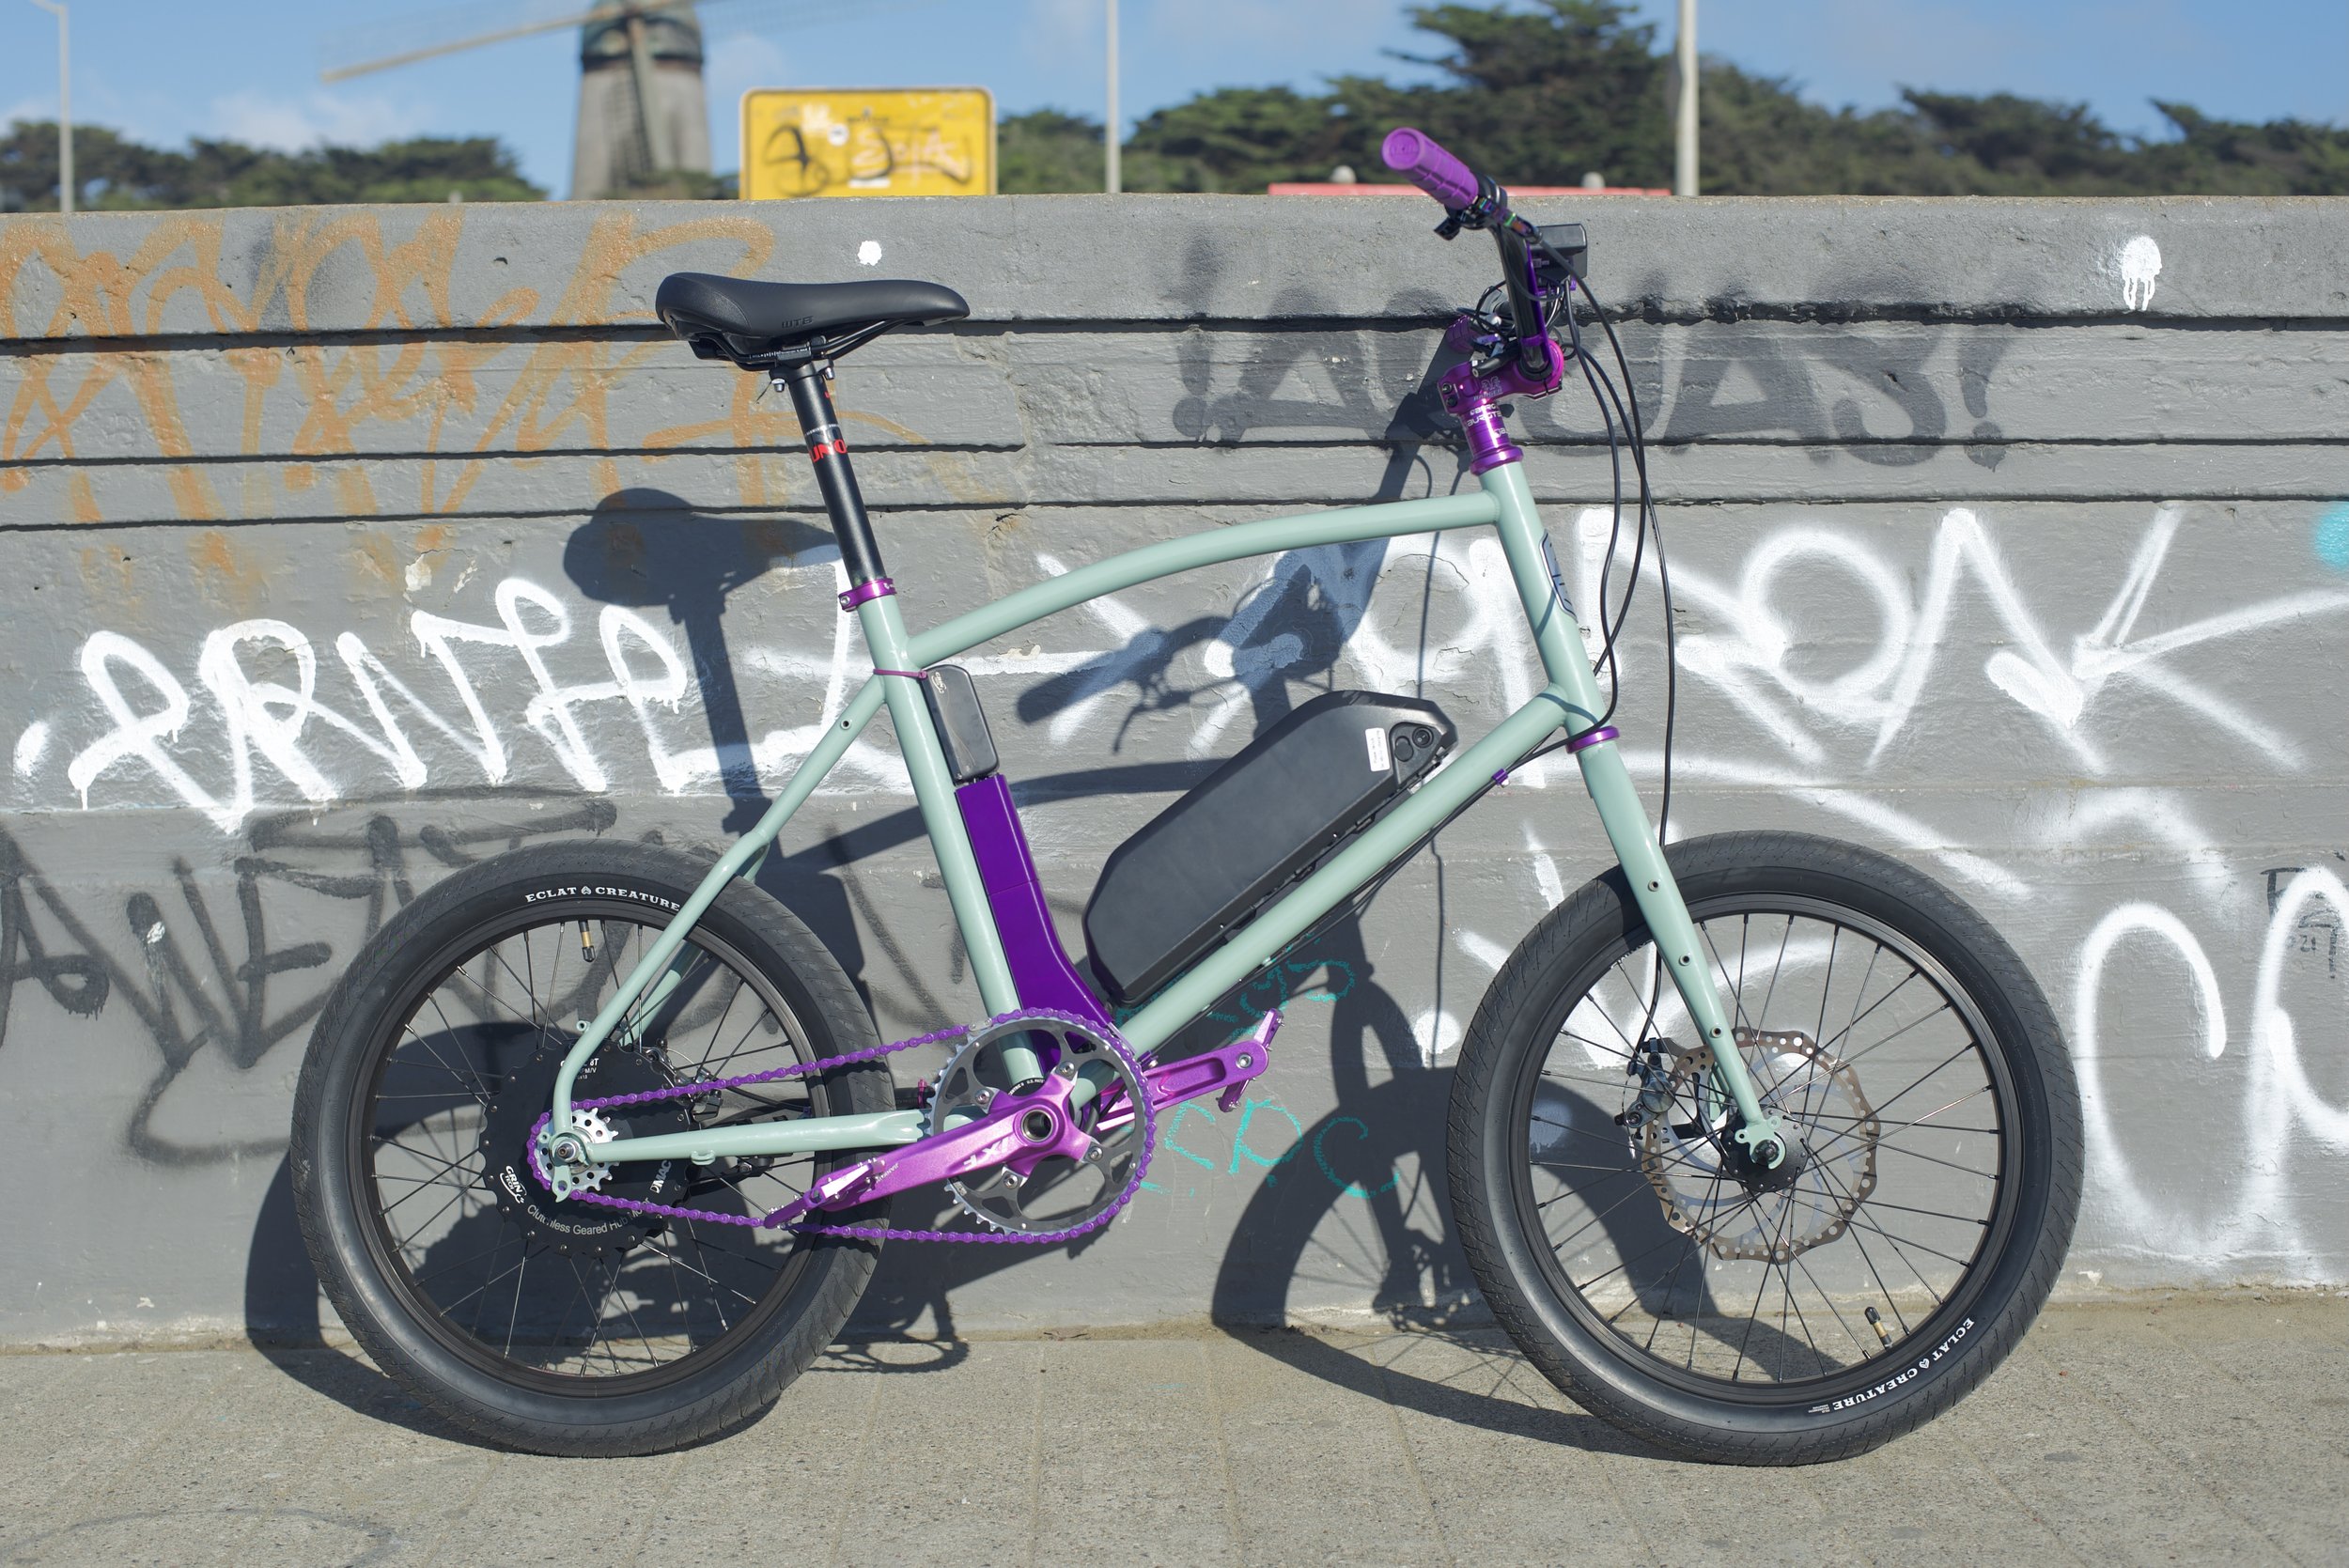
David’s 1700W e-bike
Let me tell you… this bike is a blast to ride. In David’s own words:
When Kiran first emailed with the idea of the minivelo, I said "This is sick! But I have a mountain bike and a road bike so I'm pretty set." He then shamed me into giving him money for a bike, and I decided to ensure that the bike filled a slot that my two current bikes didn't.
A buddy of mine worked for a personal electric mobility startup, and had mentioned a wacky company in Canada that makes a pretty lovely E-bike kit. As I am both incredibly lazy, and live on a hill, I decided to go all out and make a 1700 watt minivelo e bike.
After searching for many Amazon and Aliexpress parts (purple parts are not terribly easy to find), I built up the bike relatively quickly. I went through the trauma of building my own front wheel, and to this day I am a little iffy about if it's going to let go.
The bike is a riot. It's essentially a single speed moped that can take over 300 pounds of bike and person up San Francisco hills, allowing me to run errands, and most importantly it means I don't have to walk up hills if I don't want to.
There are a few more things to do (cutting down the bars, rigging up the regenerative braking properly, adding a basket attachment on the rack), but for all intents and purposes this bike is ready to rumble!
All photos in David’s build gallery are taken by yours truly.
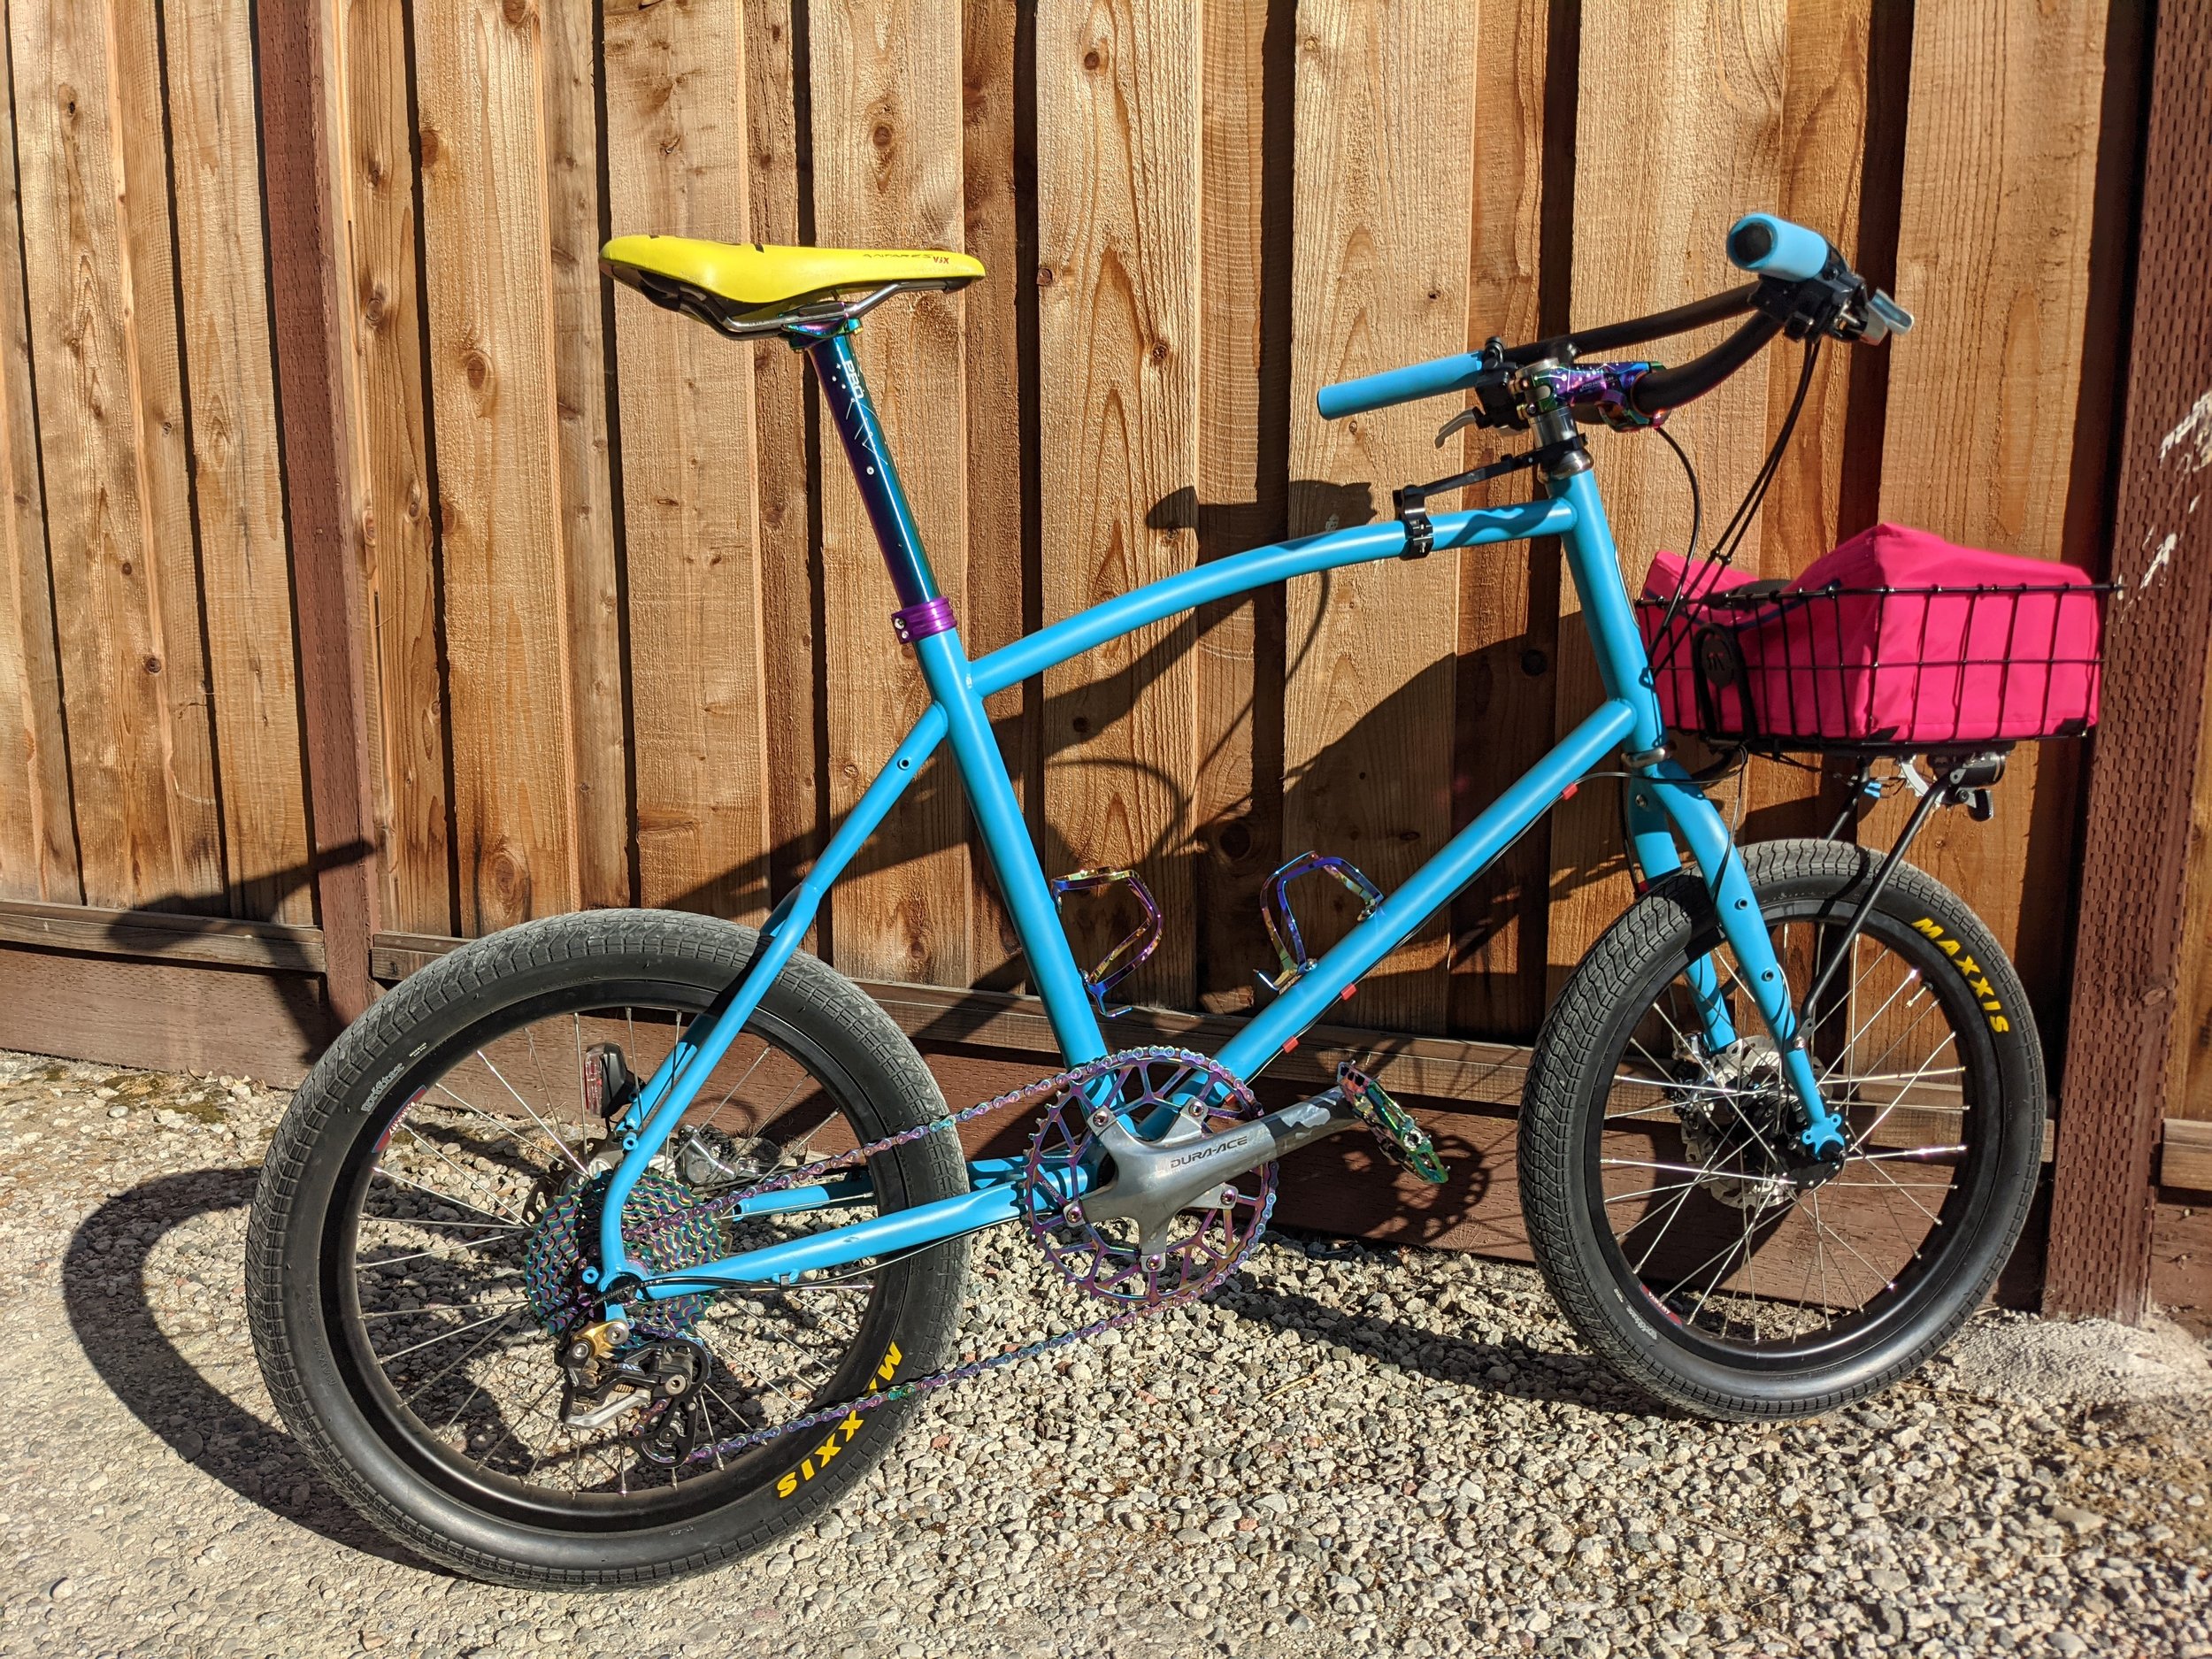
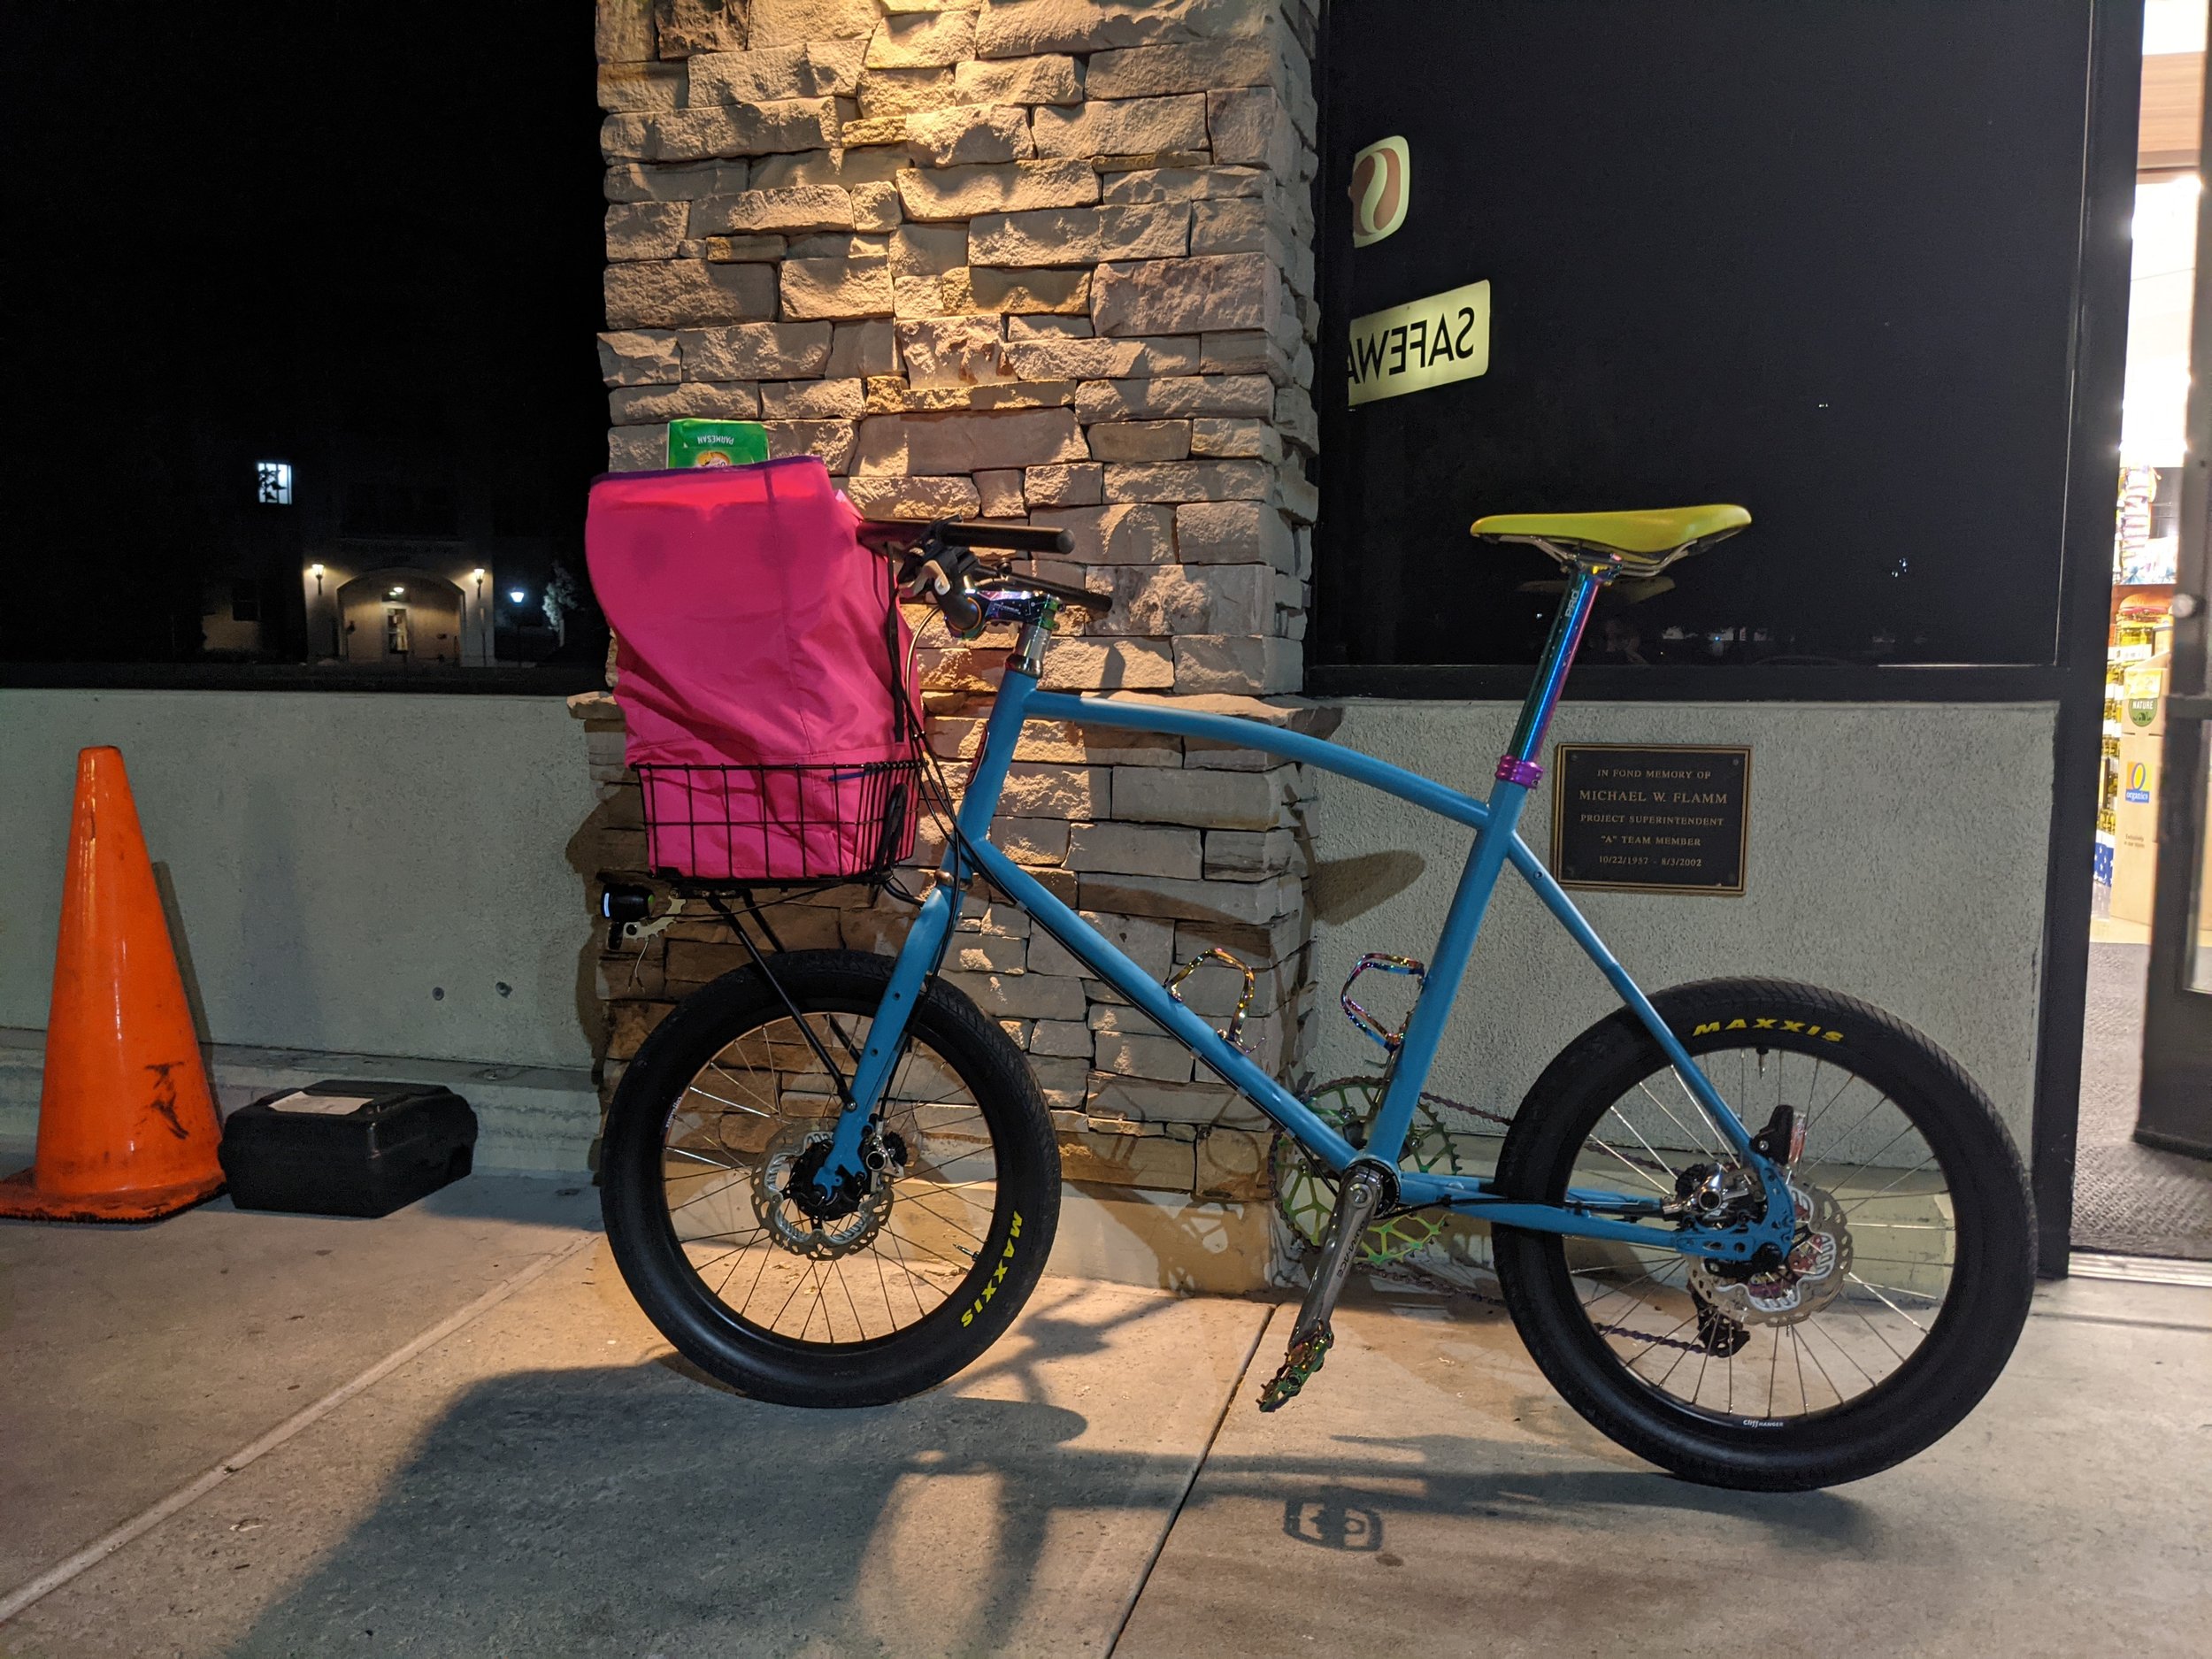
Adem’s Oilslick Rodeo
I think Adem’s main design driver for this bike was “all oilslick everything” - but let’s hear it from him directly!
This bike was built up with one purpose in mind: find a use for the extremely troll Shimano Dual Control mountain brifters in my parts bin. I've been procrastinating on making the left lever run a dropper post, but rest assured it's in the works.
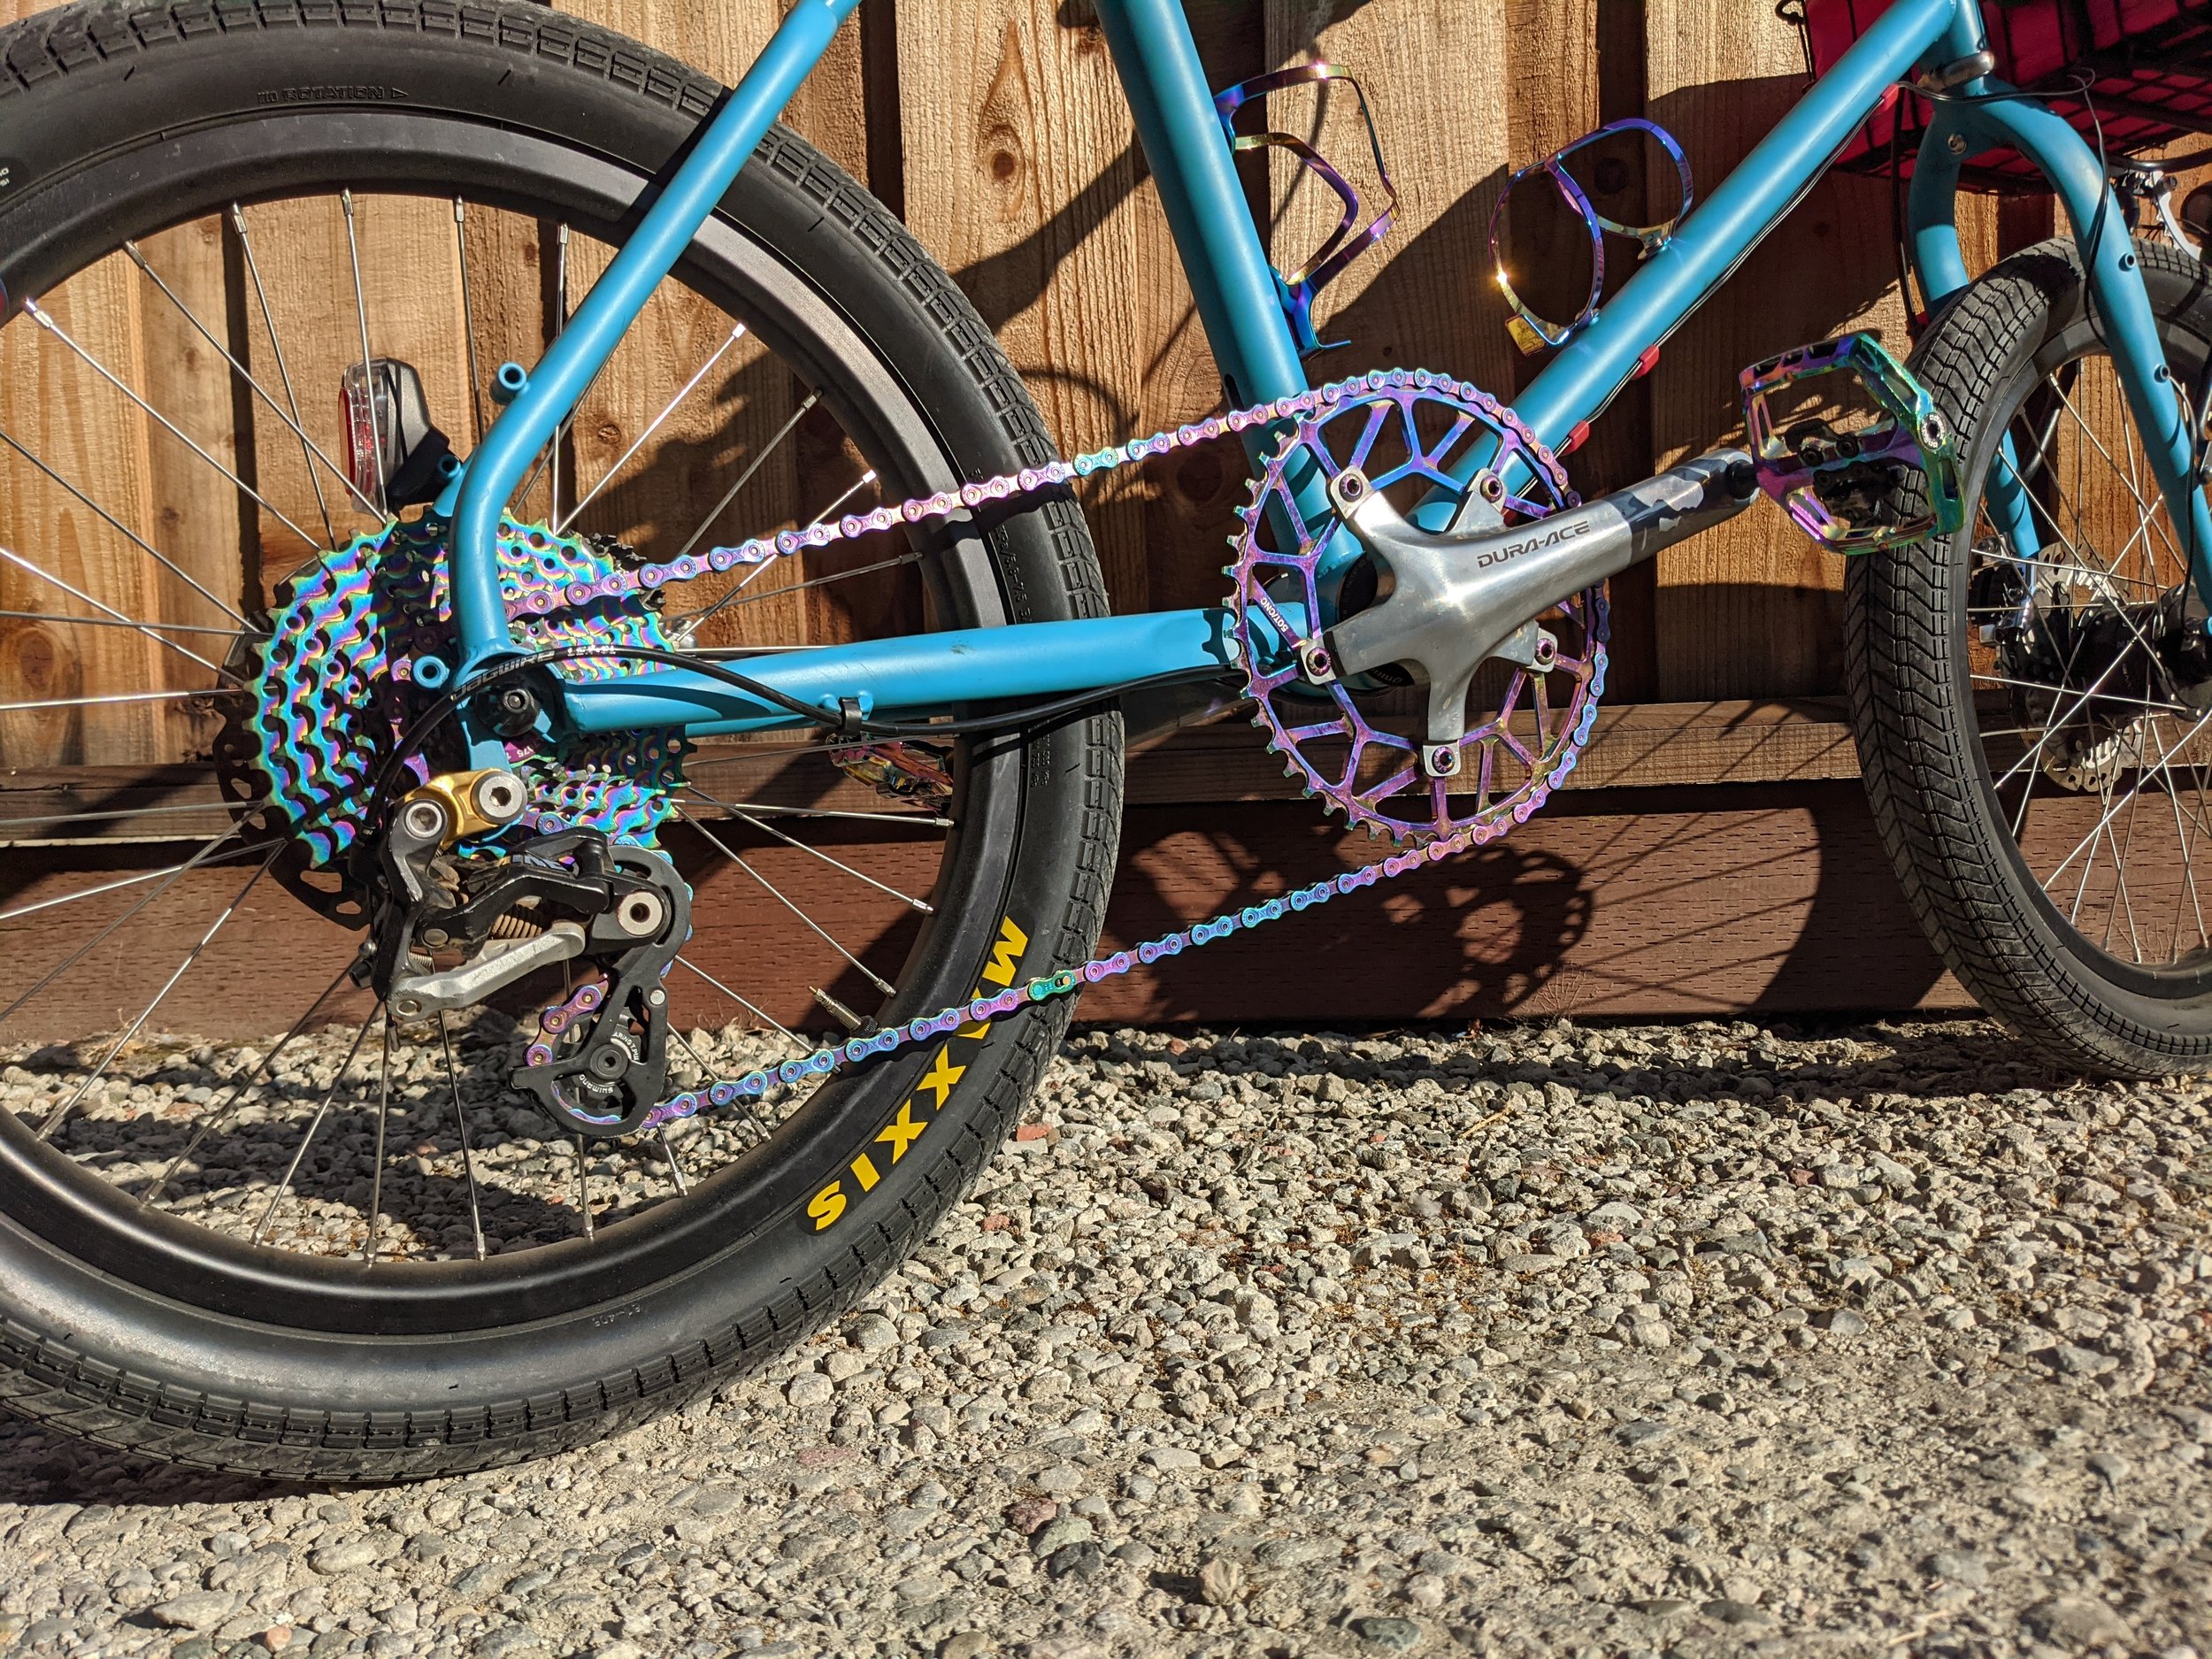
The drivetrain is a glorious mishmash of the finest parts Shimano has to offer (Dura Ace cranks! Saint rear derailleur!) with oilslick anodized cassettes/chainring/chain off Aliexpress. My one regret is not building up the wheelset with oilslick spokes.
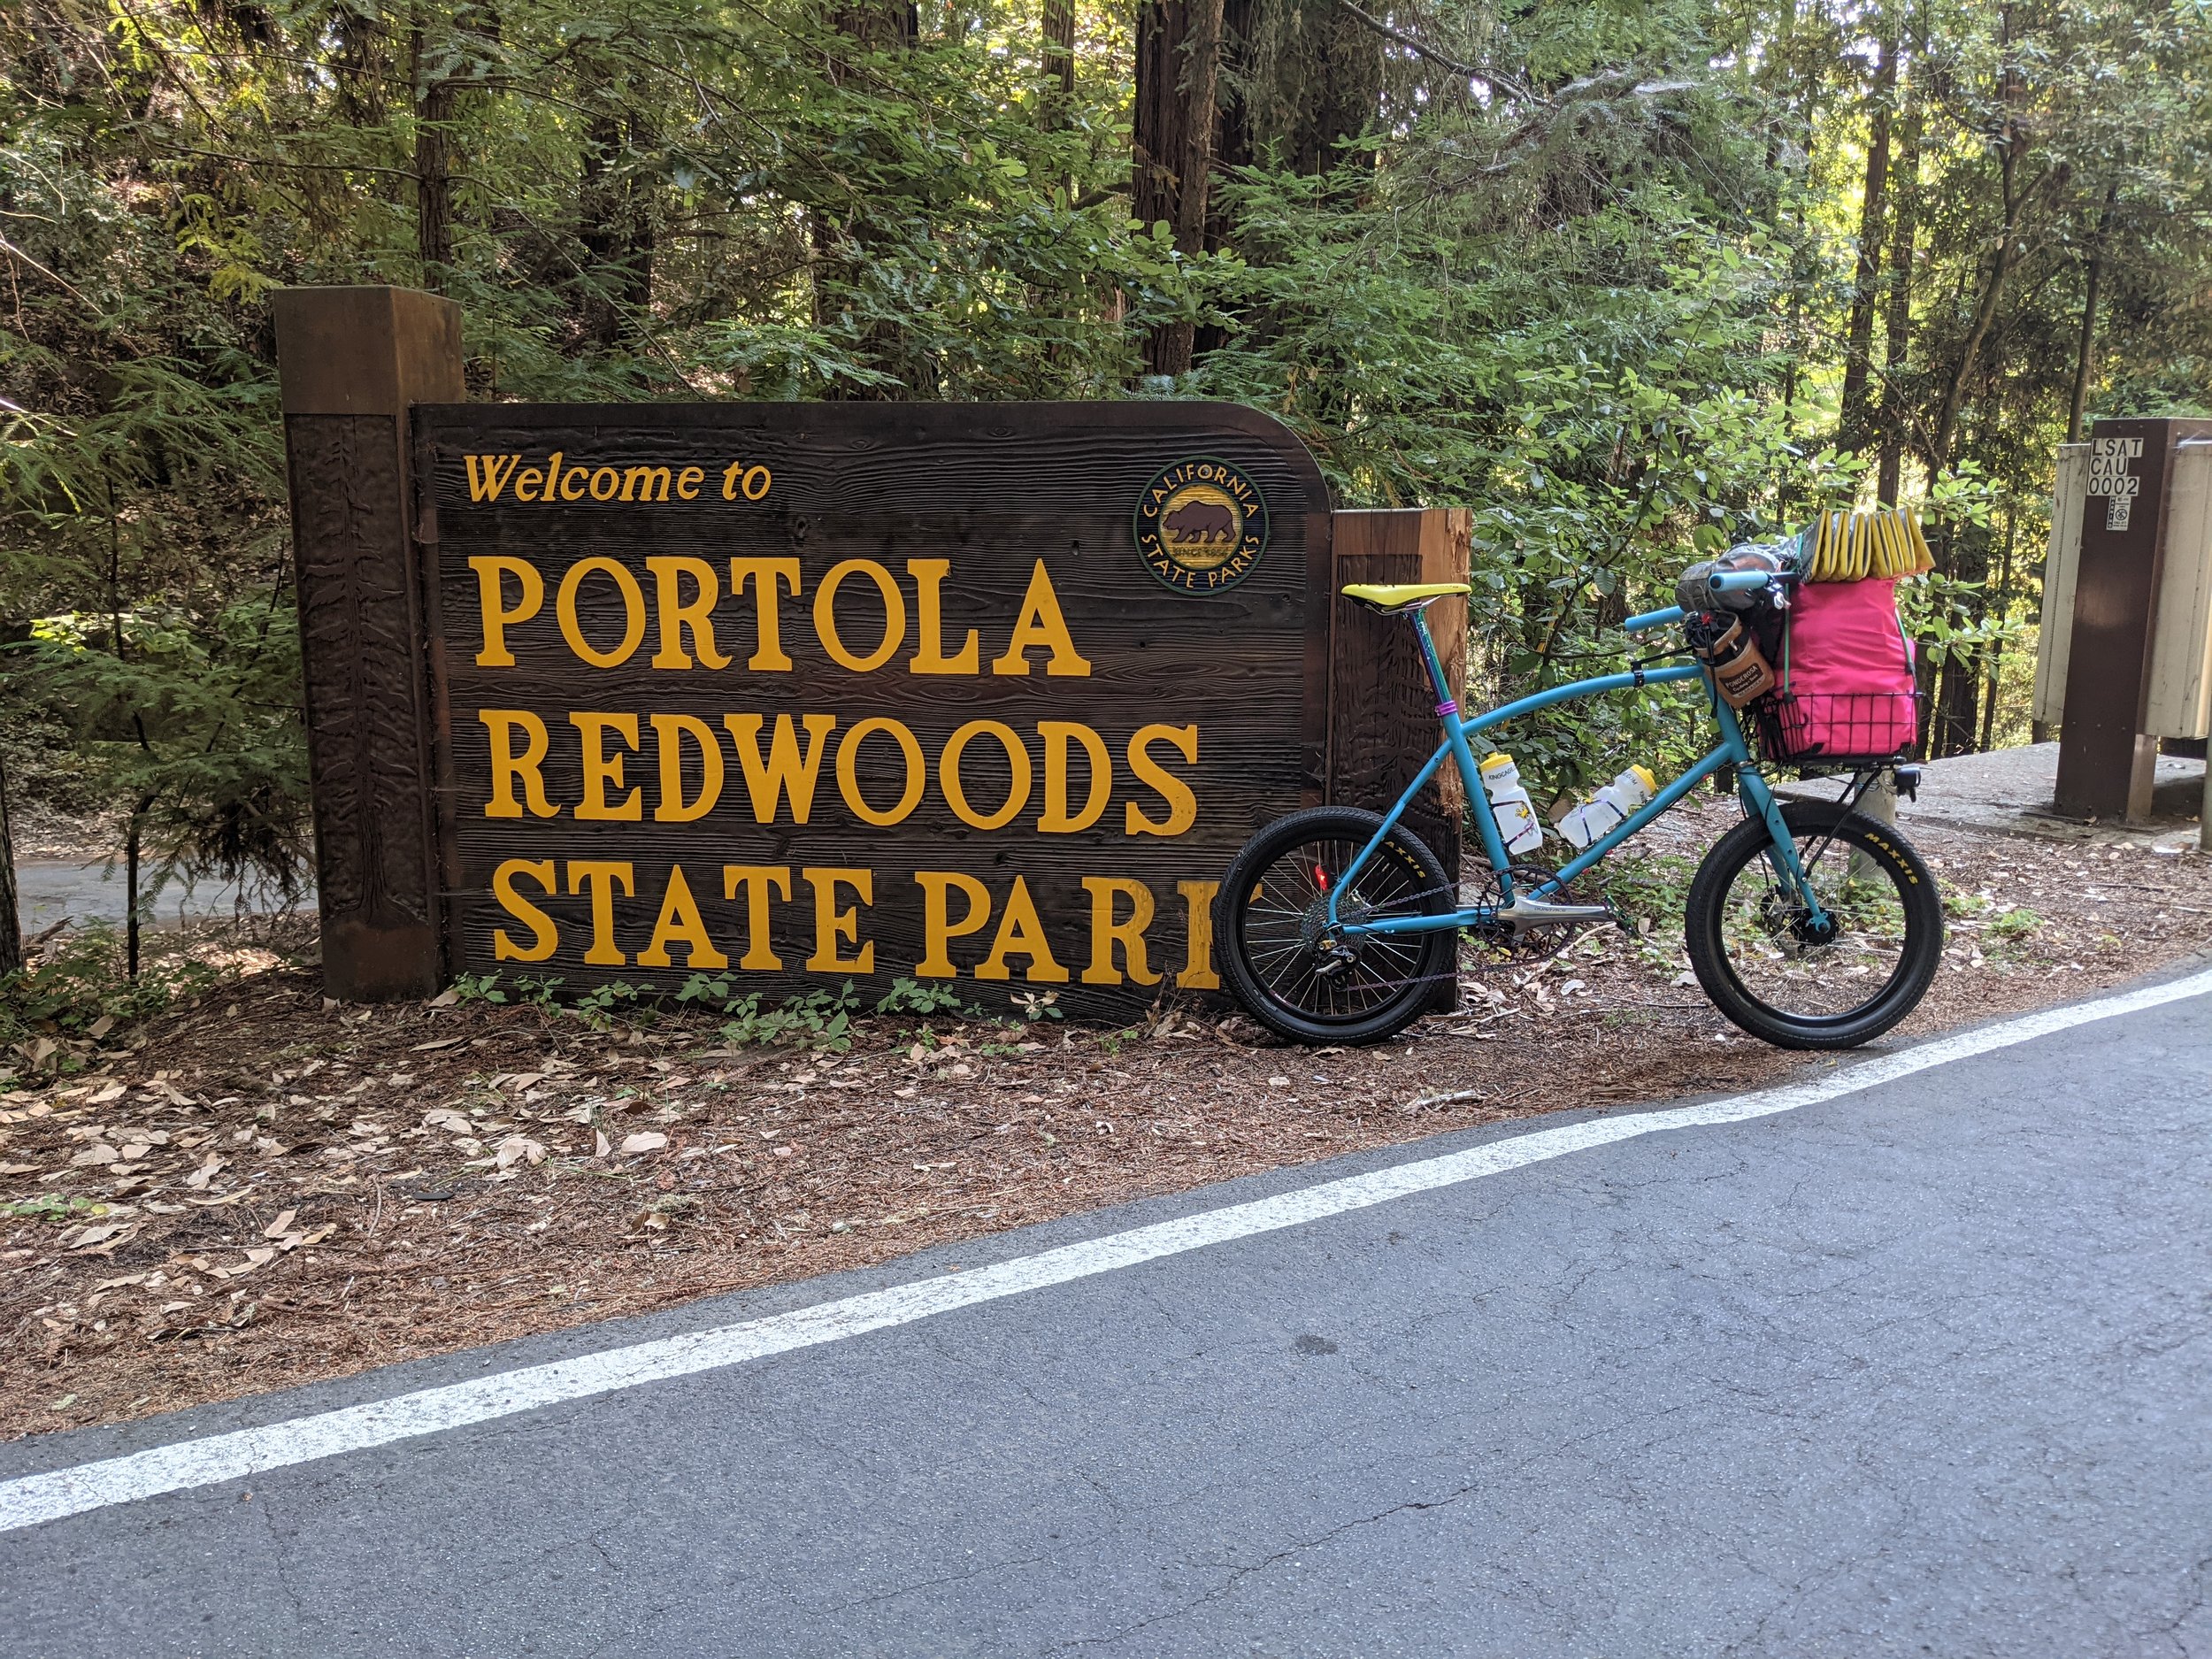
The bike is a hoot and a half to ride. I've mostly been doing neighborhood rides to grab lunch, but I have climbed both Tunitas and Page Mill with it - as well as the steep climb out of Portola Redwood State Park after riding there with all my camp gear. It's also the ideal bike for trips involving a leg on Caltrain; it may end up being my main commute bike once I'm commuting via train again.
All photos in the gallery below are from Adem himself.