Quick and dirty spaceman helmet. Friday night collaboration with one of my housemates.
(I'm going to the stars)

Quick and dirty spaceman helmet. Friday night collaboration with one of my housemates.

(I'm going to the stars)
I've been wanting to test out Shapeways' glossy porcelain for a while, but haven't been sure exactly to make. Ever since living next to the 22 in San Francisco, I've gotten used to sleeping with earplugs. I tend to leave them scattered wherever they fall when I wake up. In an effort to make my home space a bit more organized, I cooked up a simple earplug dish to keep the little dudes collected on my bedside table.
Available for purchase on Shapeways.

Earplug dish in glossy white porcelain.
I've finally put a bit of new work up on the site. Foxfire is up, as well as some work-in-progress 2D I'm designing for an event at the California Academy of Sciences. More details to come on Foxfire at some point... maybe I'll just wait until Foxfire 2016 to update that page.
As always, my goal is to stay creative and to stay active in sharing my work. I'm only okay at the first, and I'm pretty shoddy at the second. I think I need to set some sort of time-based goal to keep myself on track. Perhaps one post per month, minimum, no matter how rough the work. Let's see how that goes.
October, check.
I can't believe that 28 days have already gone by! I wanted to close with a specifically impressive project, but I think that it's in the spirit of the whole project to feel good about whatever comes out of the mind and into the world. This has been so much fun!

Cleaned up and colorized
Took a second shot at the kitchen prep table today... this time with my new Bosch ROS20VSC. I totally overestimated the capacity of the dust collection unit on the sander, overloaded it almost immediately, and blanketed my entire kitchen in dust. But hey, the table is smoother.
Also, I made pies.

Kitchen prep table, round two.

Pies.
I just picked up my first roll of color film that I've shot. I shot the roll during the week of 09-08-2014. The below photo is from 09-10-2014 at the engagement party of two of my very close friends. I accidentally opened the back of my camera early when rewinding the roll since my hands are so out of practice with film. I think that the resulting light leak caused the splash in the image, and I think I'm totally okay with it.

Claire.
Started really late tonight. This is definitely one of the "open up the computer, see where it goes!" projects.
Part A is a "reducing checkerboard" tile. Row 1's squares descend at a rate of 1 - 1/8 = 7/8 = 87.5%. Row 2's squares descend at a rate of 1 - 2/8 = 6/8 = 75%, and so on, where the (very simple) reduction formula is (8-n)/8 where n is the row number.
Reducing checkerboard tile.
Part B is a compilation of these tiles. Column 1 is patterned down in 180 degree flips. Each row is seeded by the Column 1 tile and is patterned with 90 degree rotations. Interesting patterns came out of this.

Reducing checkerboard.
After lots of days spent CAD-ing and tweaking and thinking, I finally got materials for the work table. My car died on the return trip... but hey, at least I've got materials in hand now.

Procurement.
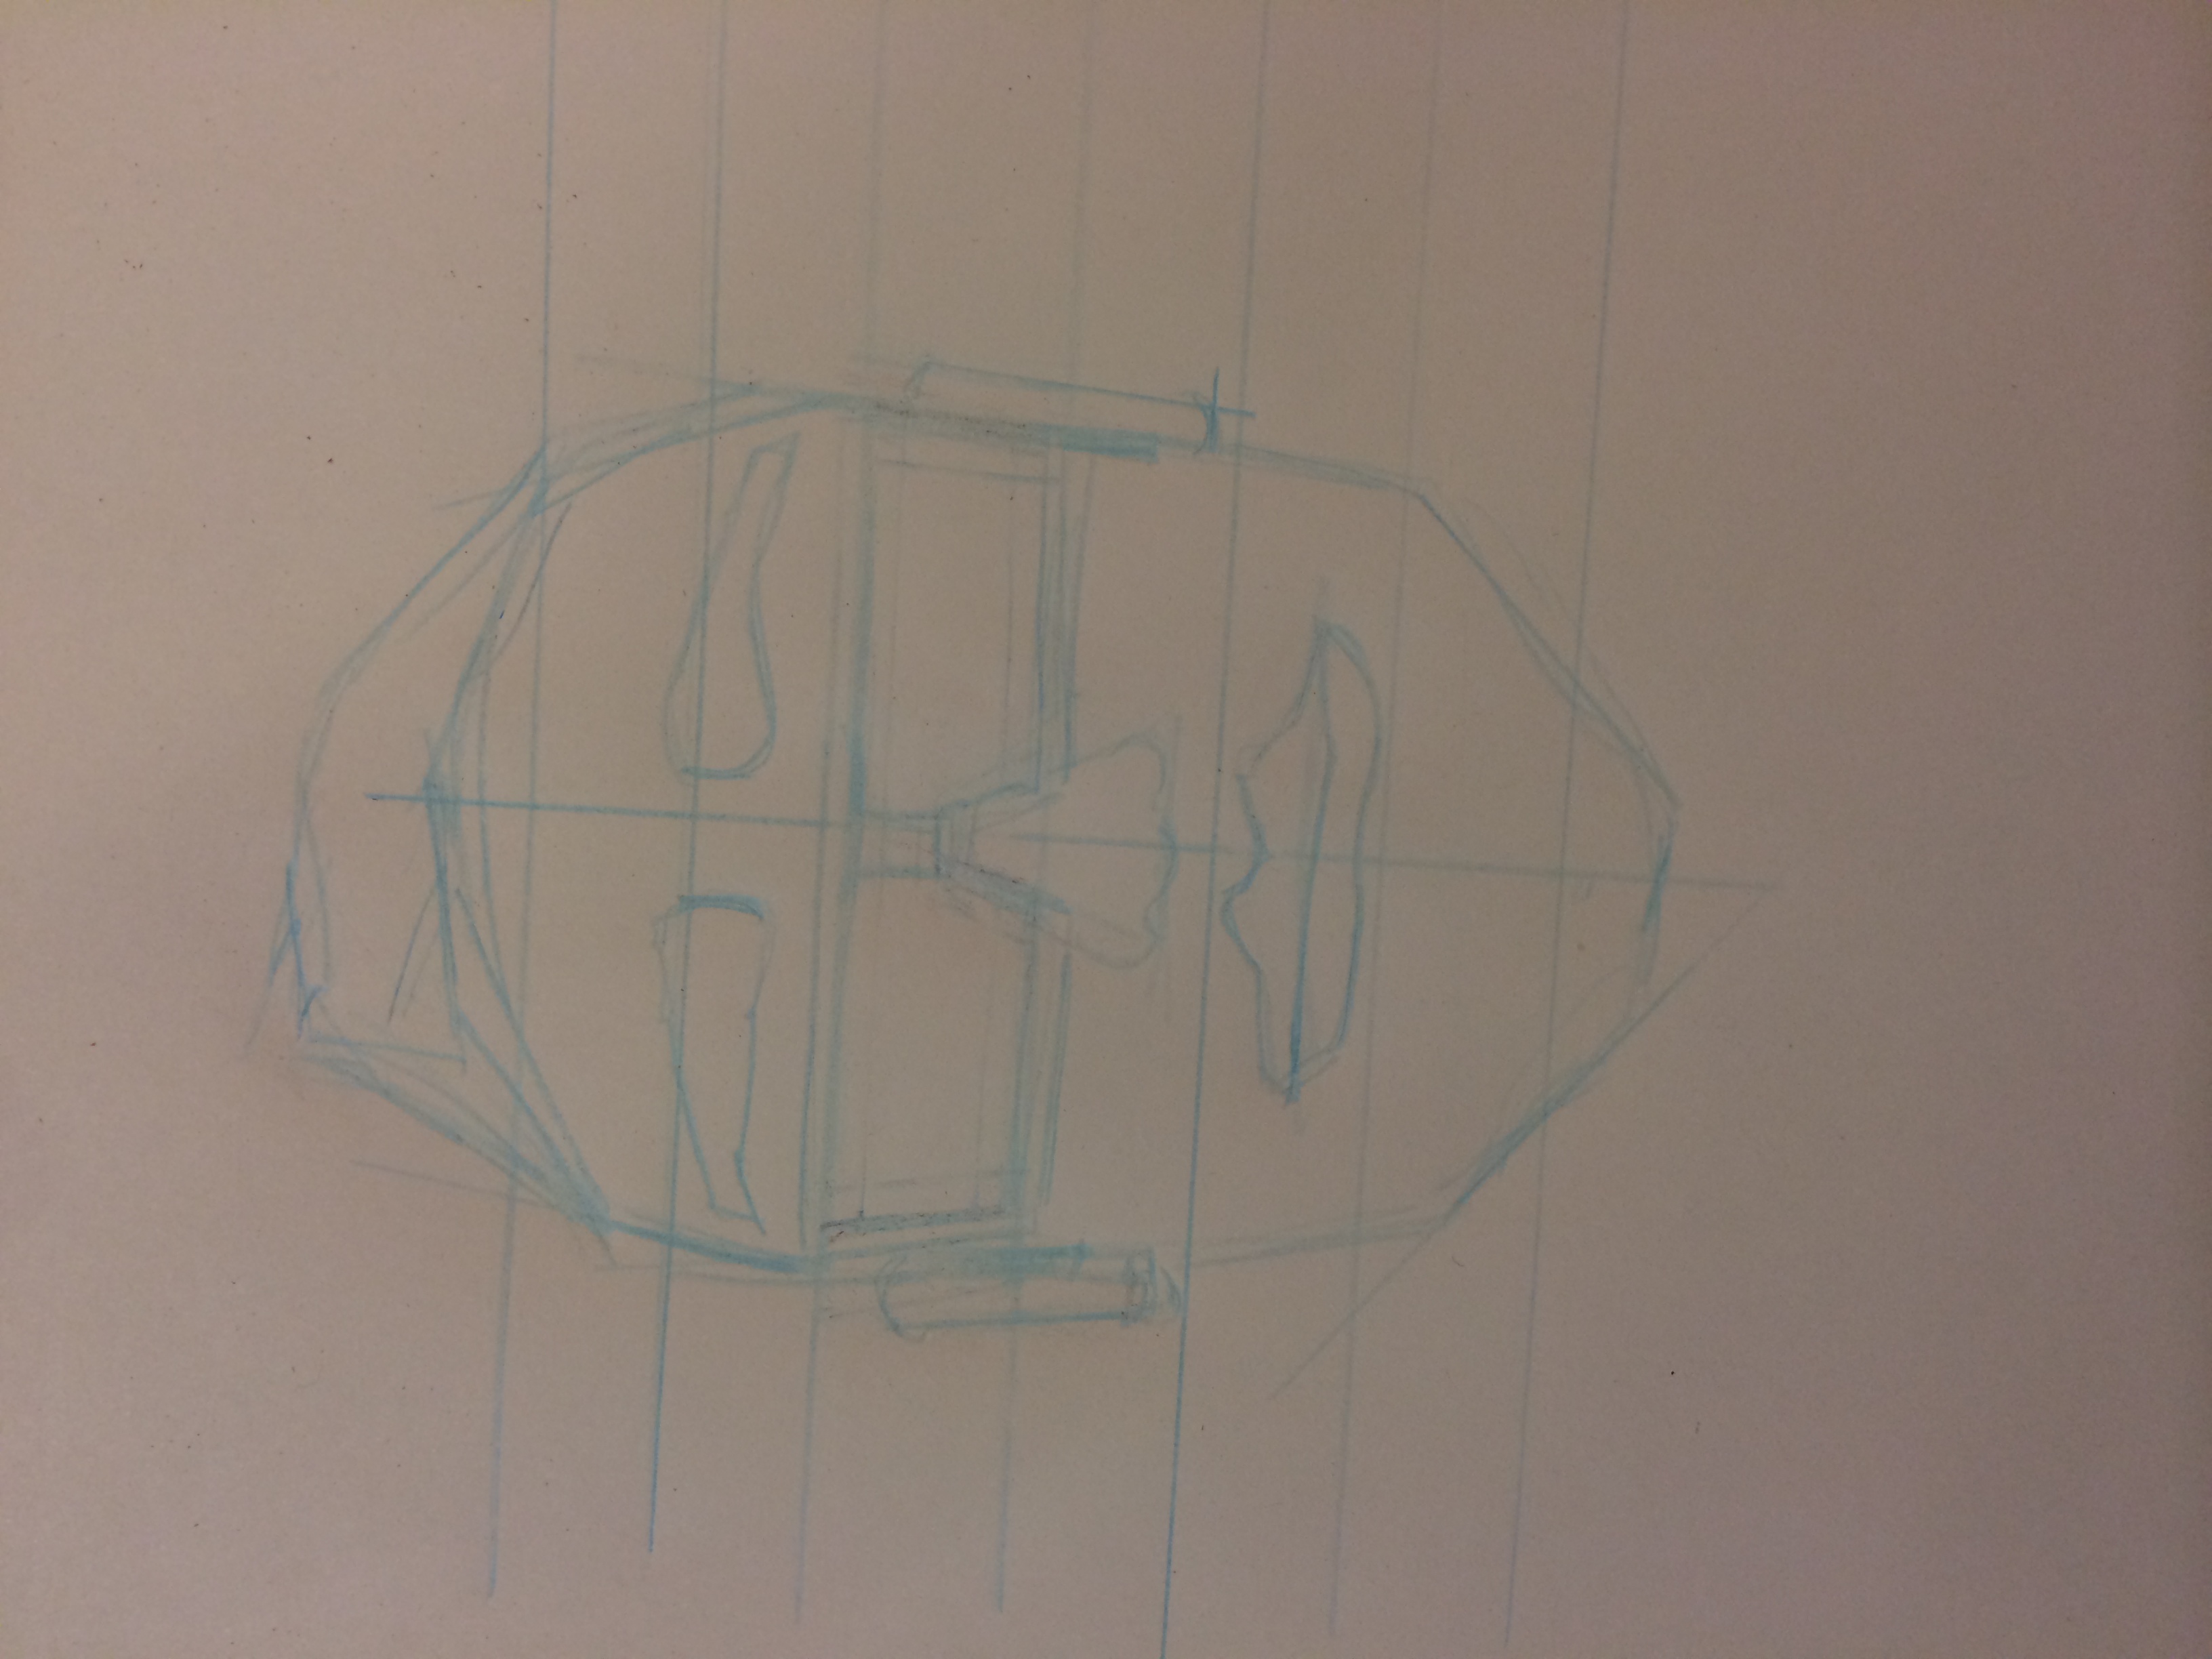
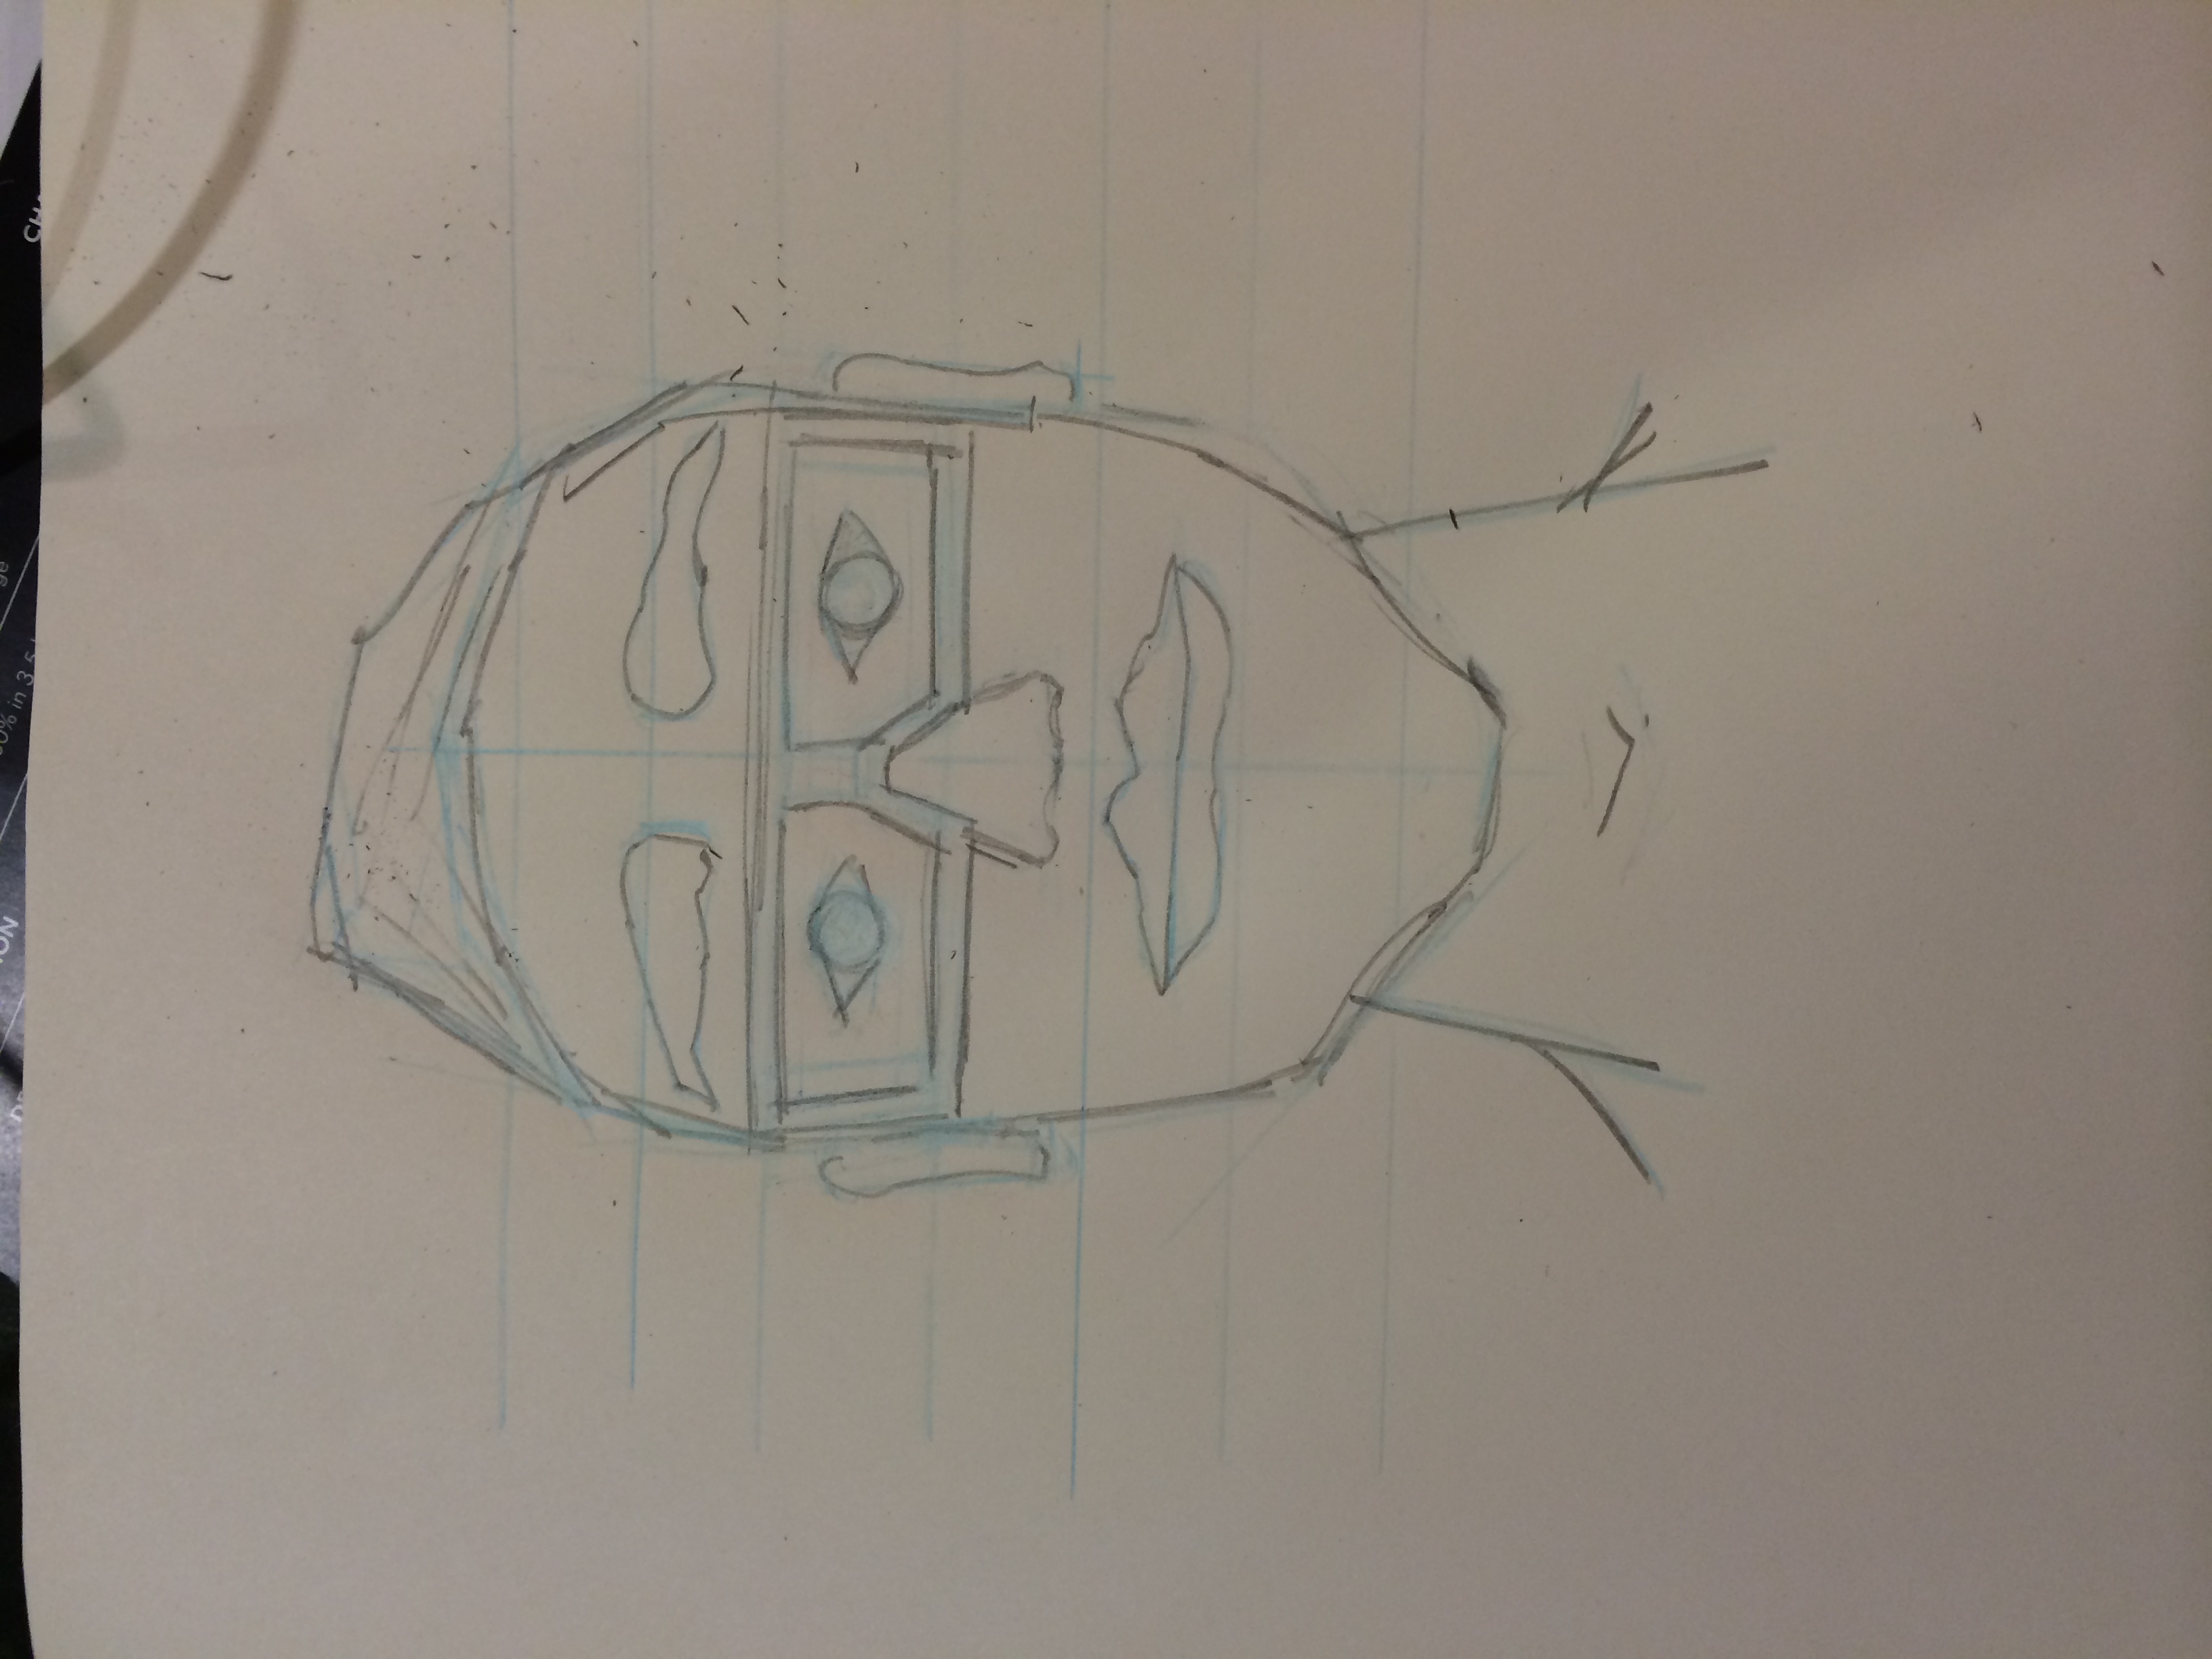
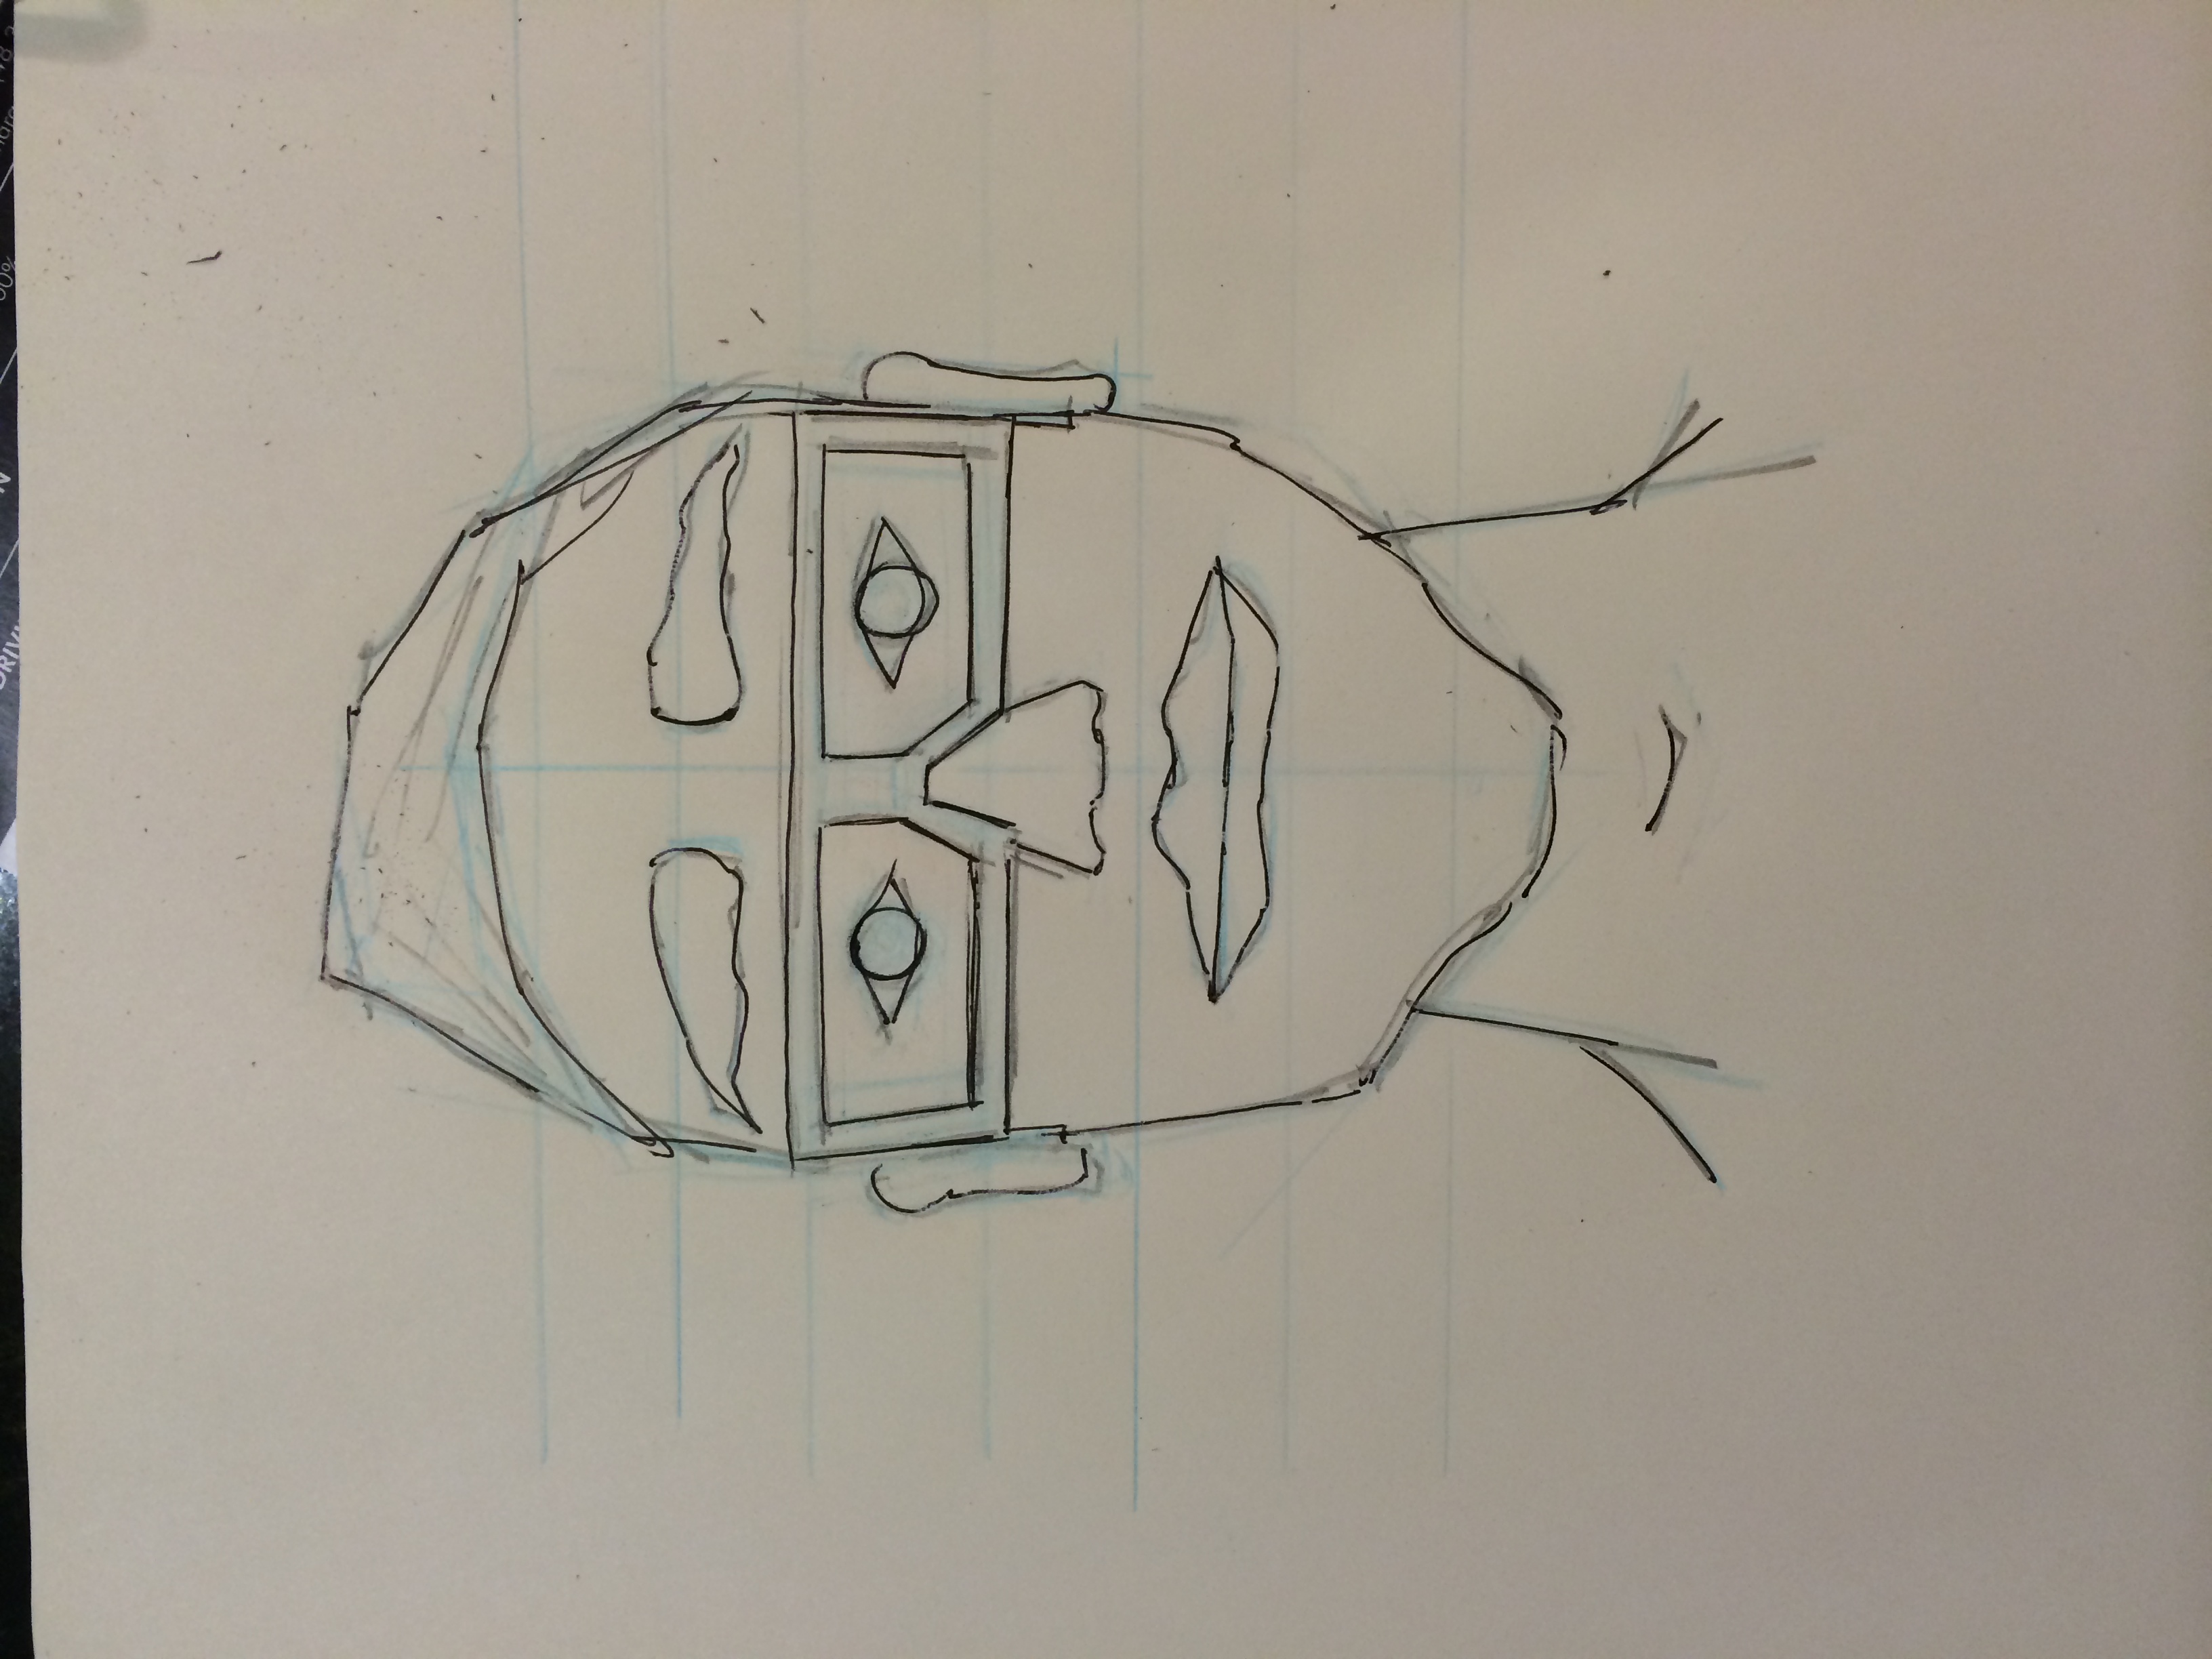
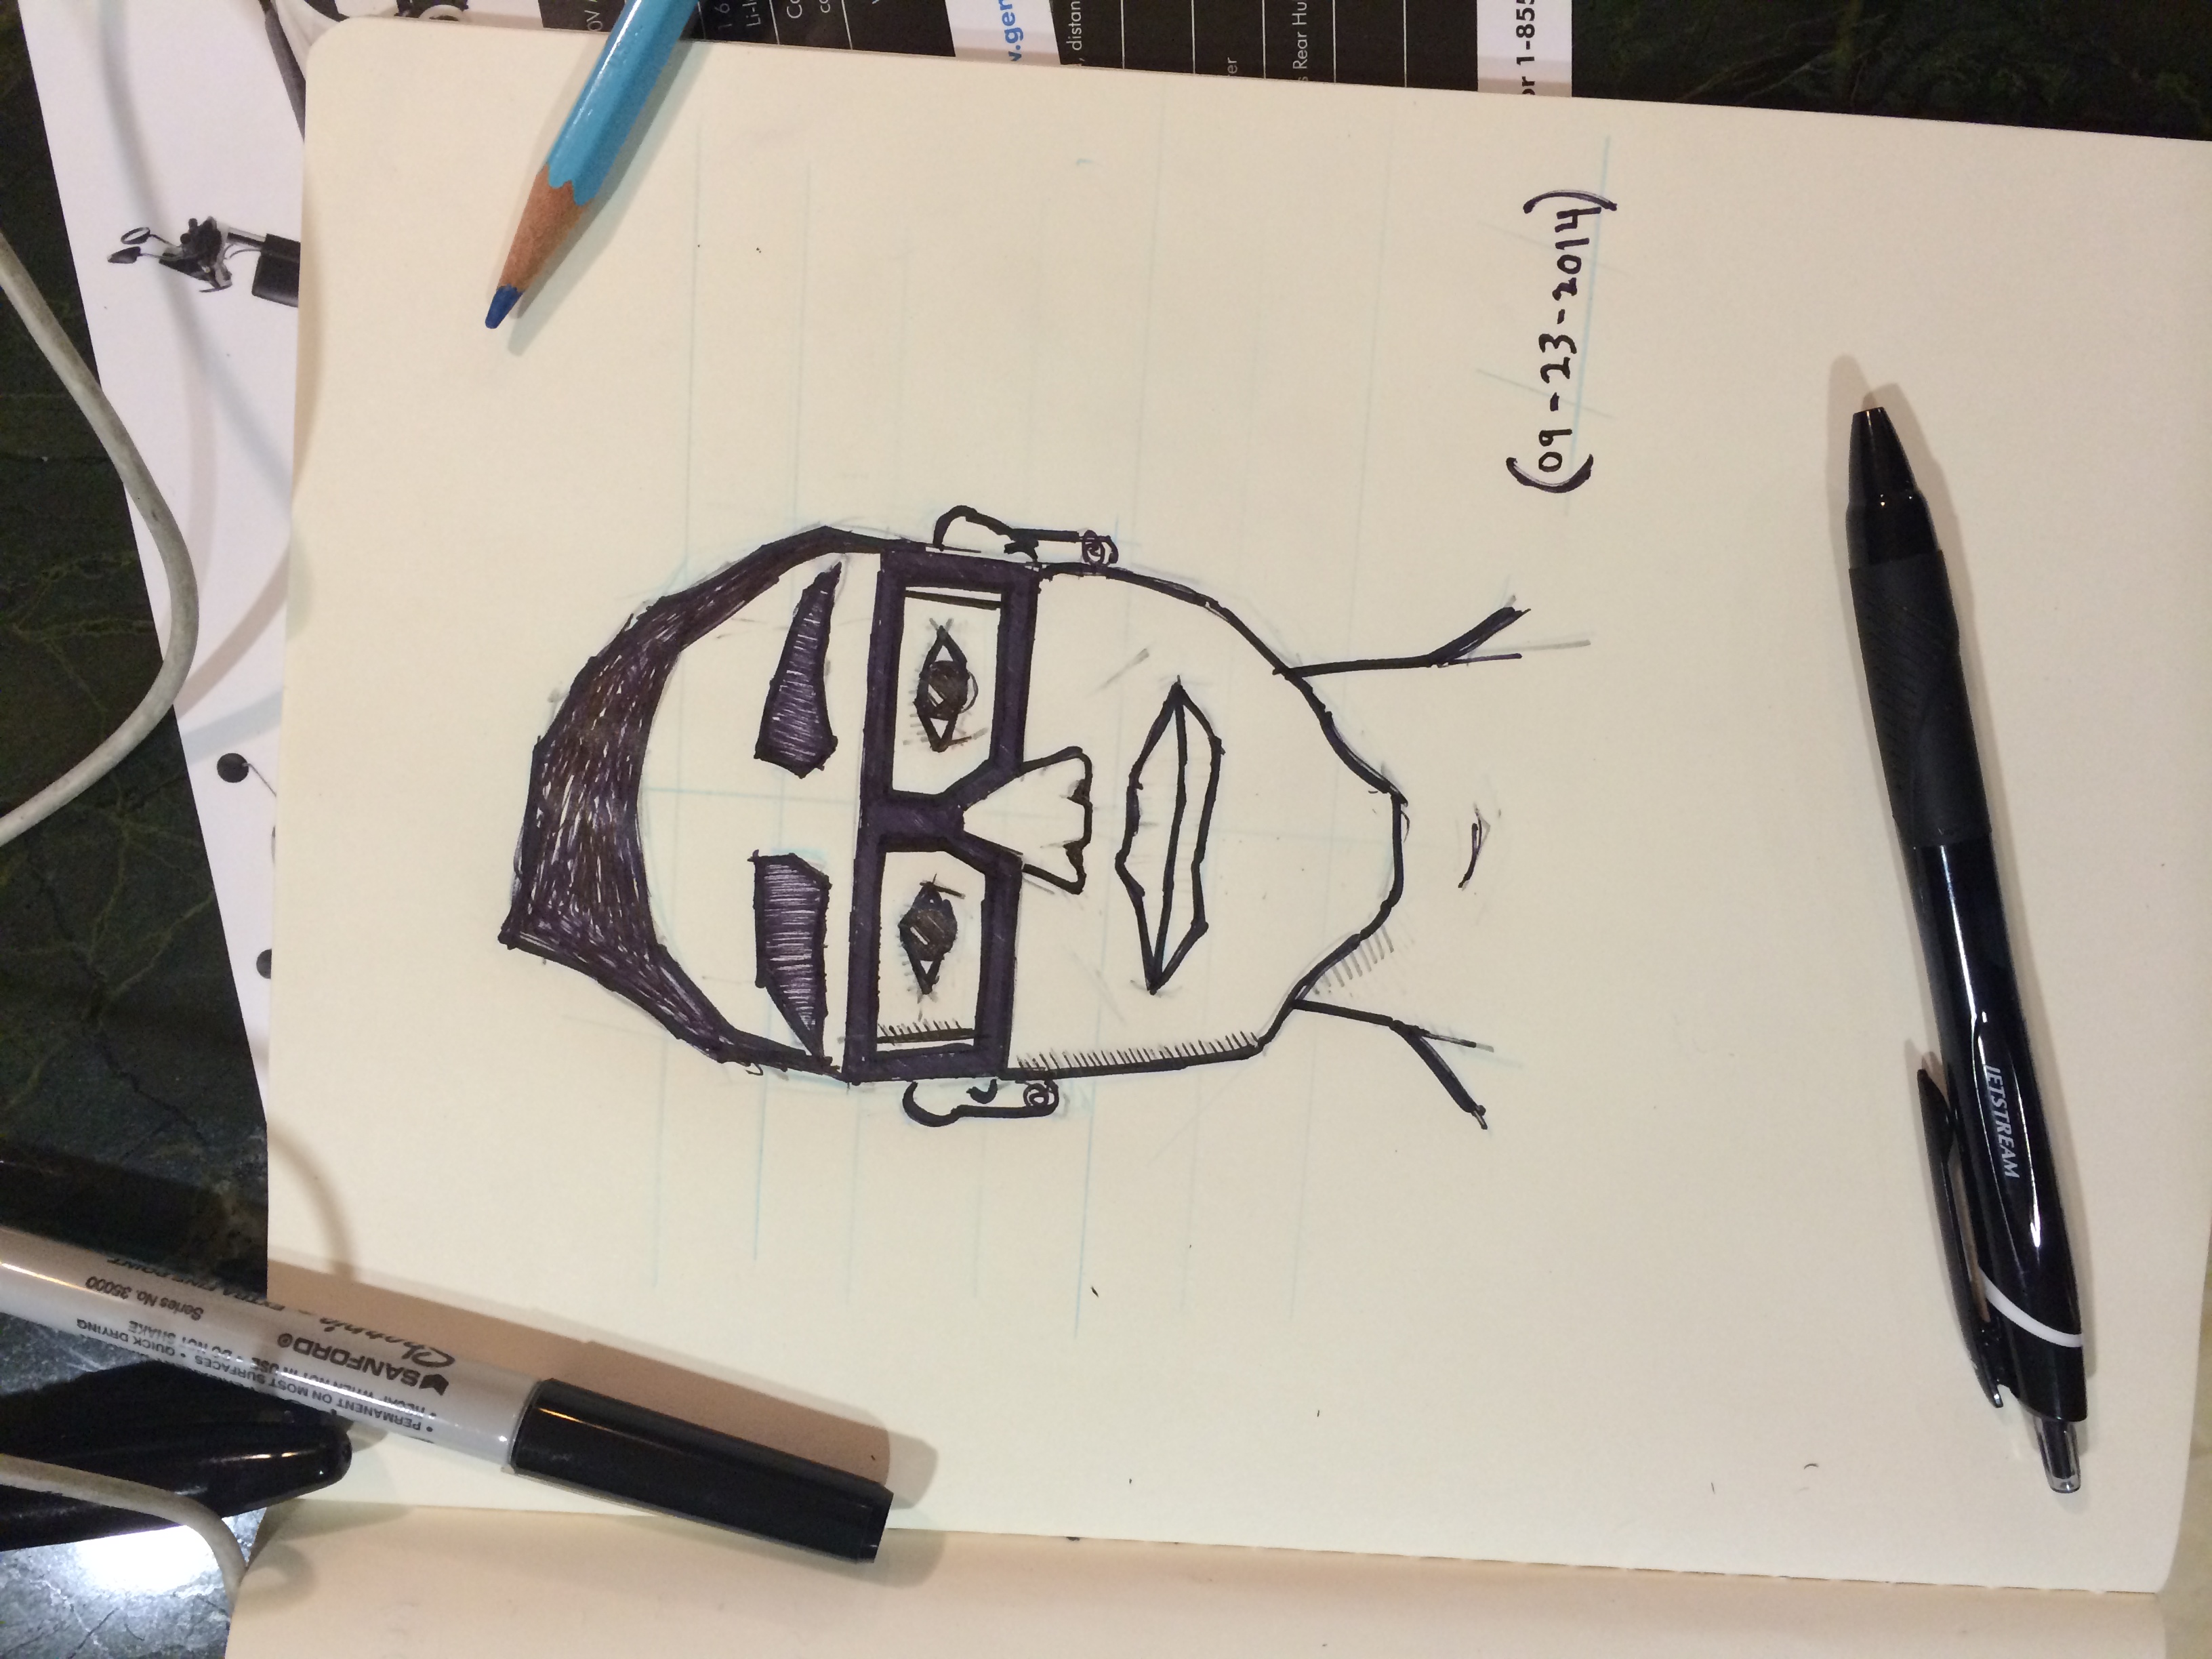
In addition to being a kickass designer and generally delightful human, my friend Heidi has recently been drawing lovely snapshots of people in her life. I was inspired by her work and creativity. I figured I'd start by trying myself out.

Self portrait.
Last of the miniseries, I promise. Dubious Fellow joins his comrades.

Dubious Fellow
Disapproval Dude's friendlier brother, Approval Guy.

Approval Guy
Did a digital doodle on the flight down to Riverside today. I call him "Disapproval Dude".

Disapproval Dude.
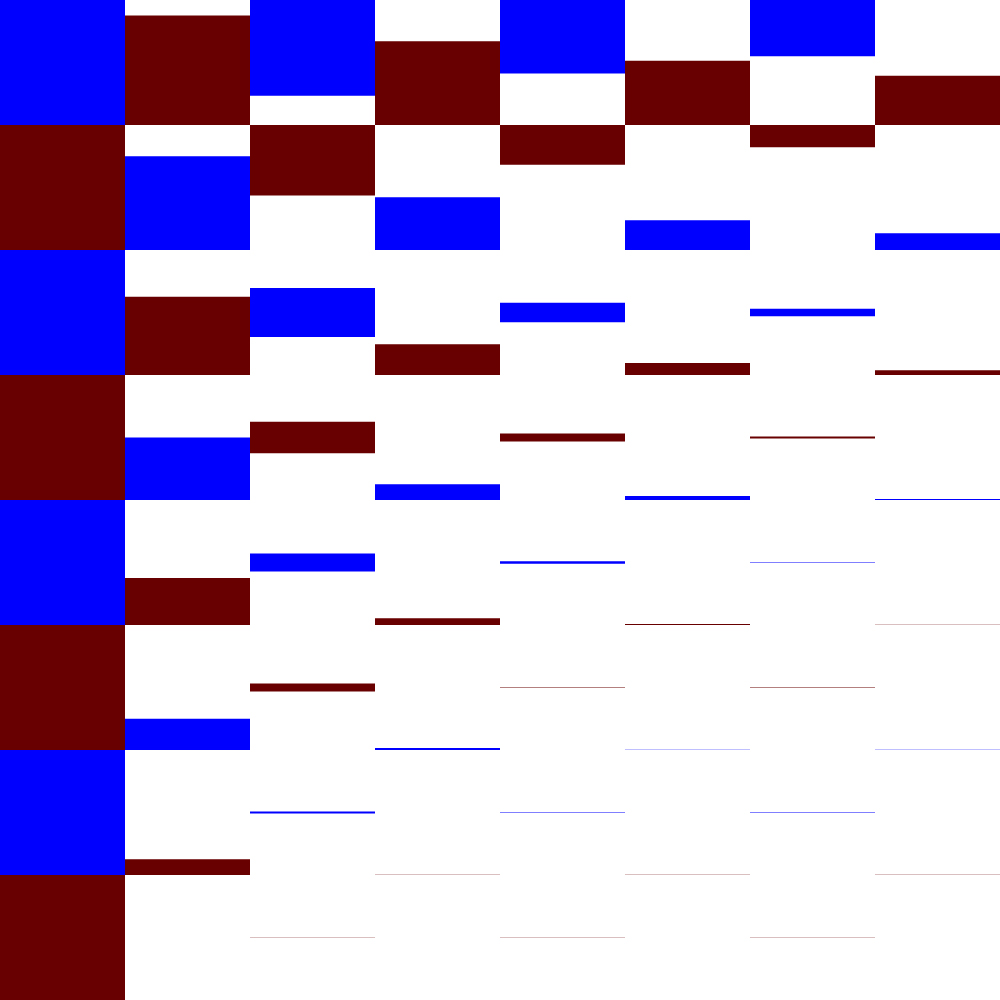
Today's project was another digital exploration loosely in the same vein as #8. I worked with a compounded graphic function again, but this time tried to keep it as simple as possible. Using a photo stitch application (Diptic), I cut/stitched a seed of identical black and white rectangles over and over to form 9 tiles. These tiles - arranged in sequence - compose the final image (below).

The final compound image. Gray border added for ease of viewing.

The starting point. Gray border added for ease of viewing.
The original seed is reproduced on the right. When you load multiple images into Diptic, you can select the stitch layout. I oscillated between vertical panes (as in the seed) and horizontal panes in consecutive iterations. I inserted the previous step's result in one of the two panes and filled the other with either solid black or solid white (also alternating). I did no adjustments and kept the borders constant throughout. My early thought was to deliver the final result as the project, but I realized that the process was much more visually interesting than any one step alone. Instead, I tiled all 9 steps in sequence as the final image.
Until I make more-than-incremental progress on the work table, I figured I'd try to update with something new. It doesn't look like too much, but I sanded and reconditioned our kitchen prep table. I didn't have a power sander and took a good stab at this with a 100 grit sanding block... and now have researched random orbital sanders for about 2 hours. I think this will need a revisit, but it felt good to do a little more home improvement.

Sprucing up the kitchen prep table.
I think I'm done with the work table CAD. I still need to make drawings for each piece that I'm going to fabricate. I'd also like to laser-cut some hole marking jigs to facilitate my layout and build. Added in the casters and bumpers and hid the tabletop to show the leg truss assemblies. I won't have a chance to get in the shop until middle of next week, so this might have to shift to the back burner for a few days.

Work table CAD progress++