Some Thoughts on the 🍉 Tee and Hoodie

Edited on 6 April 2024 to add the crewneck sweatshirt.

I’ve personally struggled to figure out how to share my support for Palestinian liberation beyond the feeling of “screaming into a void” of social media. I had seen the 🍉 emoji gain a lot of visibility online as a symbol of alliance and solidarity with the Palestinian people (in case you don’t know, this is because the colors in the watermelon = the colors in the Palestinian flag. More context here.). I realized I wanted to raise money for Palestine while also being able to help others represent what they stood for.

I designed two three pieces of apparel:

Production on demand means that this can scale without additional input from my end. Feel free to share this as broadly as you want to. I’m selling both of these on my webshop. I’m donating 100% of profits to PCRF (Palestine Children’s Relief Fund). I picked PCRF because it felt like a charity that was unlikely to be contentious among people who may want to support this fundraiser. It also has a 4 star rating on Charity Navigator.

For the month of December, I’m personally matching all profits (donations). At the time of writing this note, two friends have stepped up to match these donations as well. We’ll probably have to put a cap on the donation match if for some reason things really take off. I will not be writing off any of the donation amount against my taxes. 

3D Printed TPU Scale Cover

I recently switched to brewing pourover coffee instead of Aeropress / French Press. My scale was throwing all sorts of weird readings when I was brewing, and it took me a while to realize that the thin wall glass carafe full of hot coffee was transferring enough heat to wreak havoc on the sensor in the scale. I considered making a mold to make a silicone heat shield before realizing that I could probably get a good enough result by printing the final part itself in TPU. I turned off top and bottom solid layers to reveal the infill as an interesting visual element (this isn’t my own cleverness; I’ve seen it done before). So far, it seems like this part has solved the problem!

Rational Diffusion - SFMoMA Scrappy Chair Design Challenge

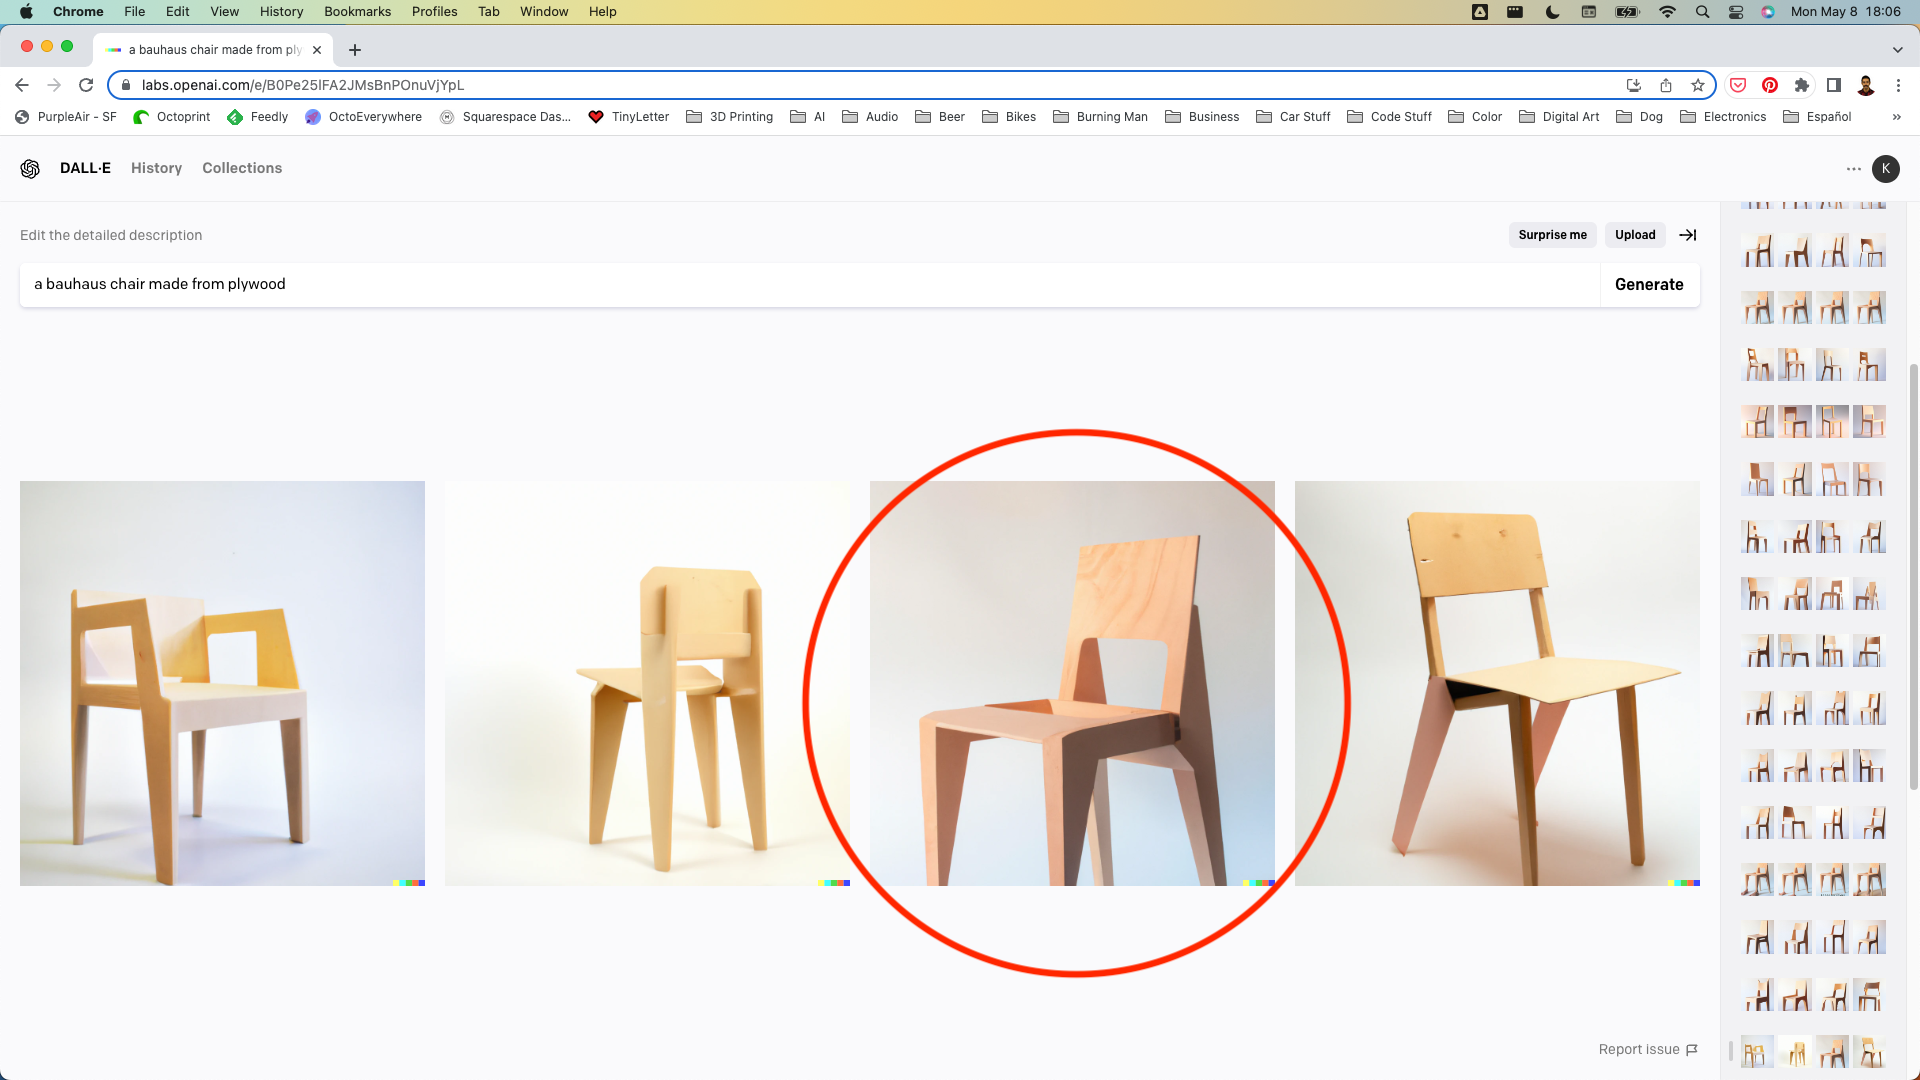
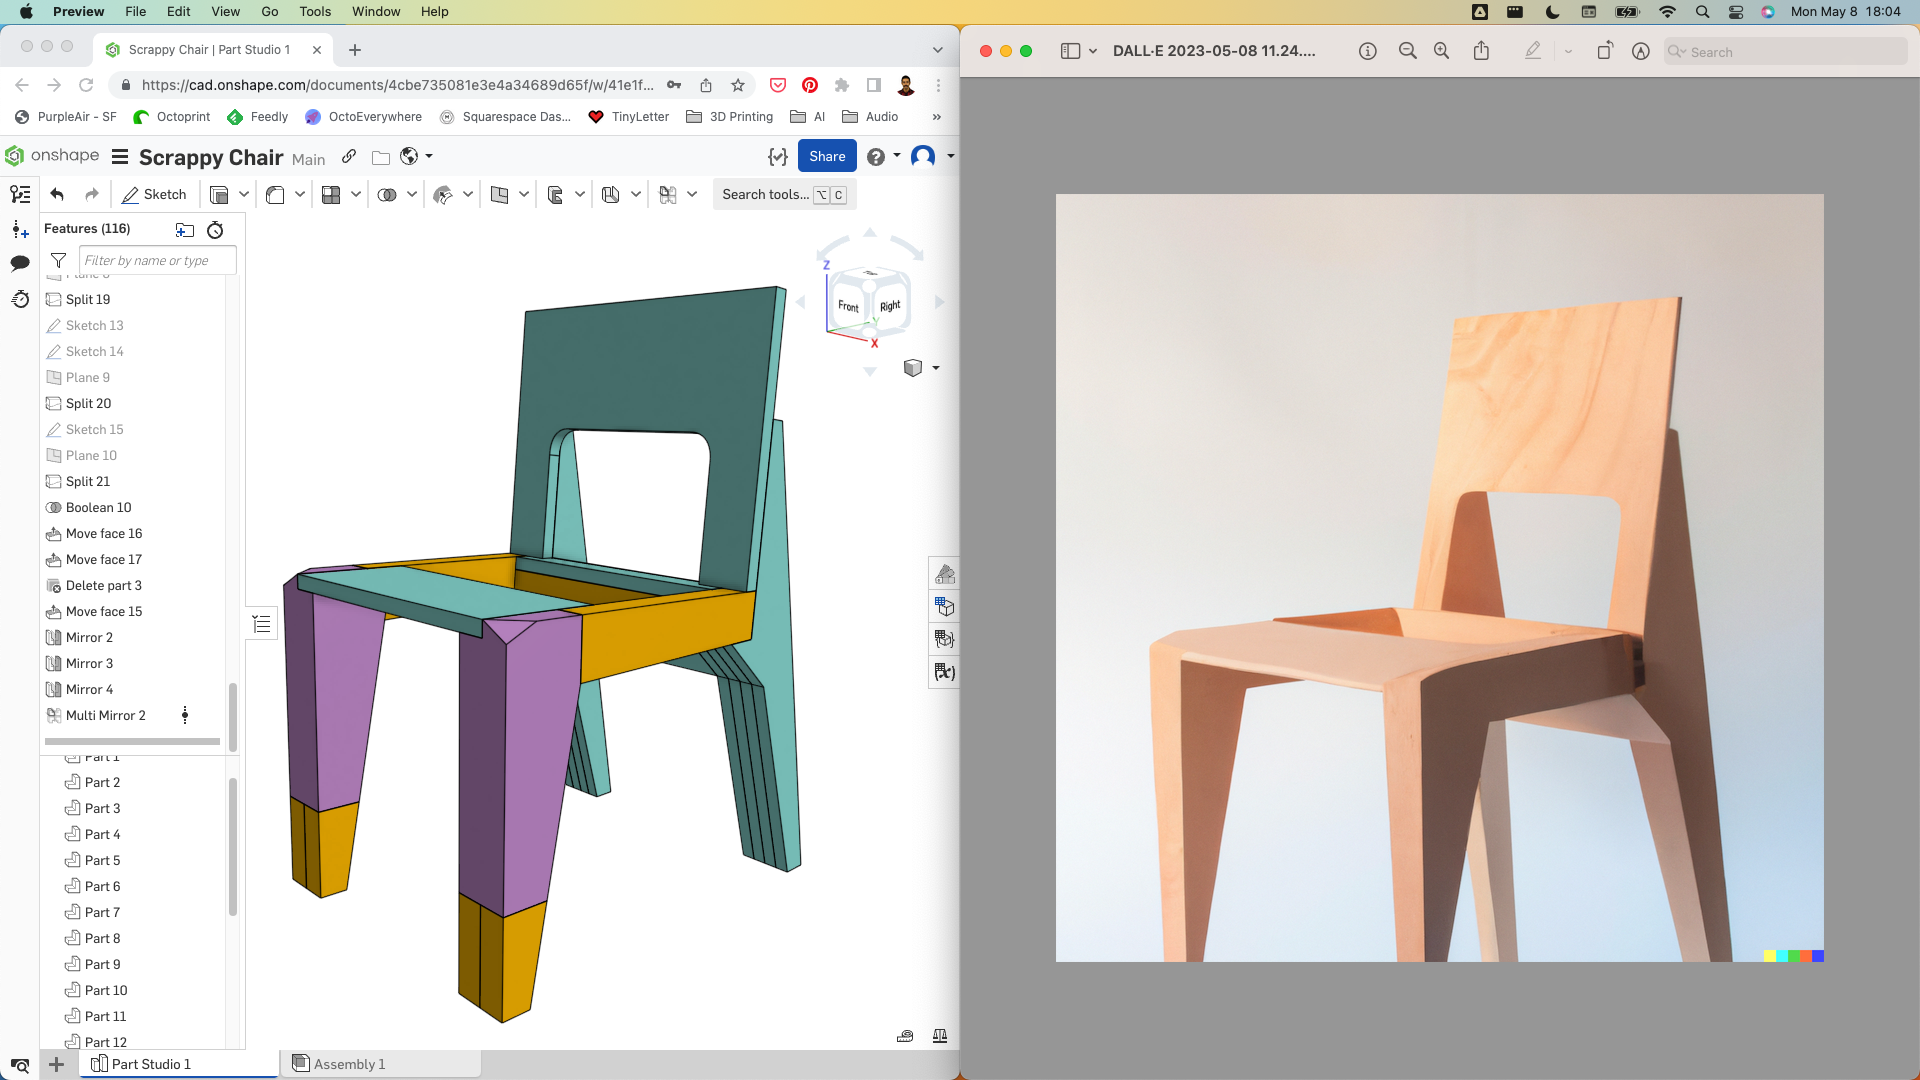
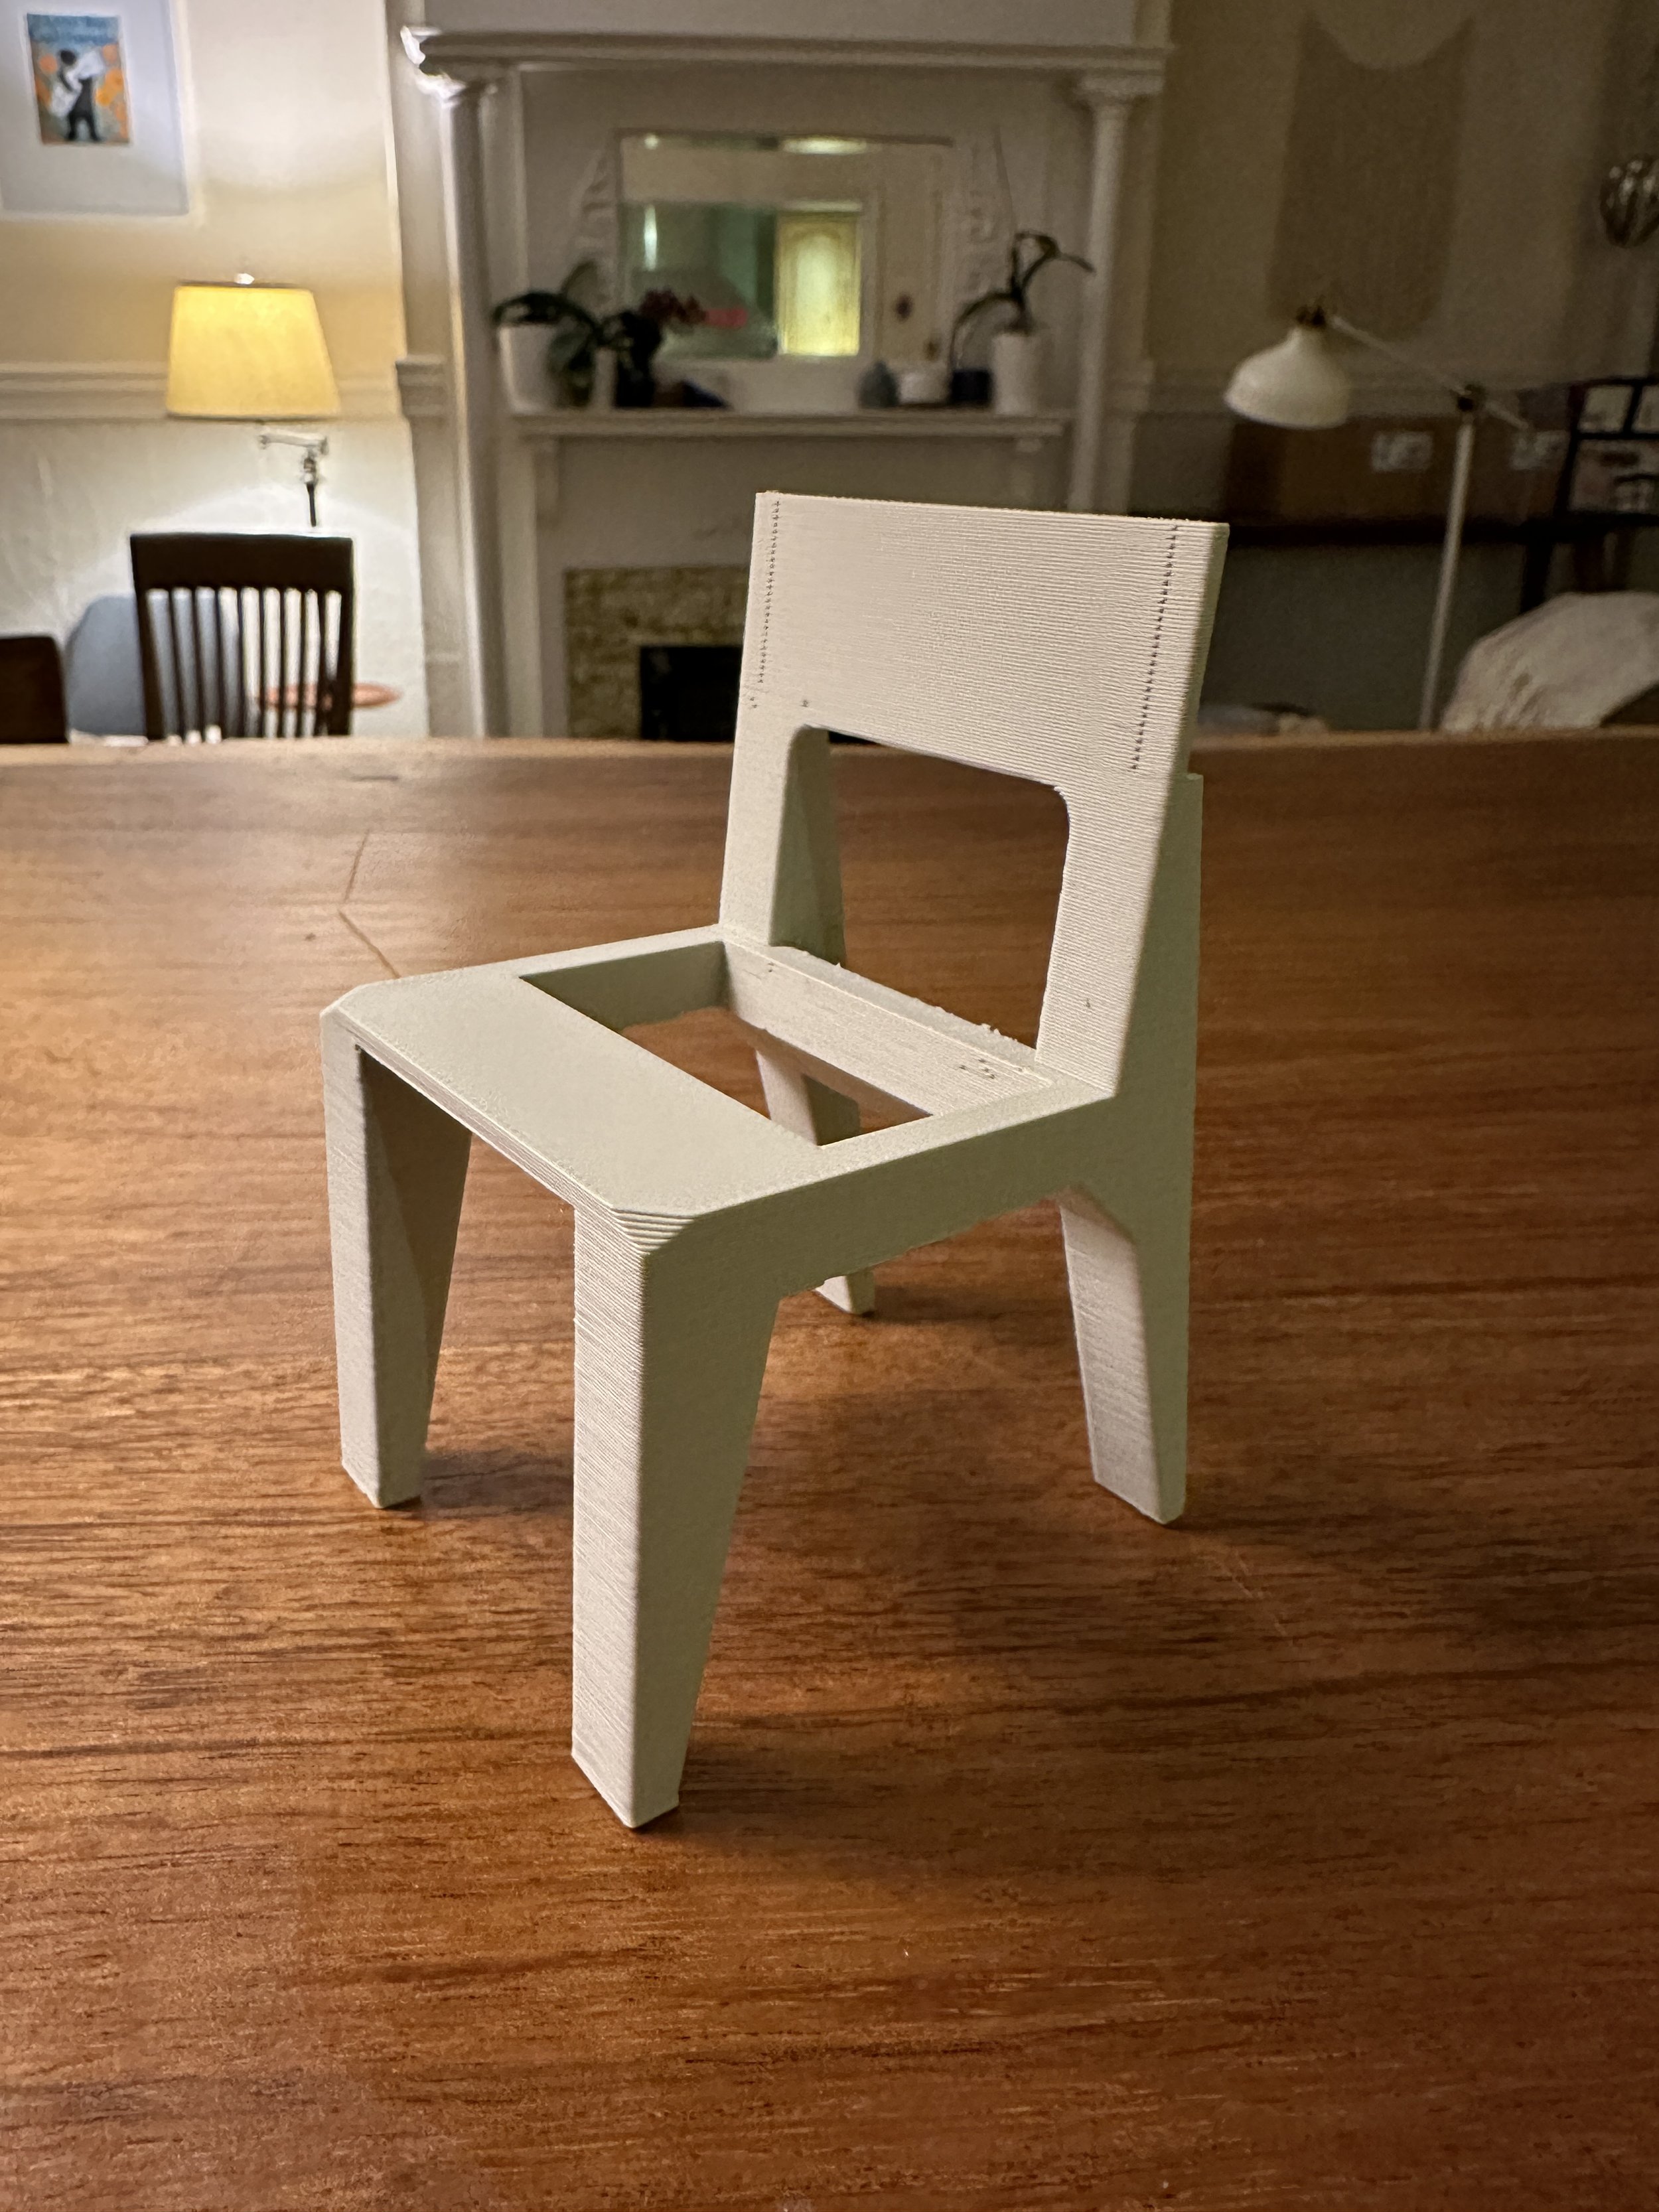
Earlier this month, I participated in a design challenge hosted by the SFMoMA. My submission wasn’t selected as a finalist, but I learned quite a lot and had a chance to further practice my use of generative AI tools as part of my product design prototyping process. I’ve shared quite a lot more over on the project page.

Prusa + Raspberry Pi

I set up Octoprint to help run my Prusa MK3S a few months ago. It’s pretty great, and I’m astonished at how well supported an open source project can be. I got my Raspberry Pi all set up pretty quickly (after a very frustrating several hours having inexplicable failures trying to flash an SD card from my Lenovo laptop… worked first try when I used a Mac instead…). I left the Pi over on the edge of the 3D printer area since I didn’t have a better solution at the time.

I came across this design for a nicely integrated mount that attaches the Raspberry Pi directly to the Prusa frame. I thought it was clever that the design utilizes an off-the-shelf passive heatsink case to prevent the Raspberry Pi from overheating. My buddy Michael printed the orange bit for me in ABS since I only print PLA and PETG at home right now (since the printer is all up in our living room). I had to modify the part a little since it’s designed for a Model 4 and I’m using a 3B, but we’re up and running! It’s way cleaner than before.

I’m regularly impressed by the high quality designs and documentation from makers/tinkerers/creators on the internet. The internet can be pretty rad some times.

DIY Thermoforming

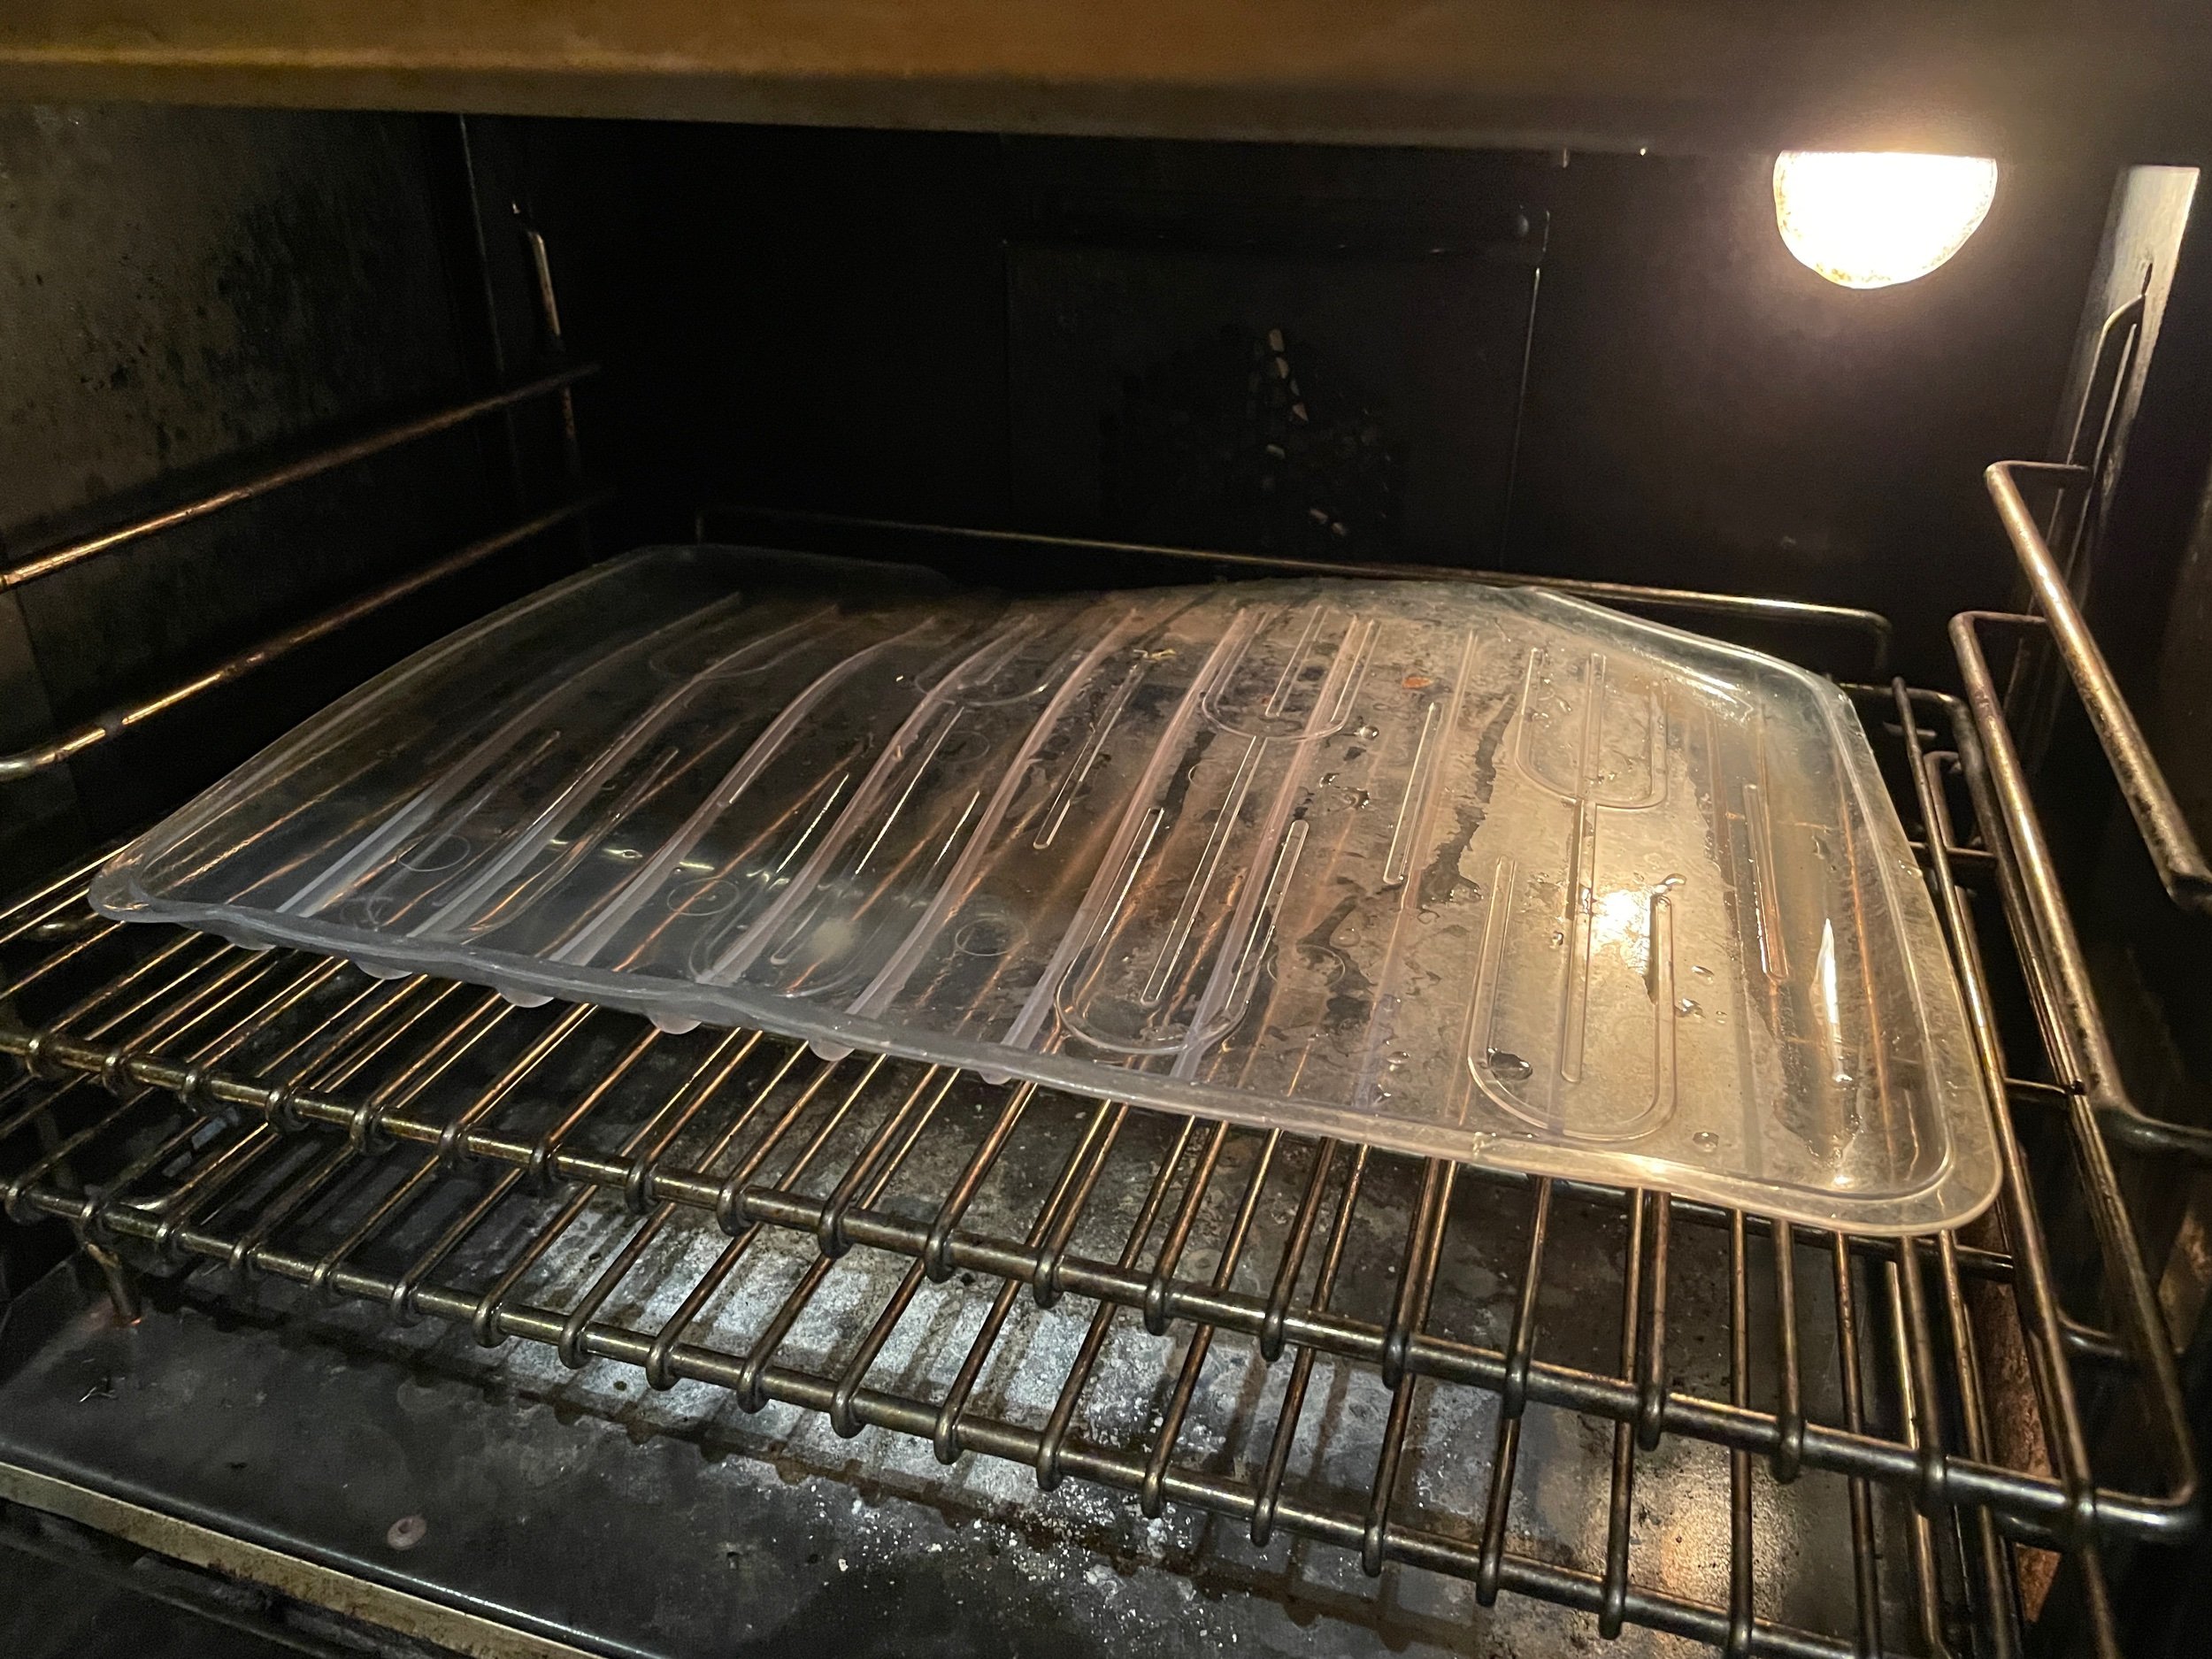
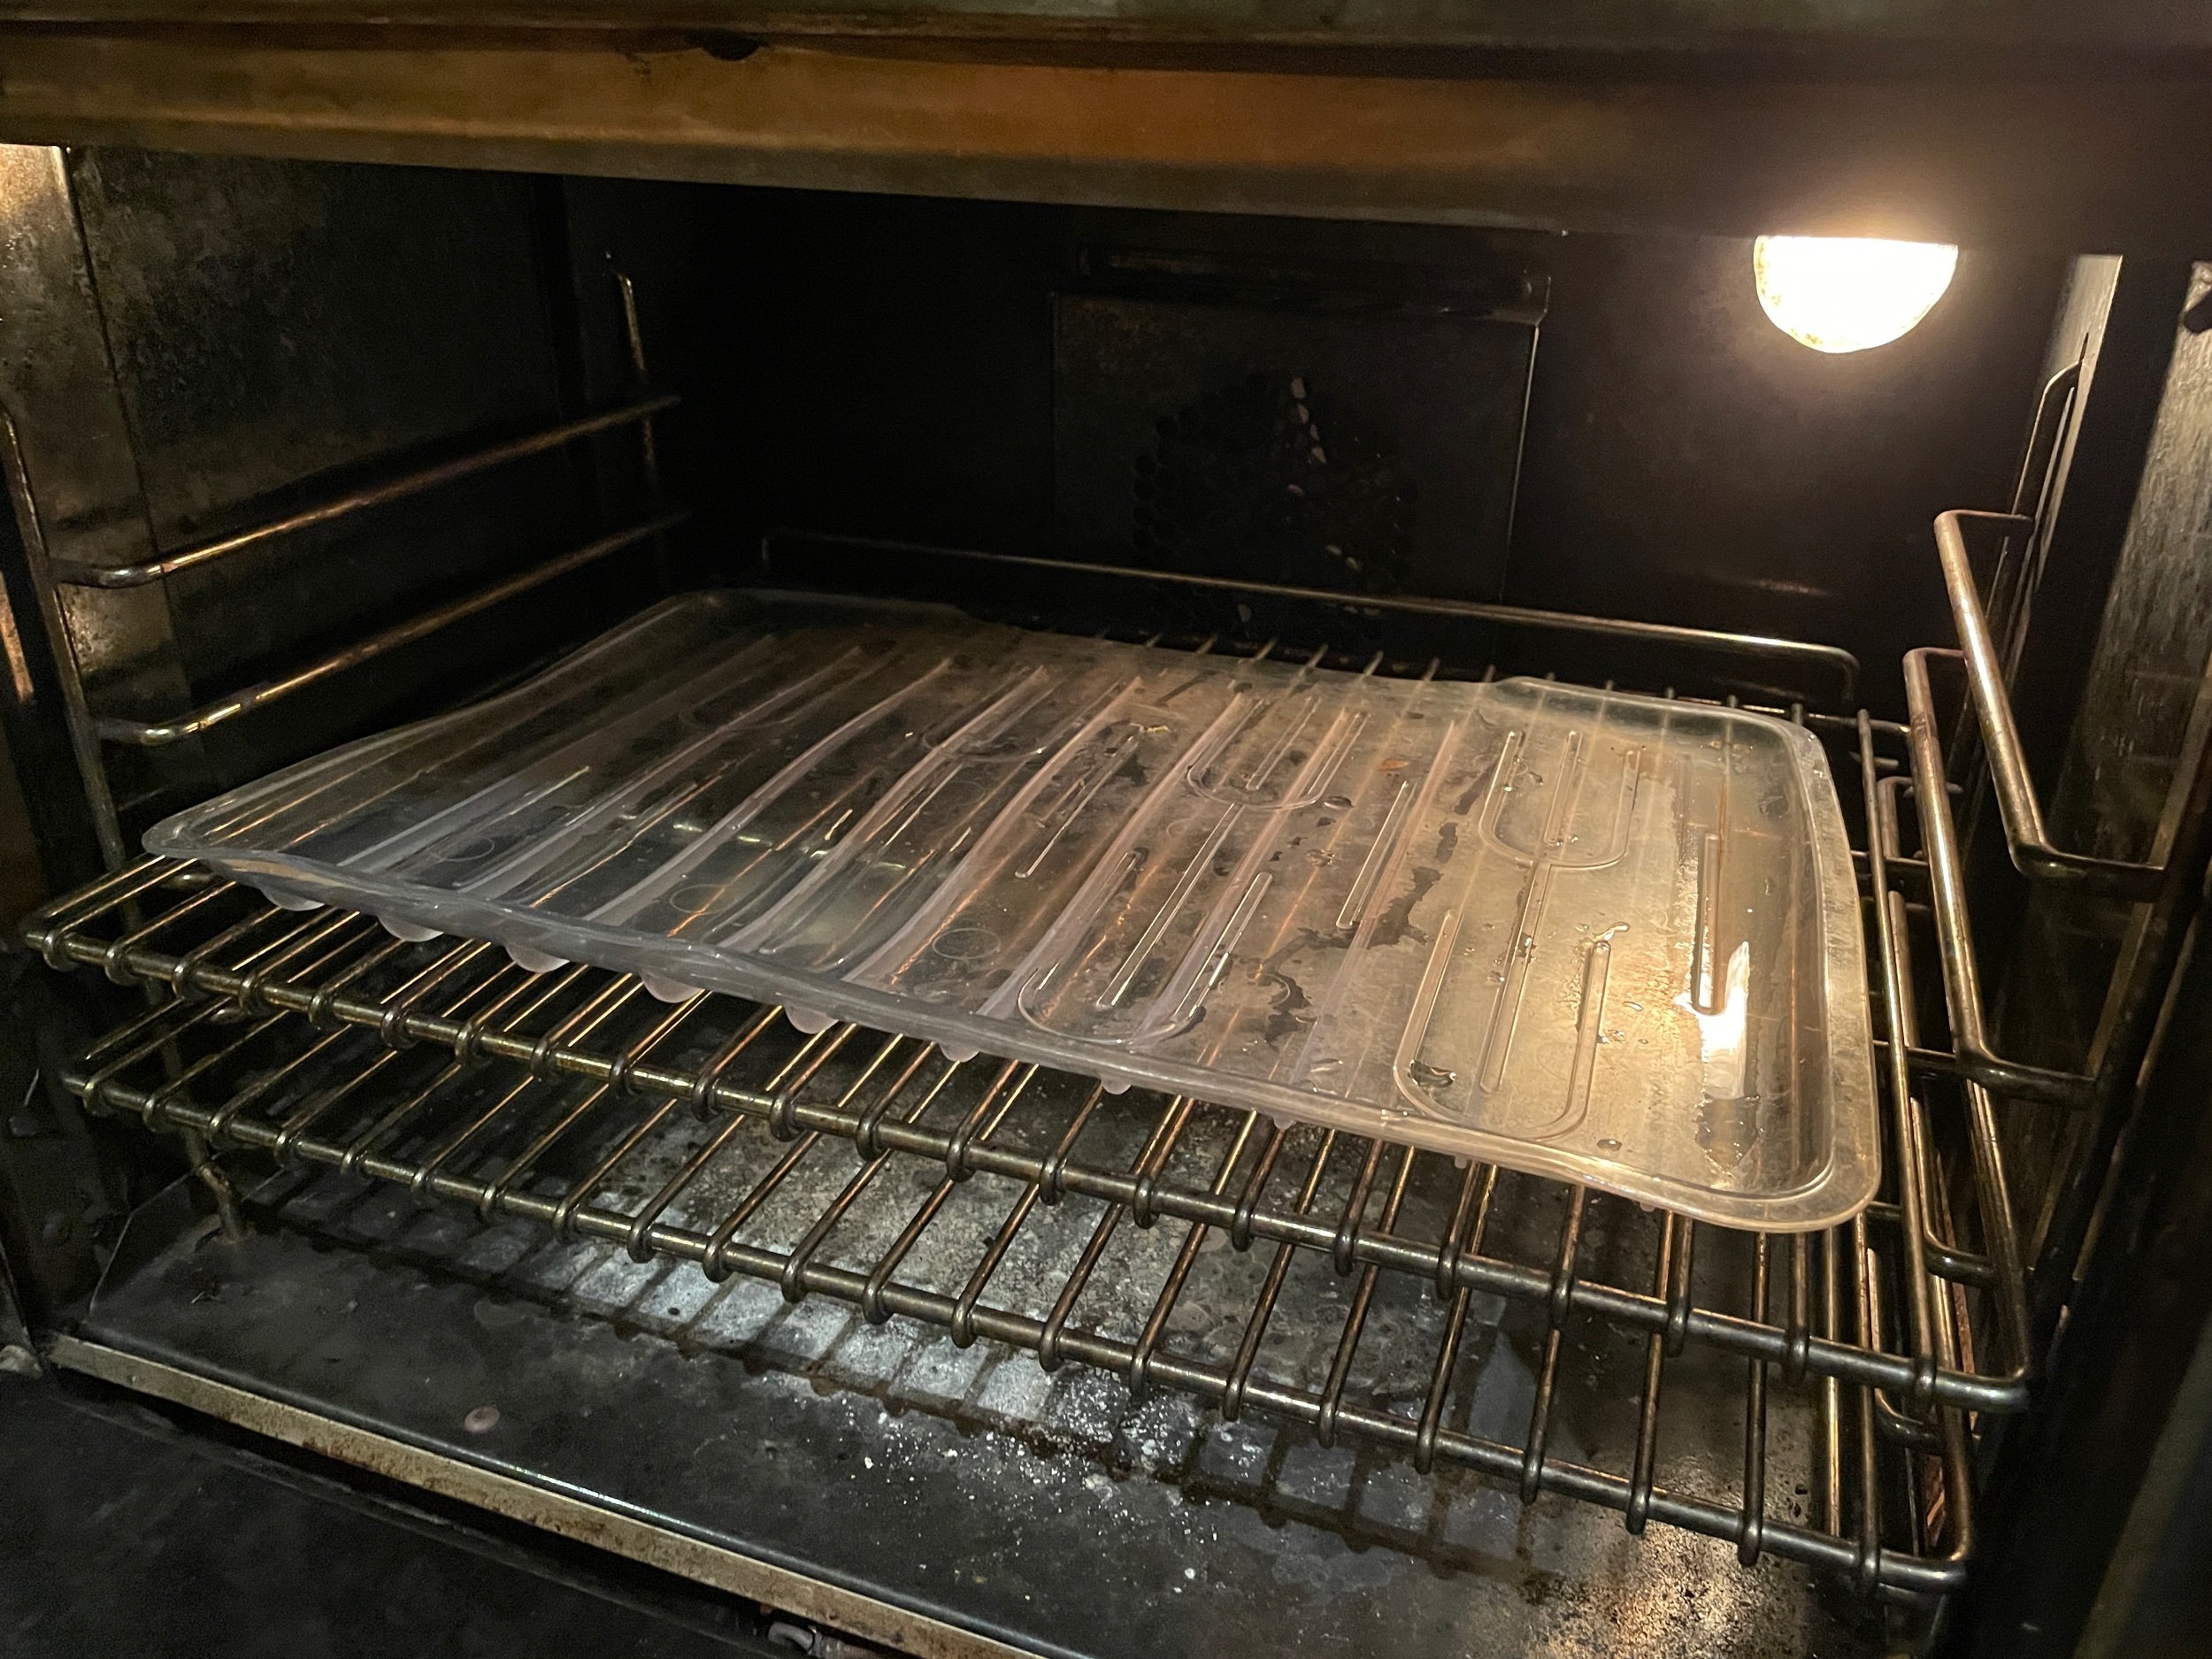
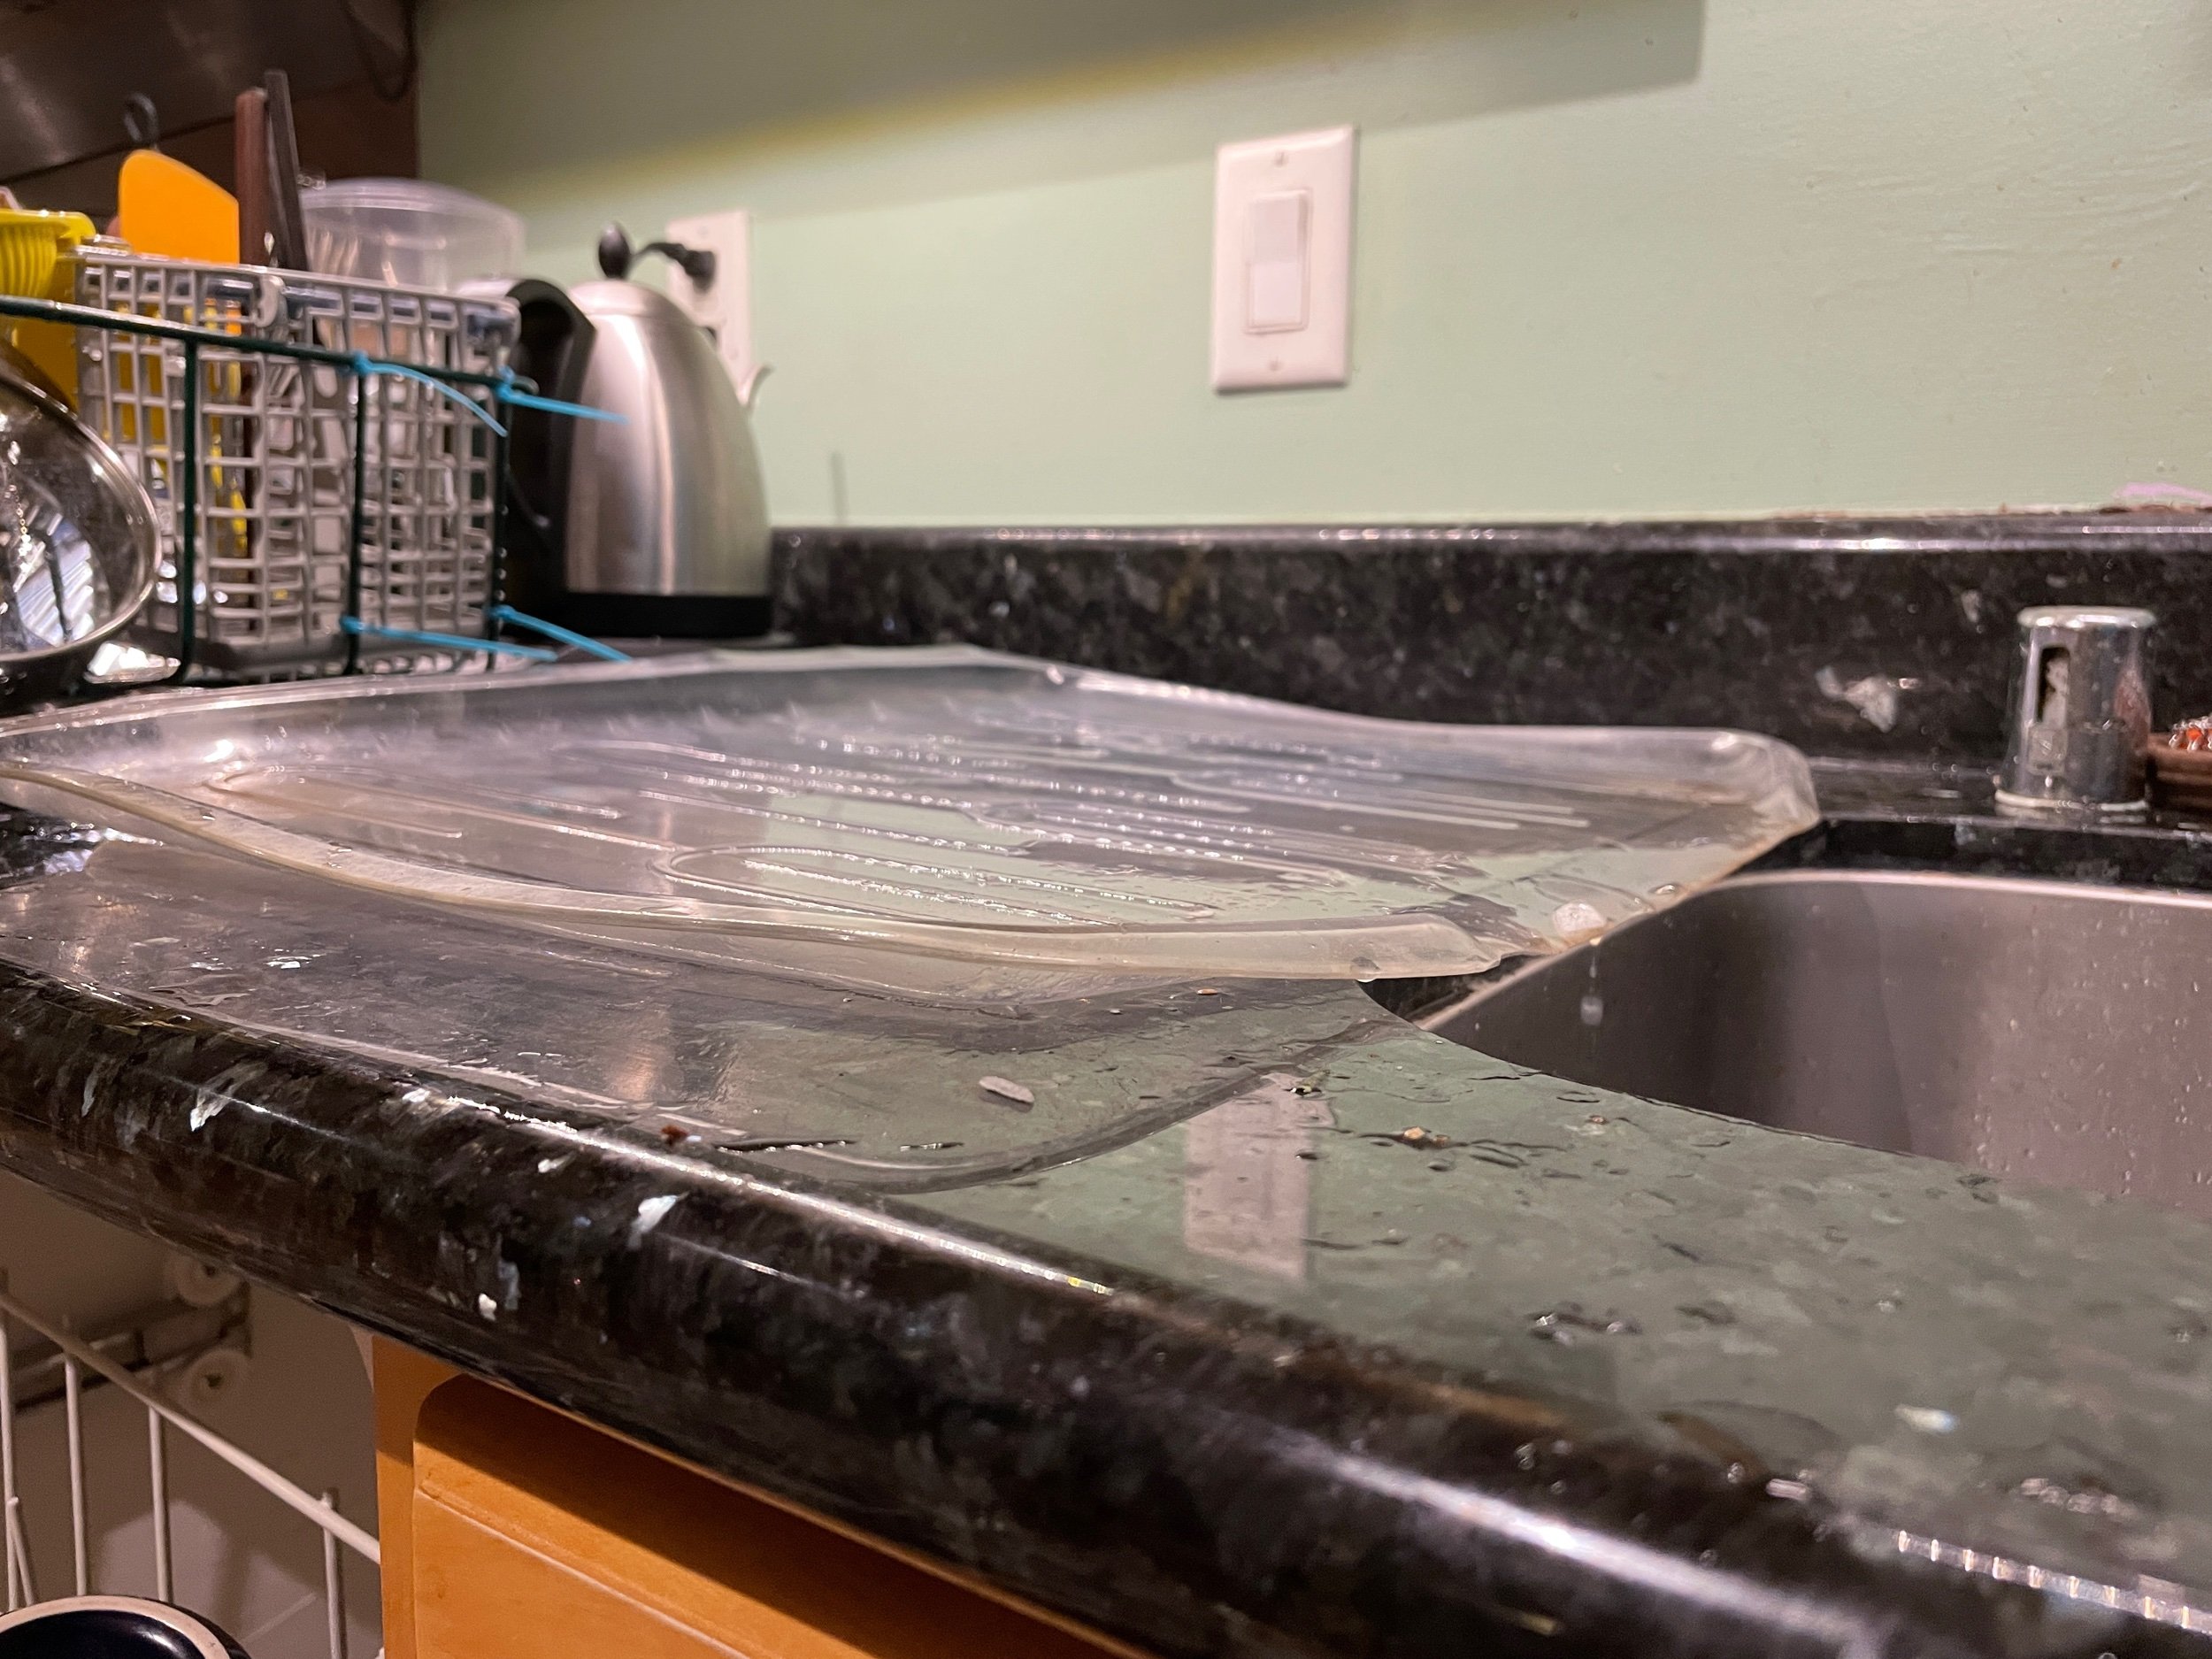
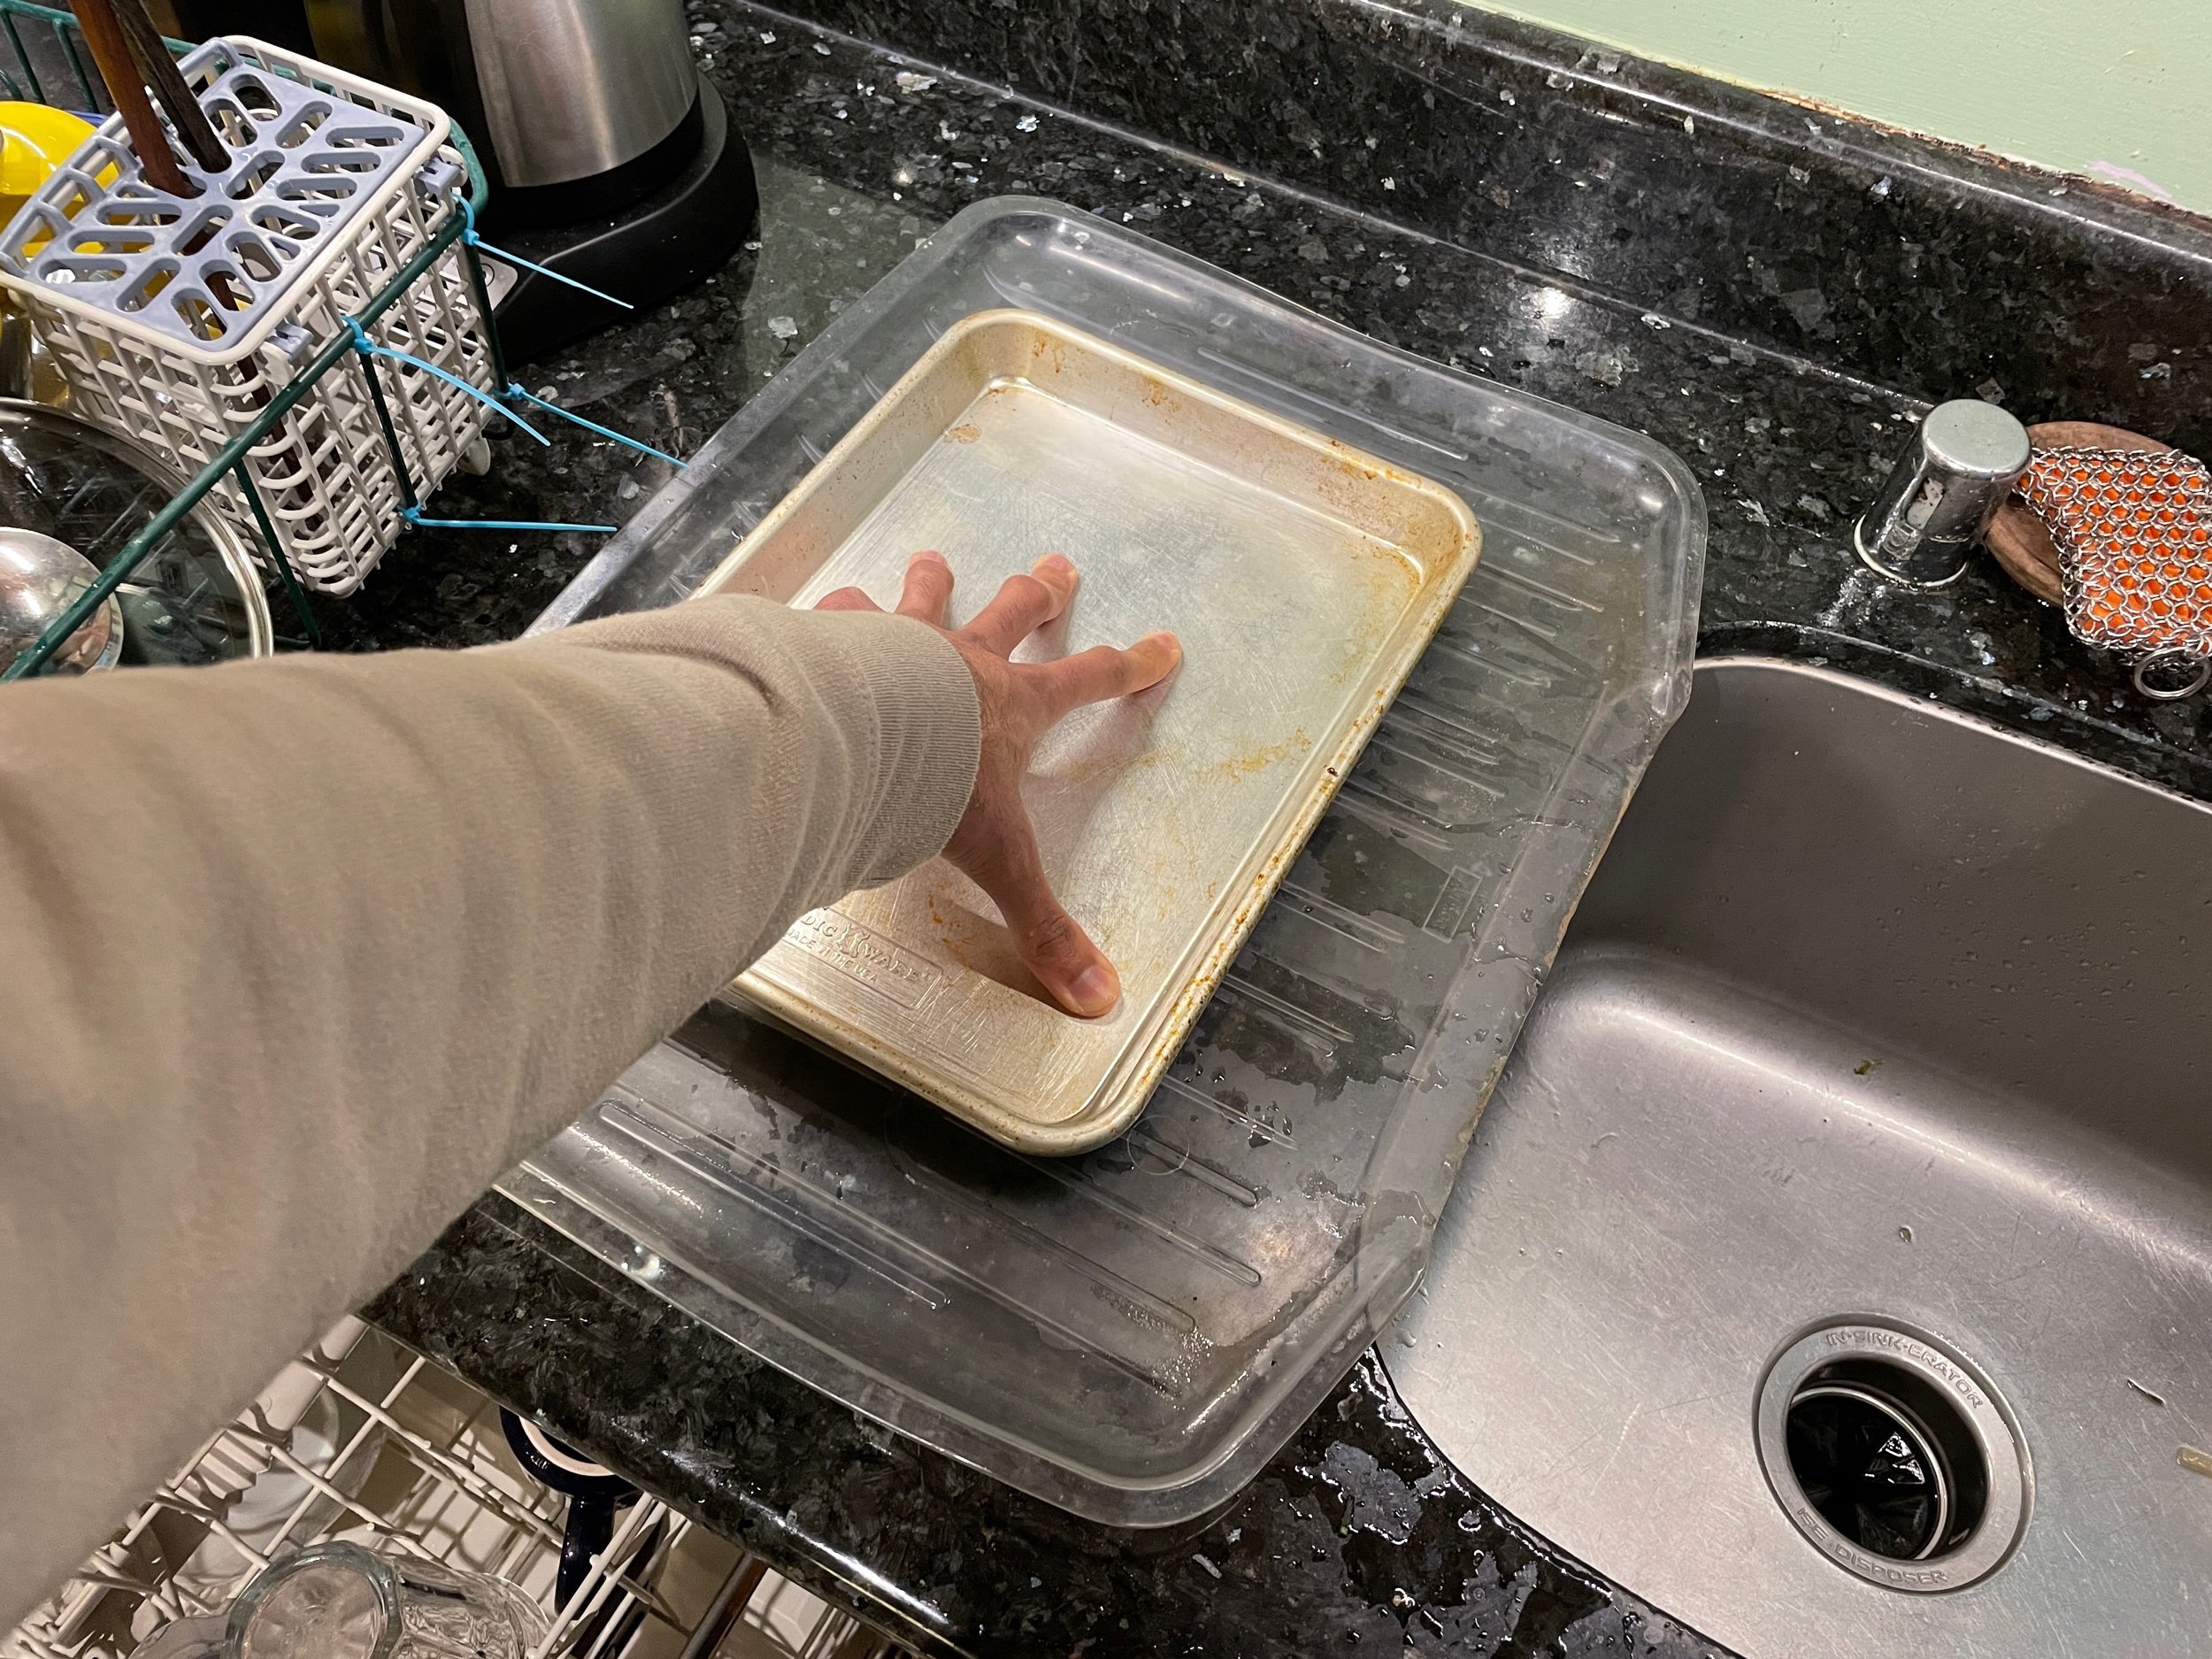
The dish rack drip tray got warped when we put it through the dishwasher (note to self, don’t put this in the dishwasher again). Did a little DIY thermoforming (250F oven + planar press with a baking sheet) and it’s back in action!


Undercabinet Lighting

3 years ago, I stuck some cheap Amazon undercabinet lights in place in my kitchen and called it a day. They would annoyingly auto-dim sometimes, but they were never quite annoying enough to upgrade. One of the lights finally fell off, and I took that as an opportunity to spend a little energy solving the problem a bit better than before.

Custom 3D printed friction pivot to adjust the angle of the light just so.

I originally tried to use some 10 year old waterproof LED strips my friend gifted me, but I couldn’t peel off the aged waterproof plastic layer without shredding the underlying LED strip. I bought some new warm white LED strips and aluminum extrusion and made a few perfectly sized light modules. I also designed and 3D printed some custom friction pivots so that I could adjust the angle of the lighting after installation. It took a bit longer than planned to get all the wiring done since I decided to solder in a bunch of connectors to make the finished installation easier to service. The whole setup is plugged into a WeMo outlet for hands-free control. I’m pretty happy with the result!


In case anybody out there wants to build something similar, here’s a few more specifics:

  • This is the LED strip I sourced. It’s a little less bright than I’d like, but it gets the job done. The color temperature is nice. Not too warm but not too surgical either.

  • I purchased these aluminum extrusions to turn the LED strips into discrete rigid modules. The aluminum is also a good heat sink (even though these strips don’t heat up that much). I was originally excited about utilizing the included diffusers, but they made the lights a bit too dim for my taste. The illumination is pretty consistent even without the diffusers.

  • This is the power supply I used. It seems to work fine for powering about 1.5m of LEDs.

  • These solderless LED strip connectors are quite nice and save you the headache of soldering to a tiny little pad on a thin strip.

  • I also used these JST connectors in between light modules so that the installation would be serviceable. I don’t love that they’re 22 AWG since this is thinner than everything else in the circuit, but I think it’s technically fine for the current needed for this application.

  • This box of assorted wood screws seemed like a high-value assortment to keep on hand for random home projects. I used the #4 x 1/2” screws to attach my printed pivot mounts to the underside of the cabinets.

  • This WeMo plug seems totally adequate so far!

  • Here’s the STL (multibody) for the pivot mount.

  • Here’s the PrusaSlicer 3MF for a pair of mounts (1 pair is needed per “light module”). You can see how the pivot piece is designed for minimal supports. The suggested supports come off super easily.

PrusaSlicer support detail

Headphone Desk Hanger

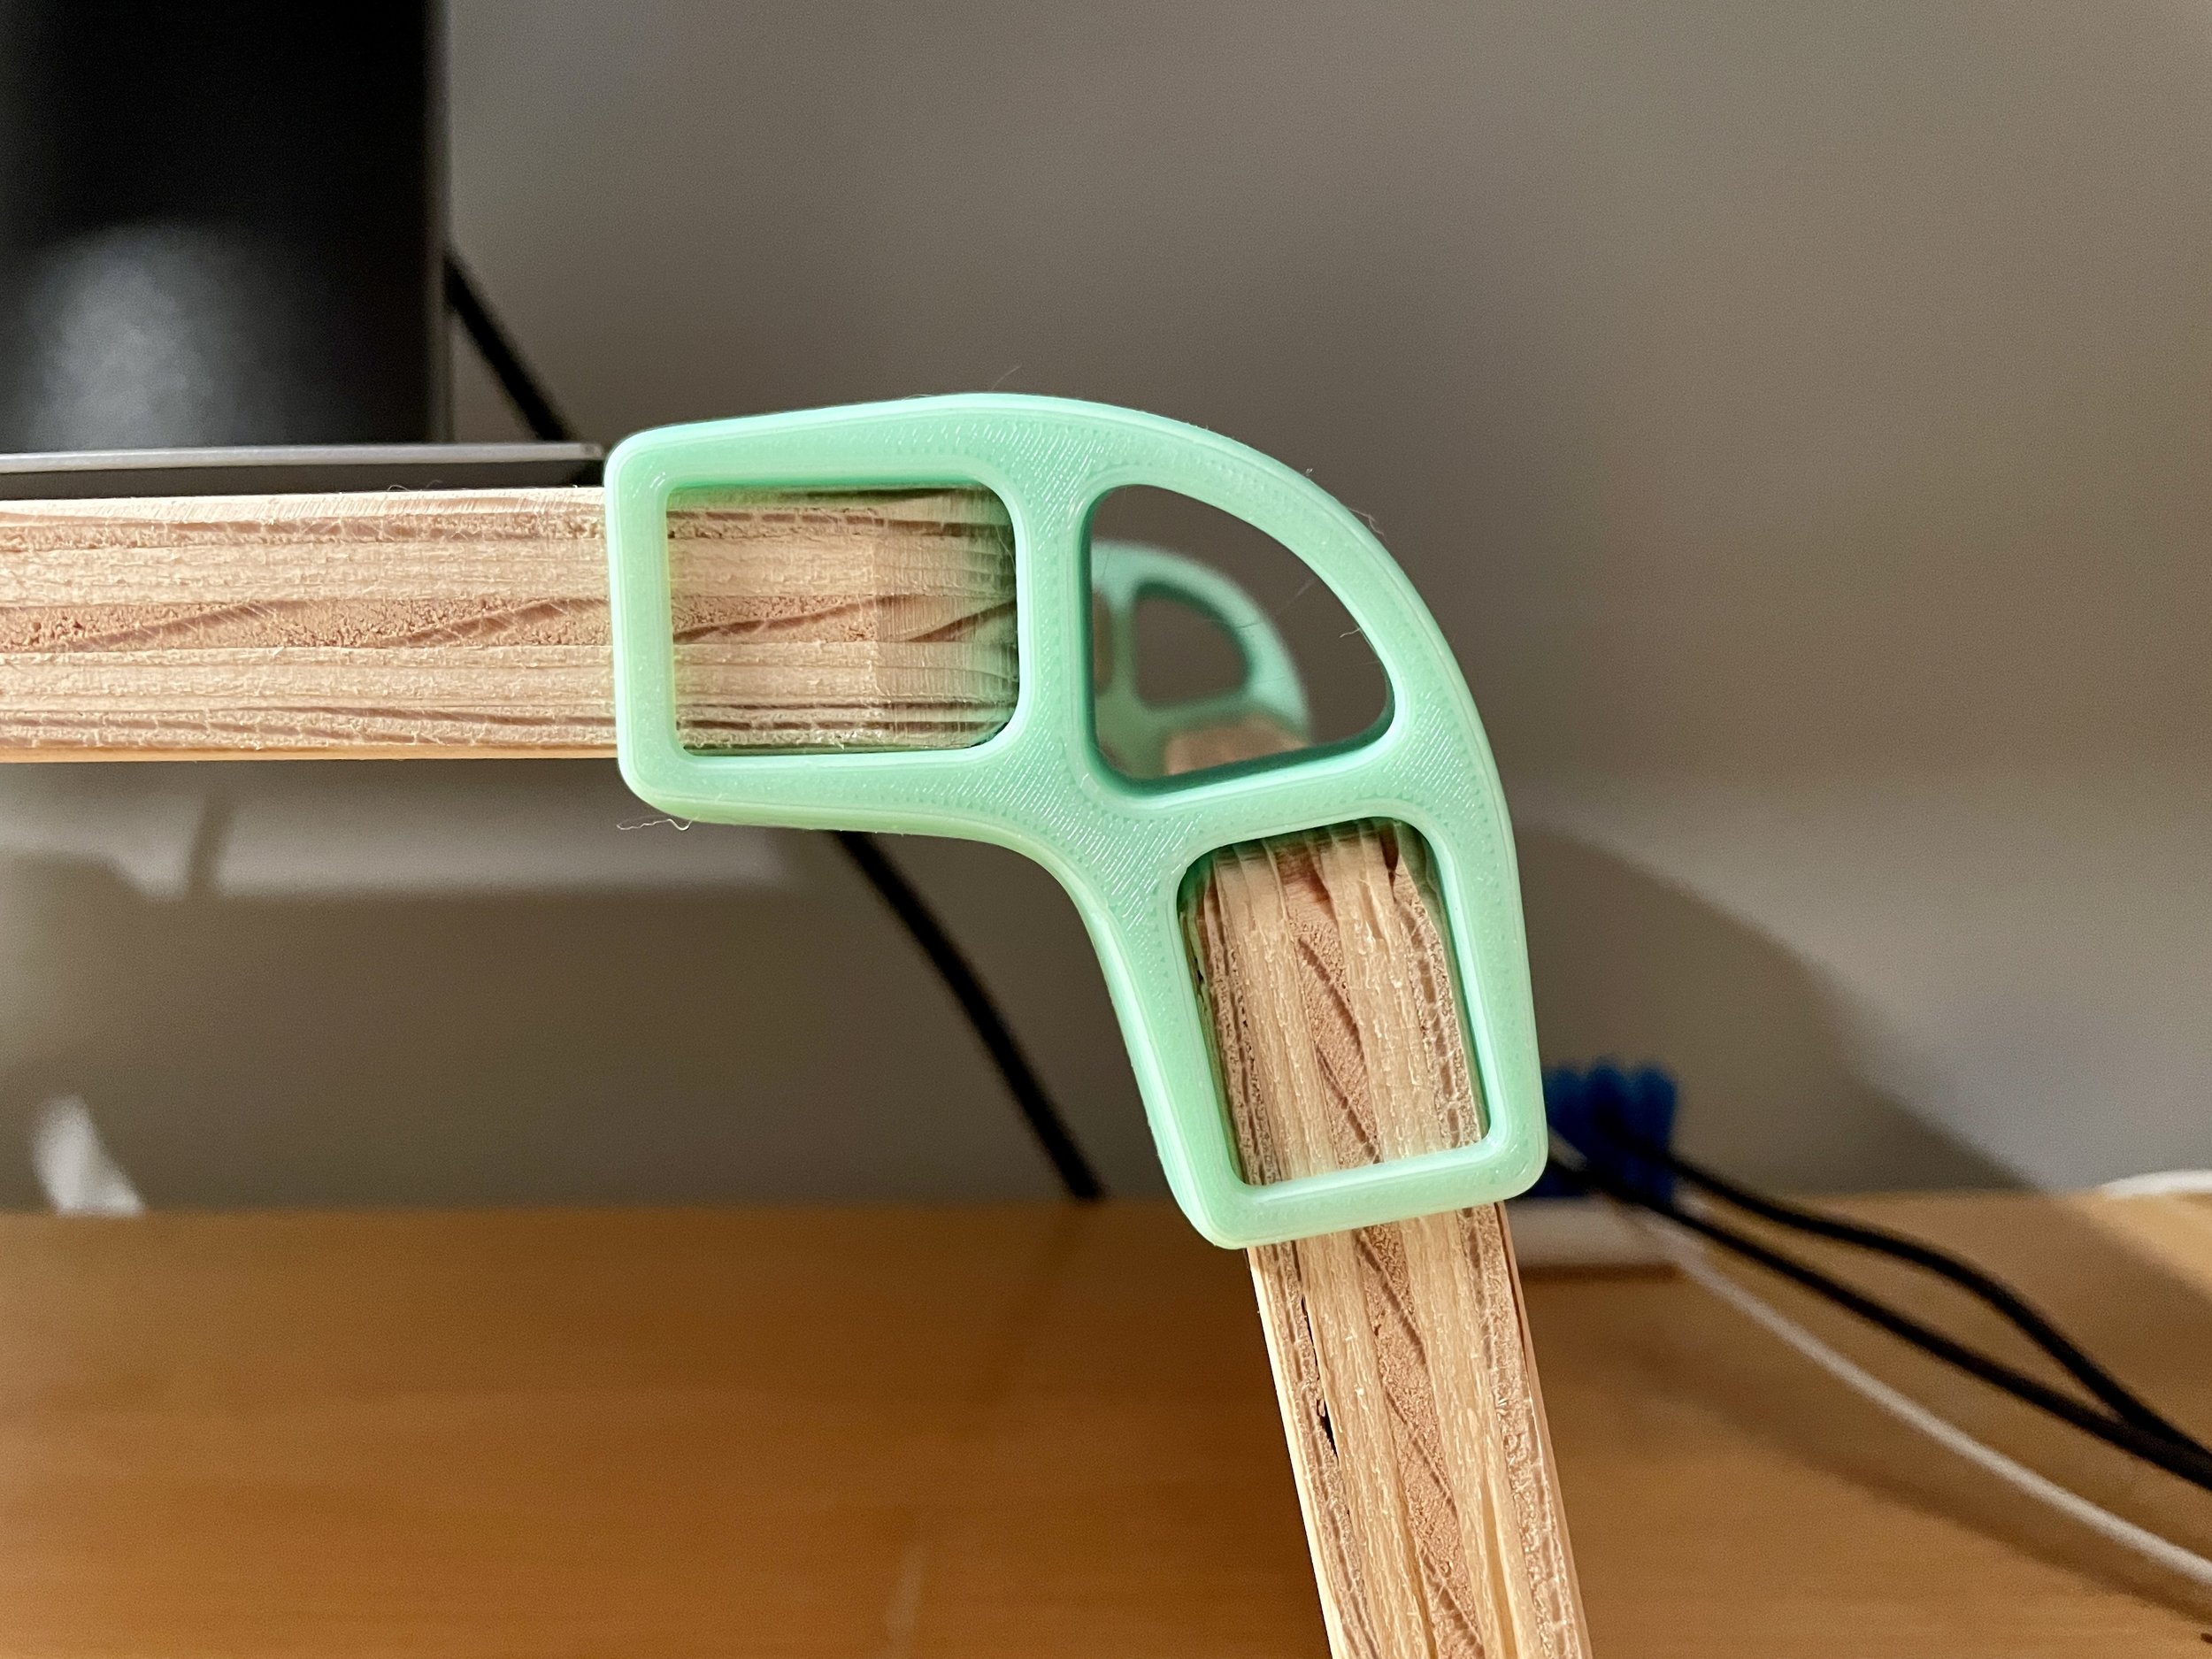
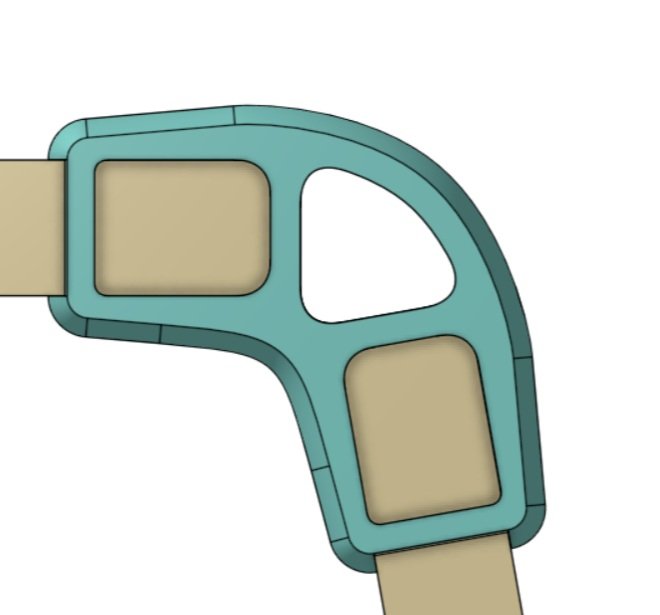
One of the first things I designed to print on my Prusa was a little headphone hanger for the corner of my desk. It was chunky and basic but I really wanted to get my desk organized. I’ve used it for a year now. While it works, it’s pretty unrefined. I also noticed that the profile that hugs the desk was starting to deform open. I redesigned the hanger to have a tensile element that should hopefully prevent this in the future. I also cleaned up the flow of the lines.

A few friends expressed interest in this hanger, so I revised it again shortly afterwards to make the model a bit more parametric. This will allow me to scale the hanger to fit different friends’ desks, I hope! I also created a subtle swell on the contact surface of the hanger. This will speak a little more elegantly to the headphone band when the headphones are in place.

Water Bottle Tag

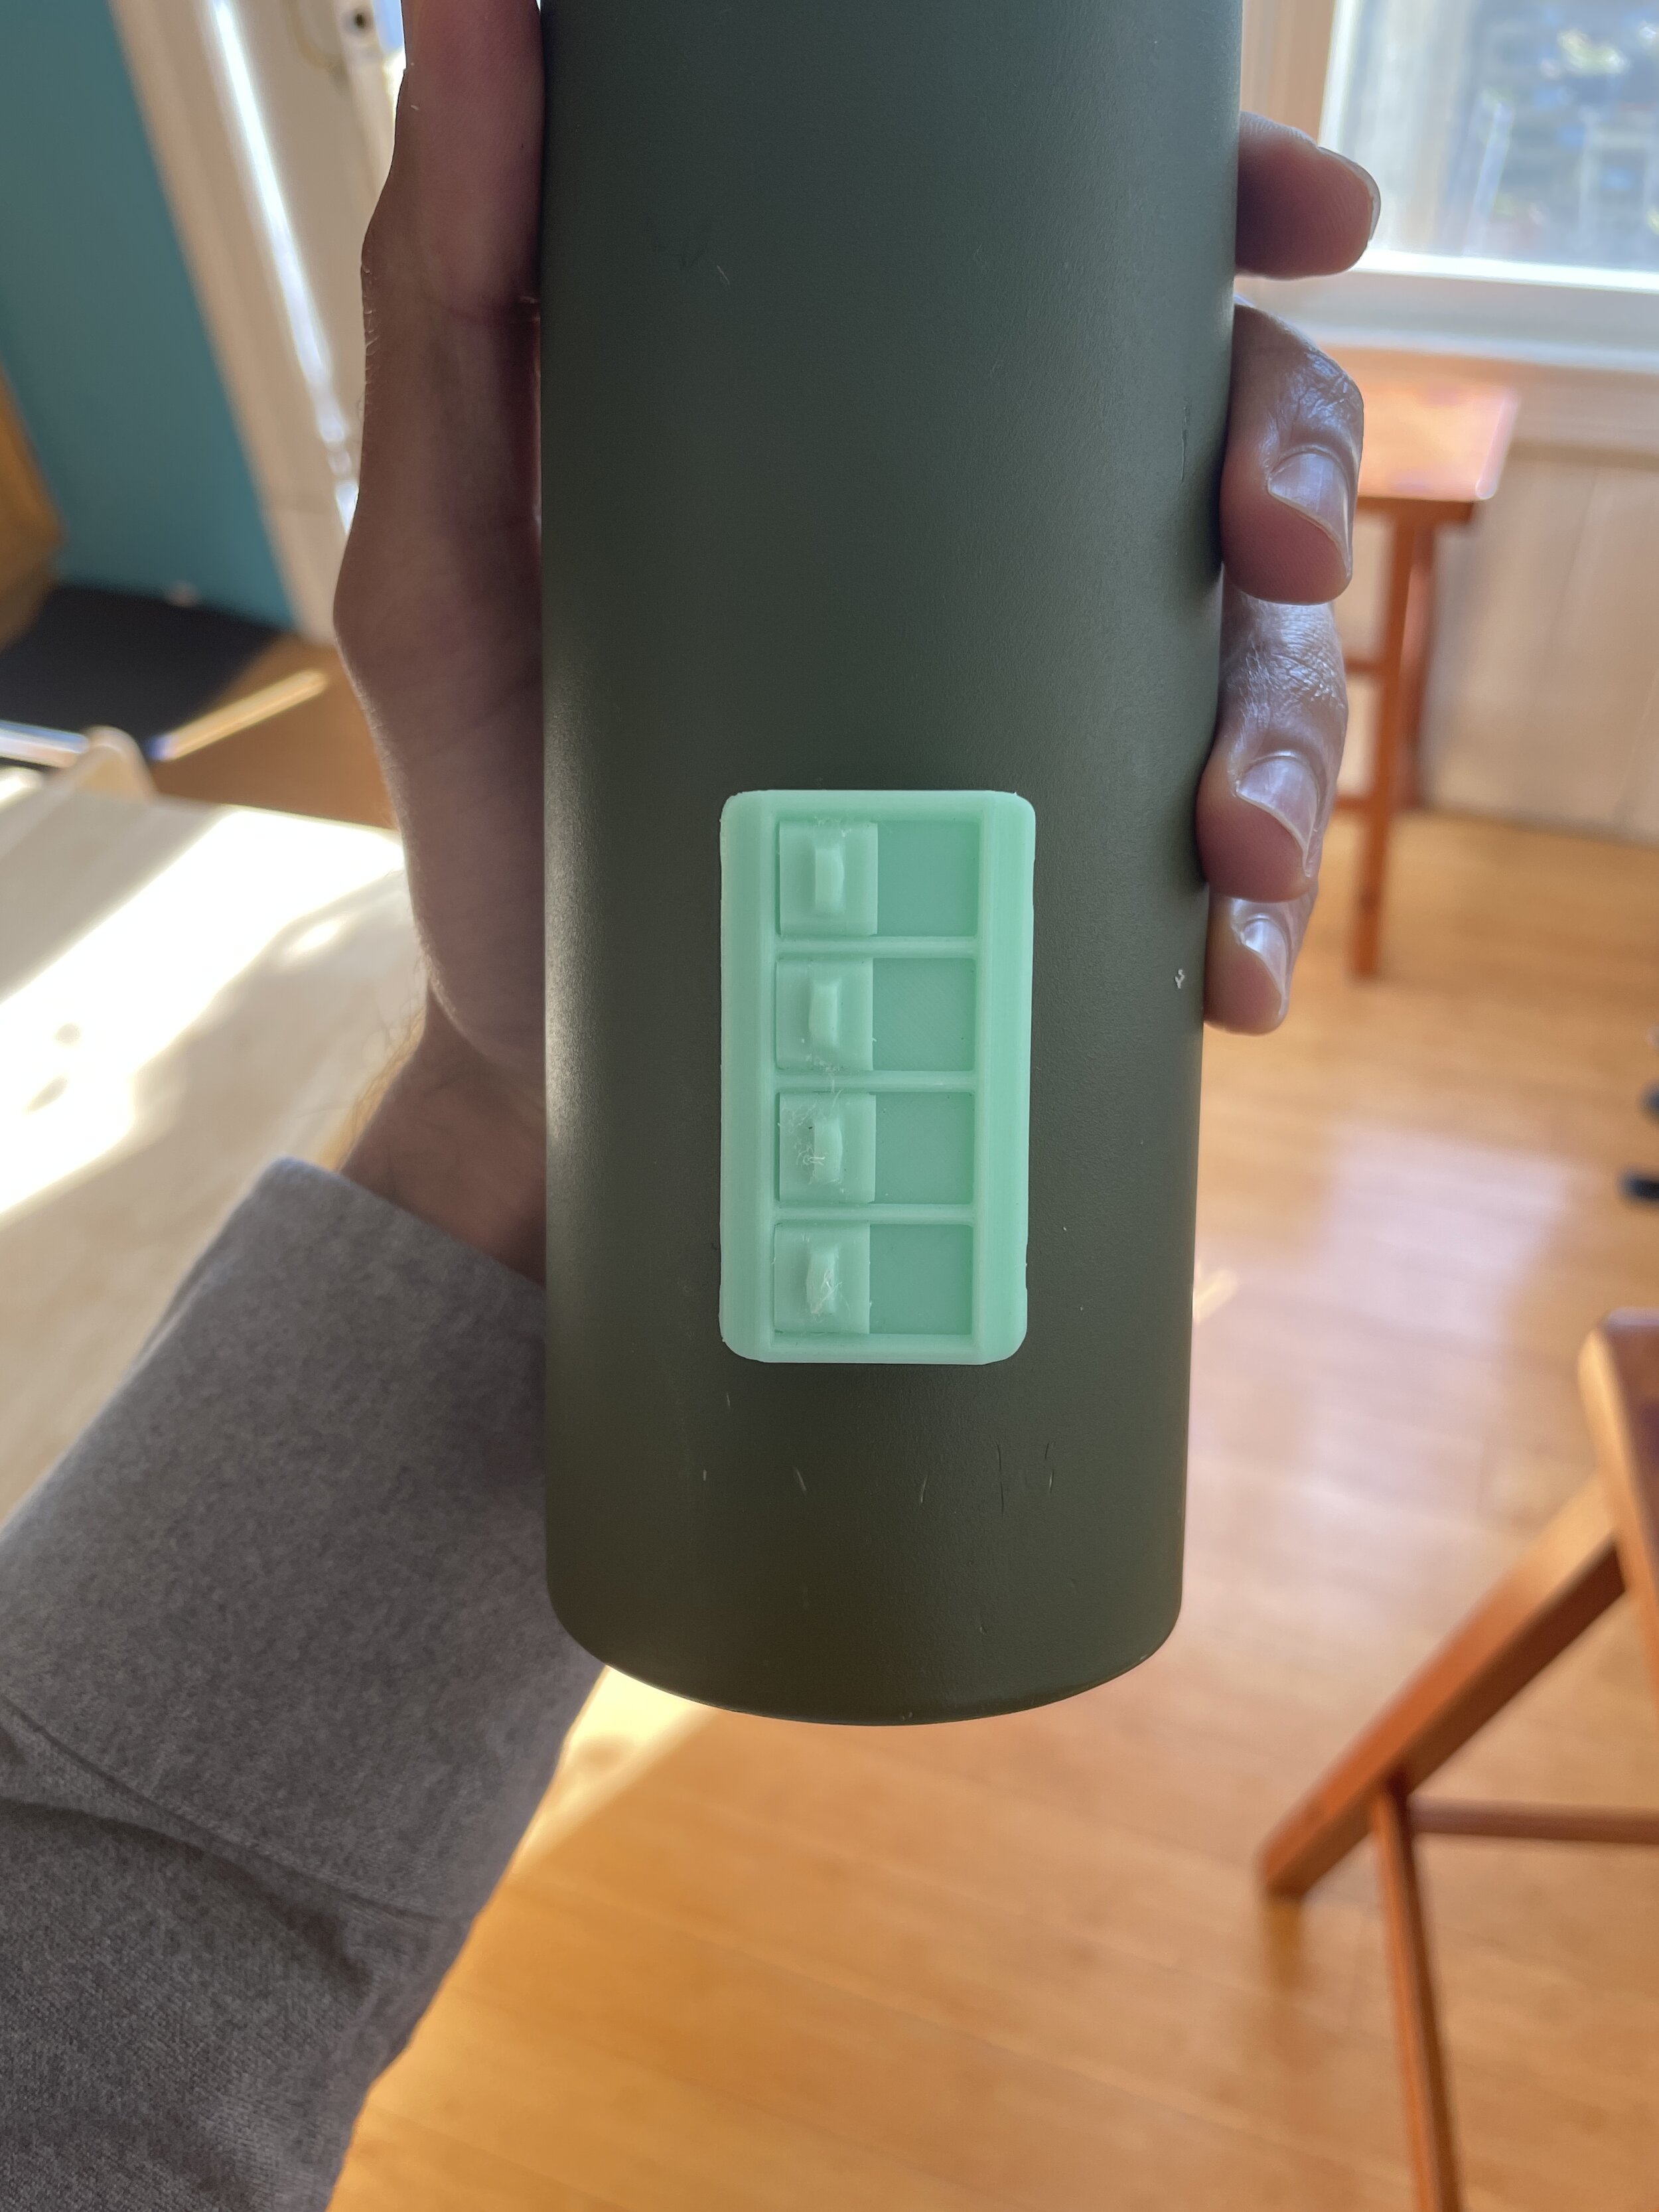
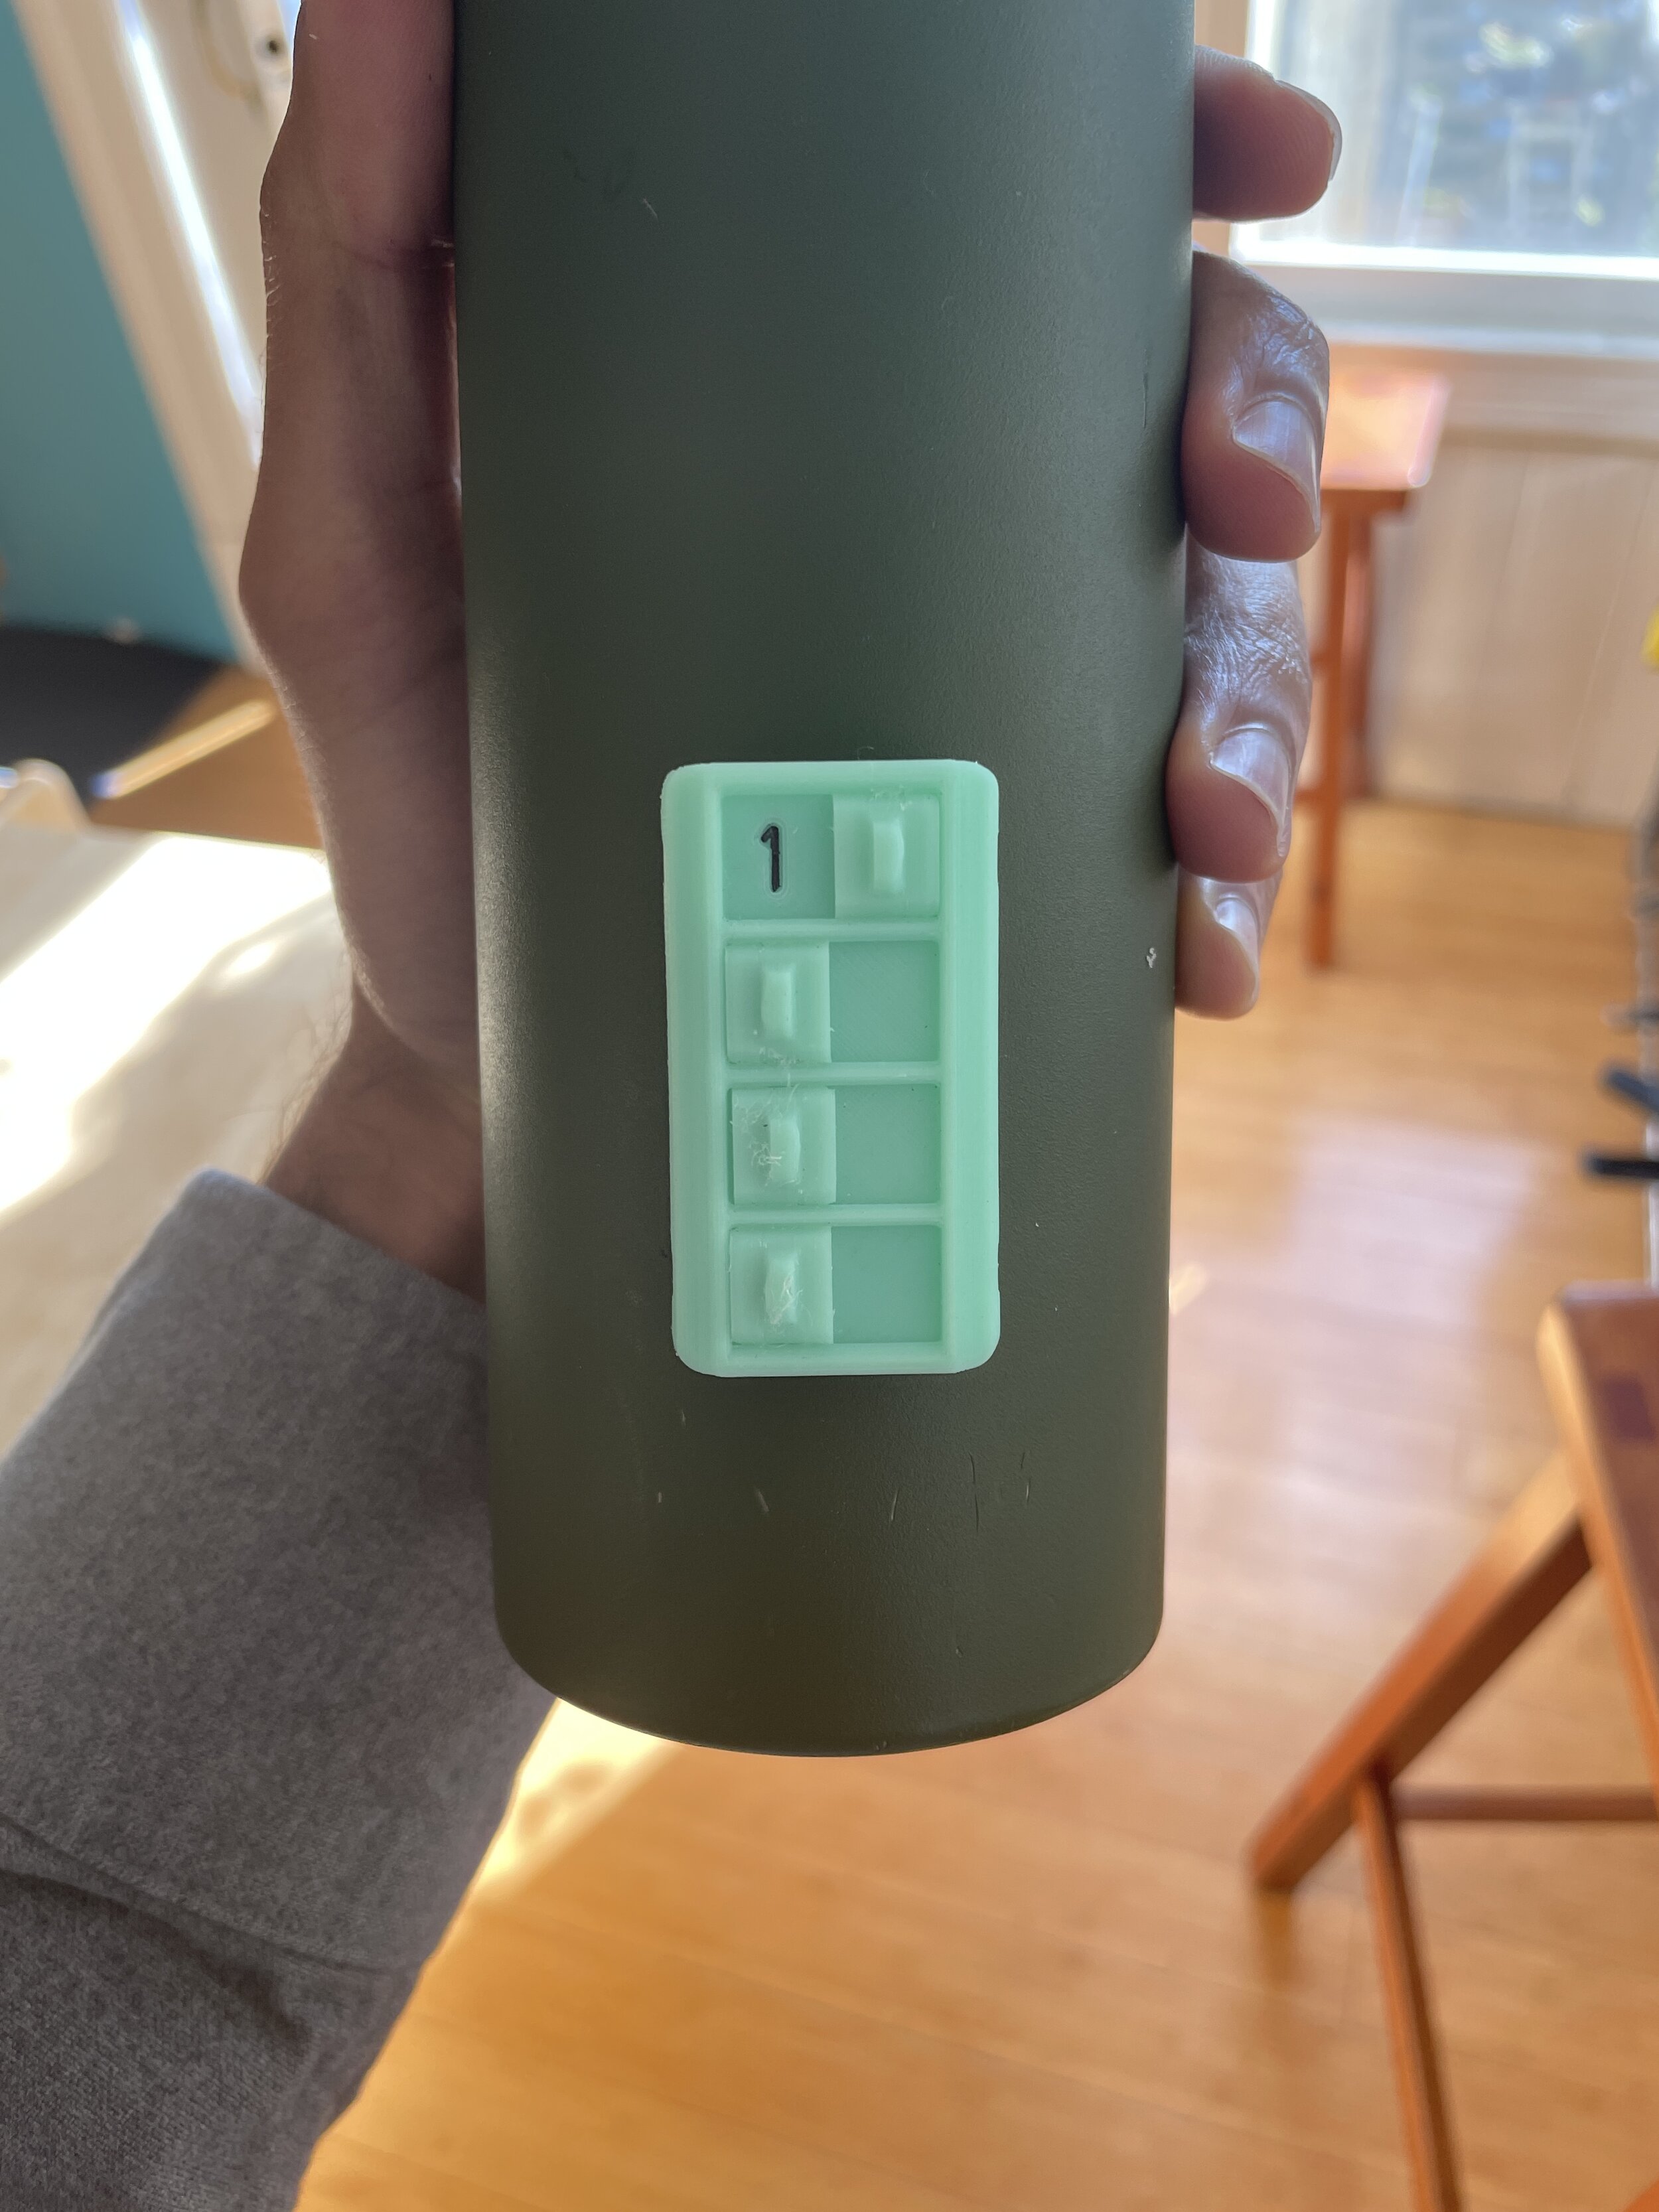
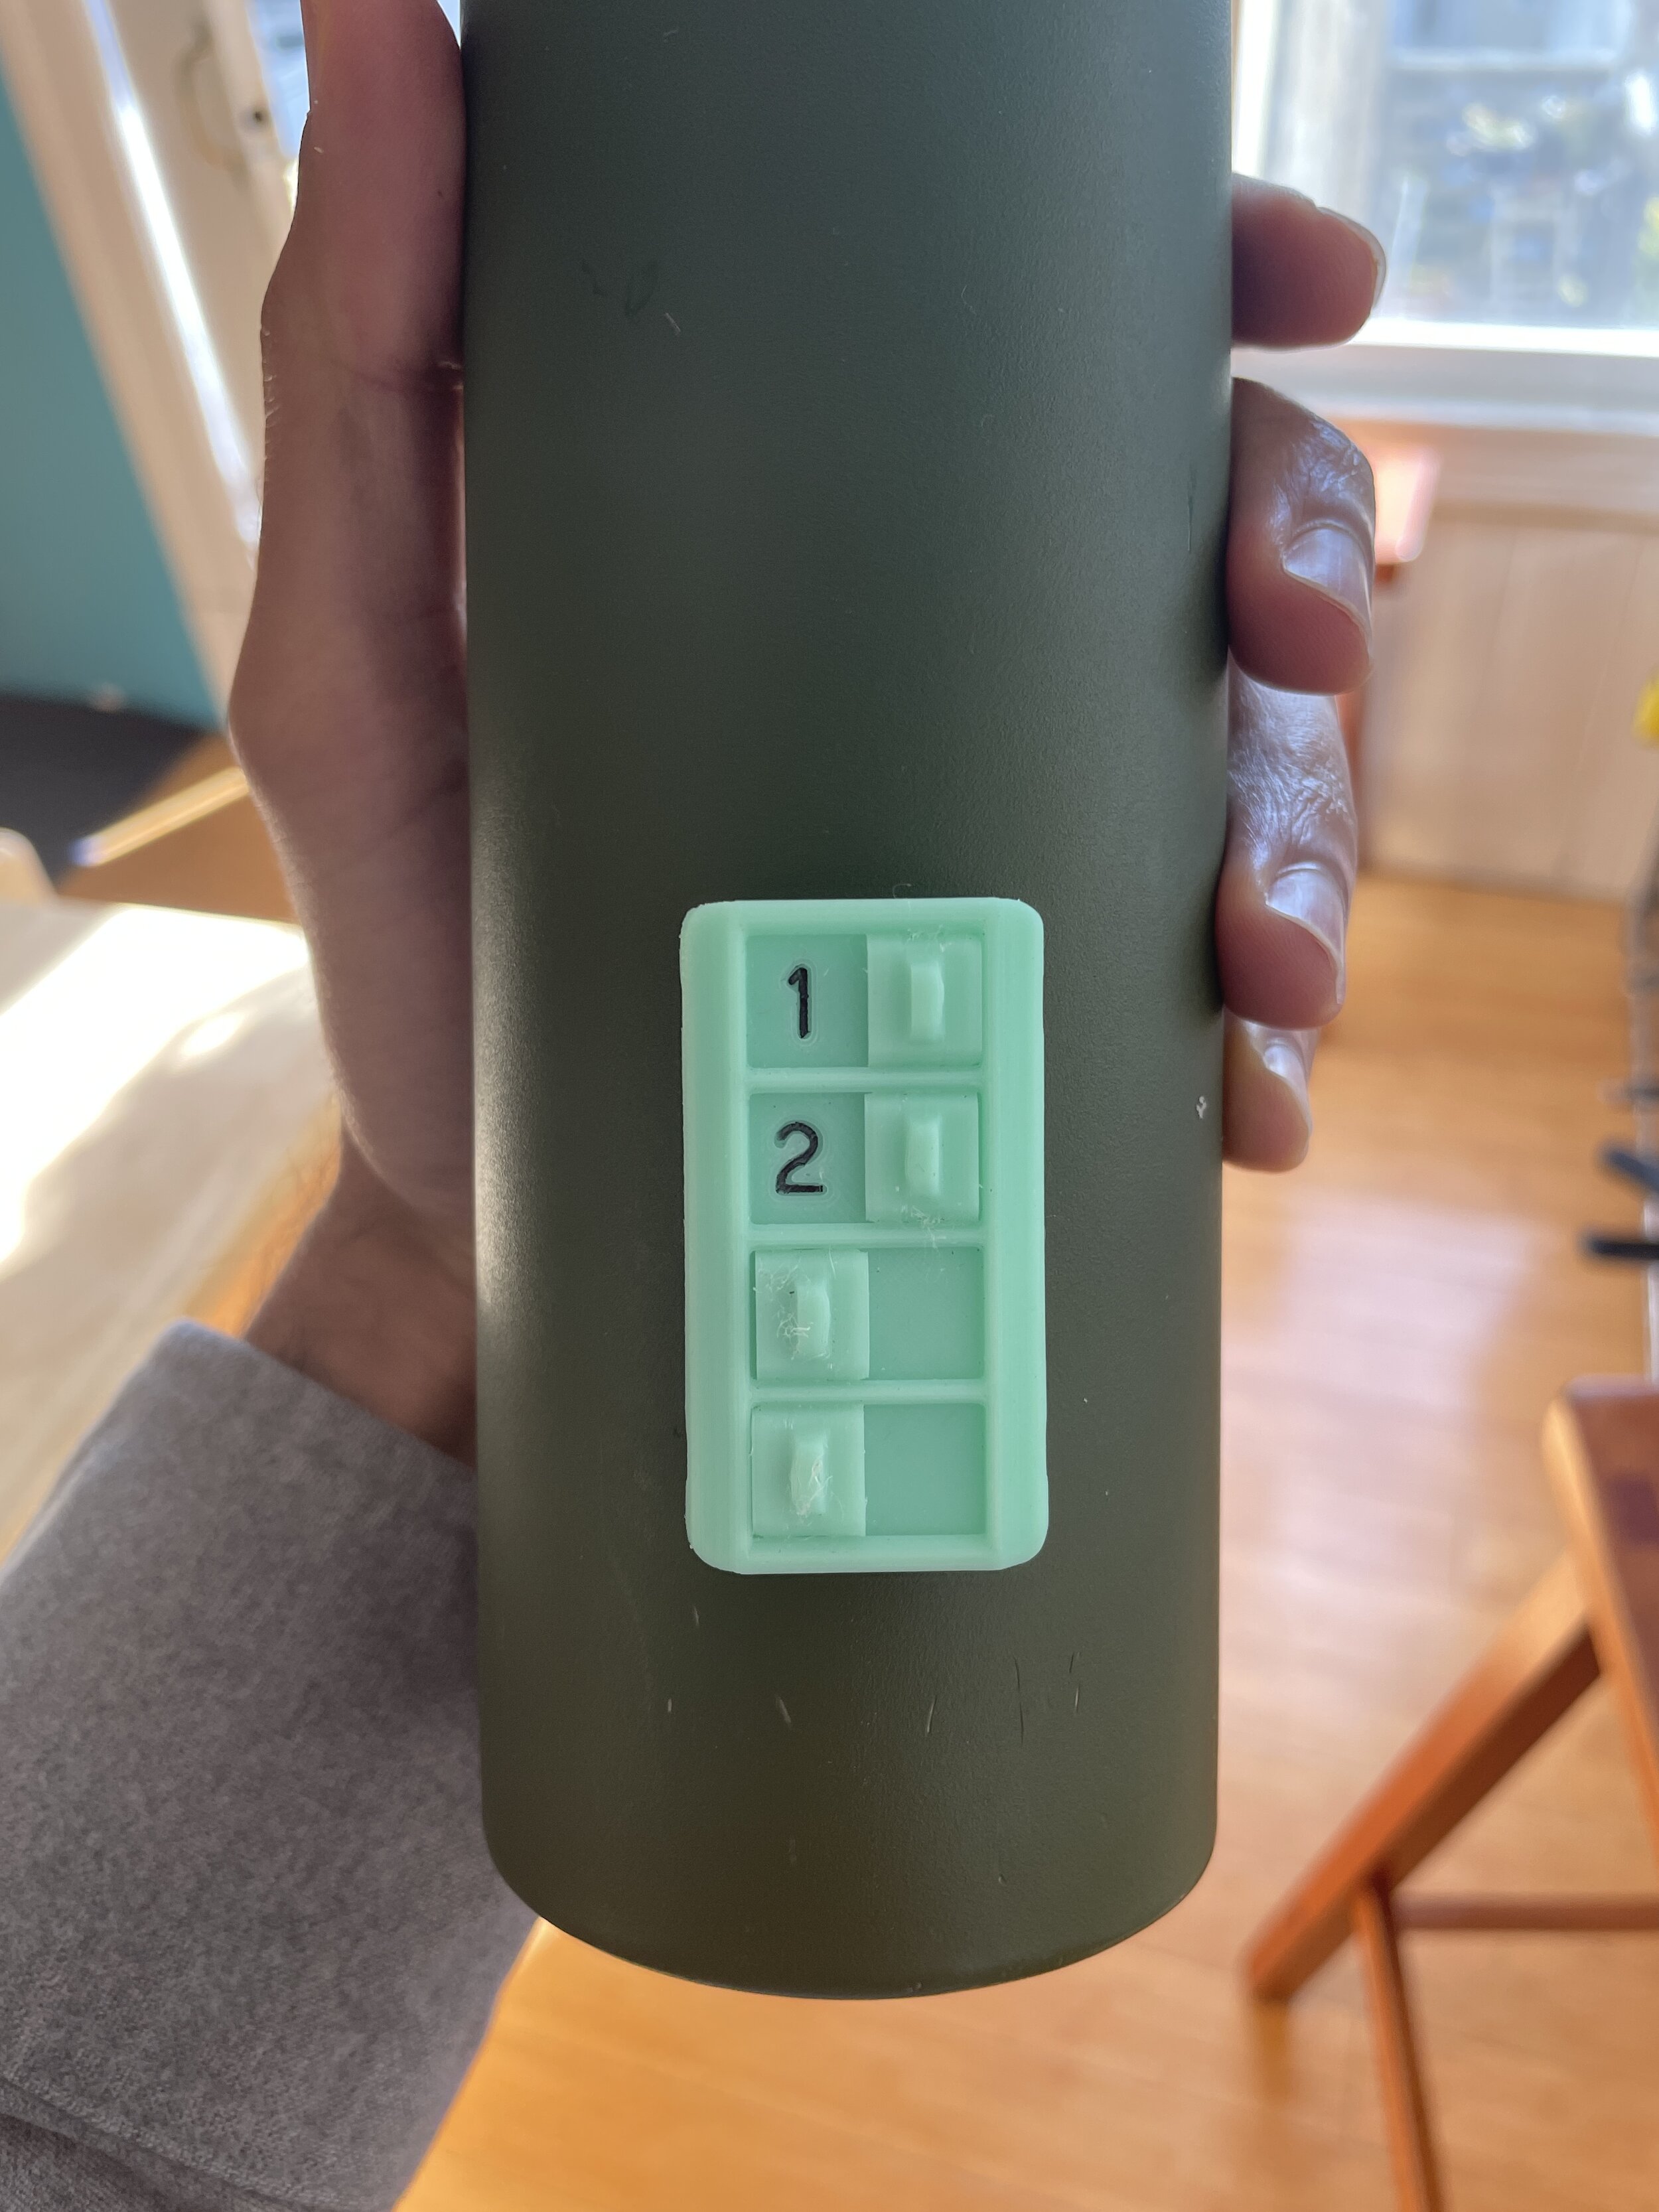
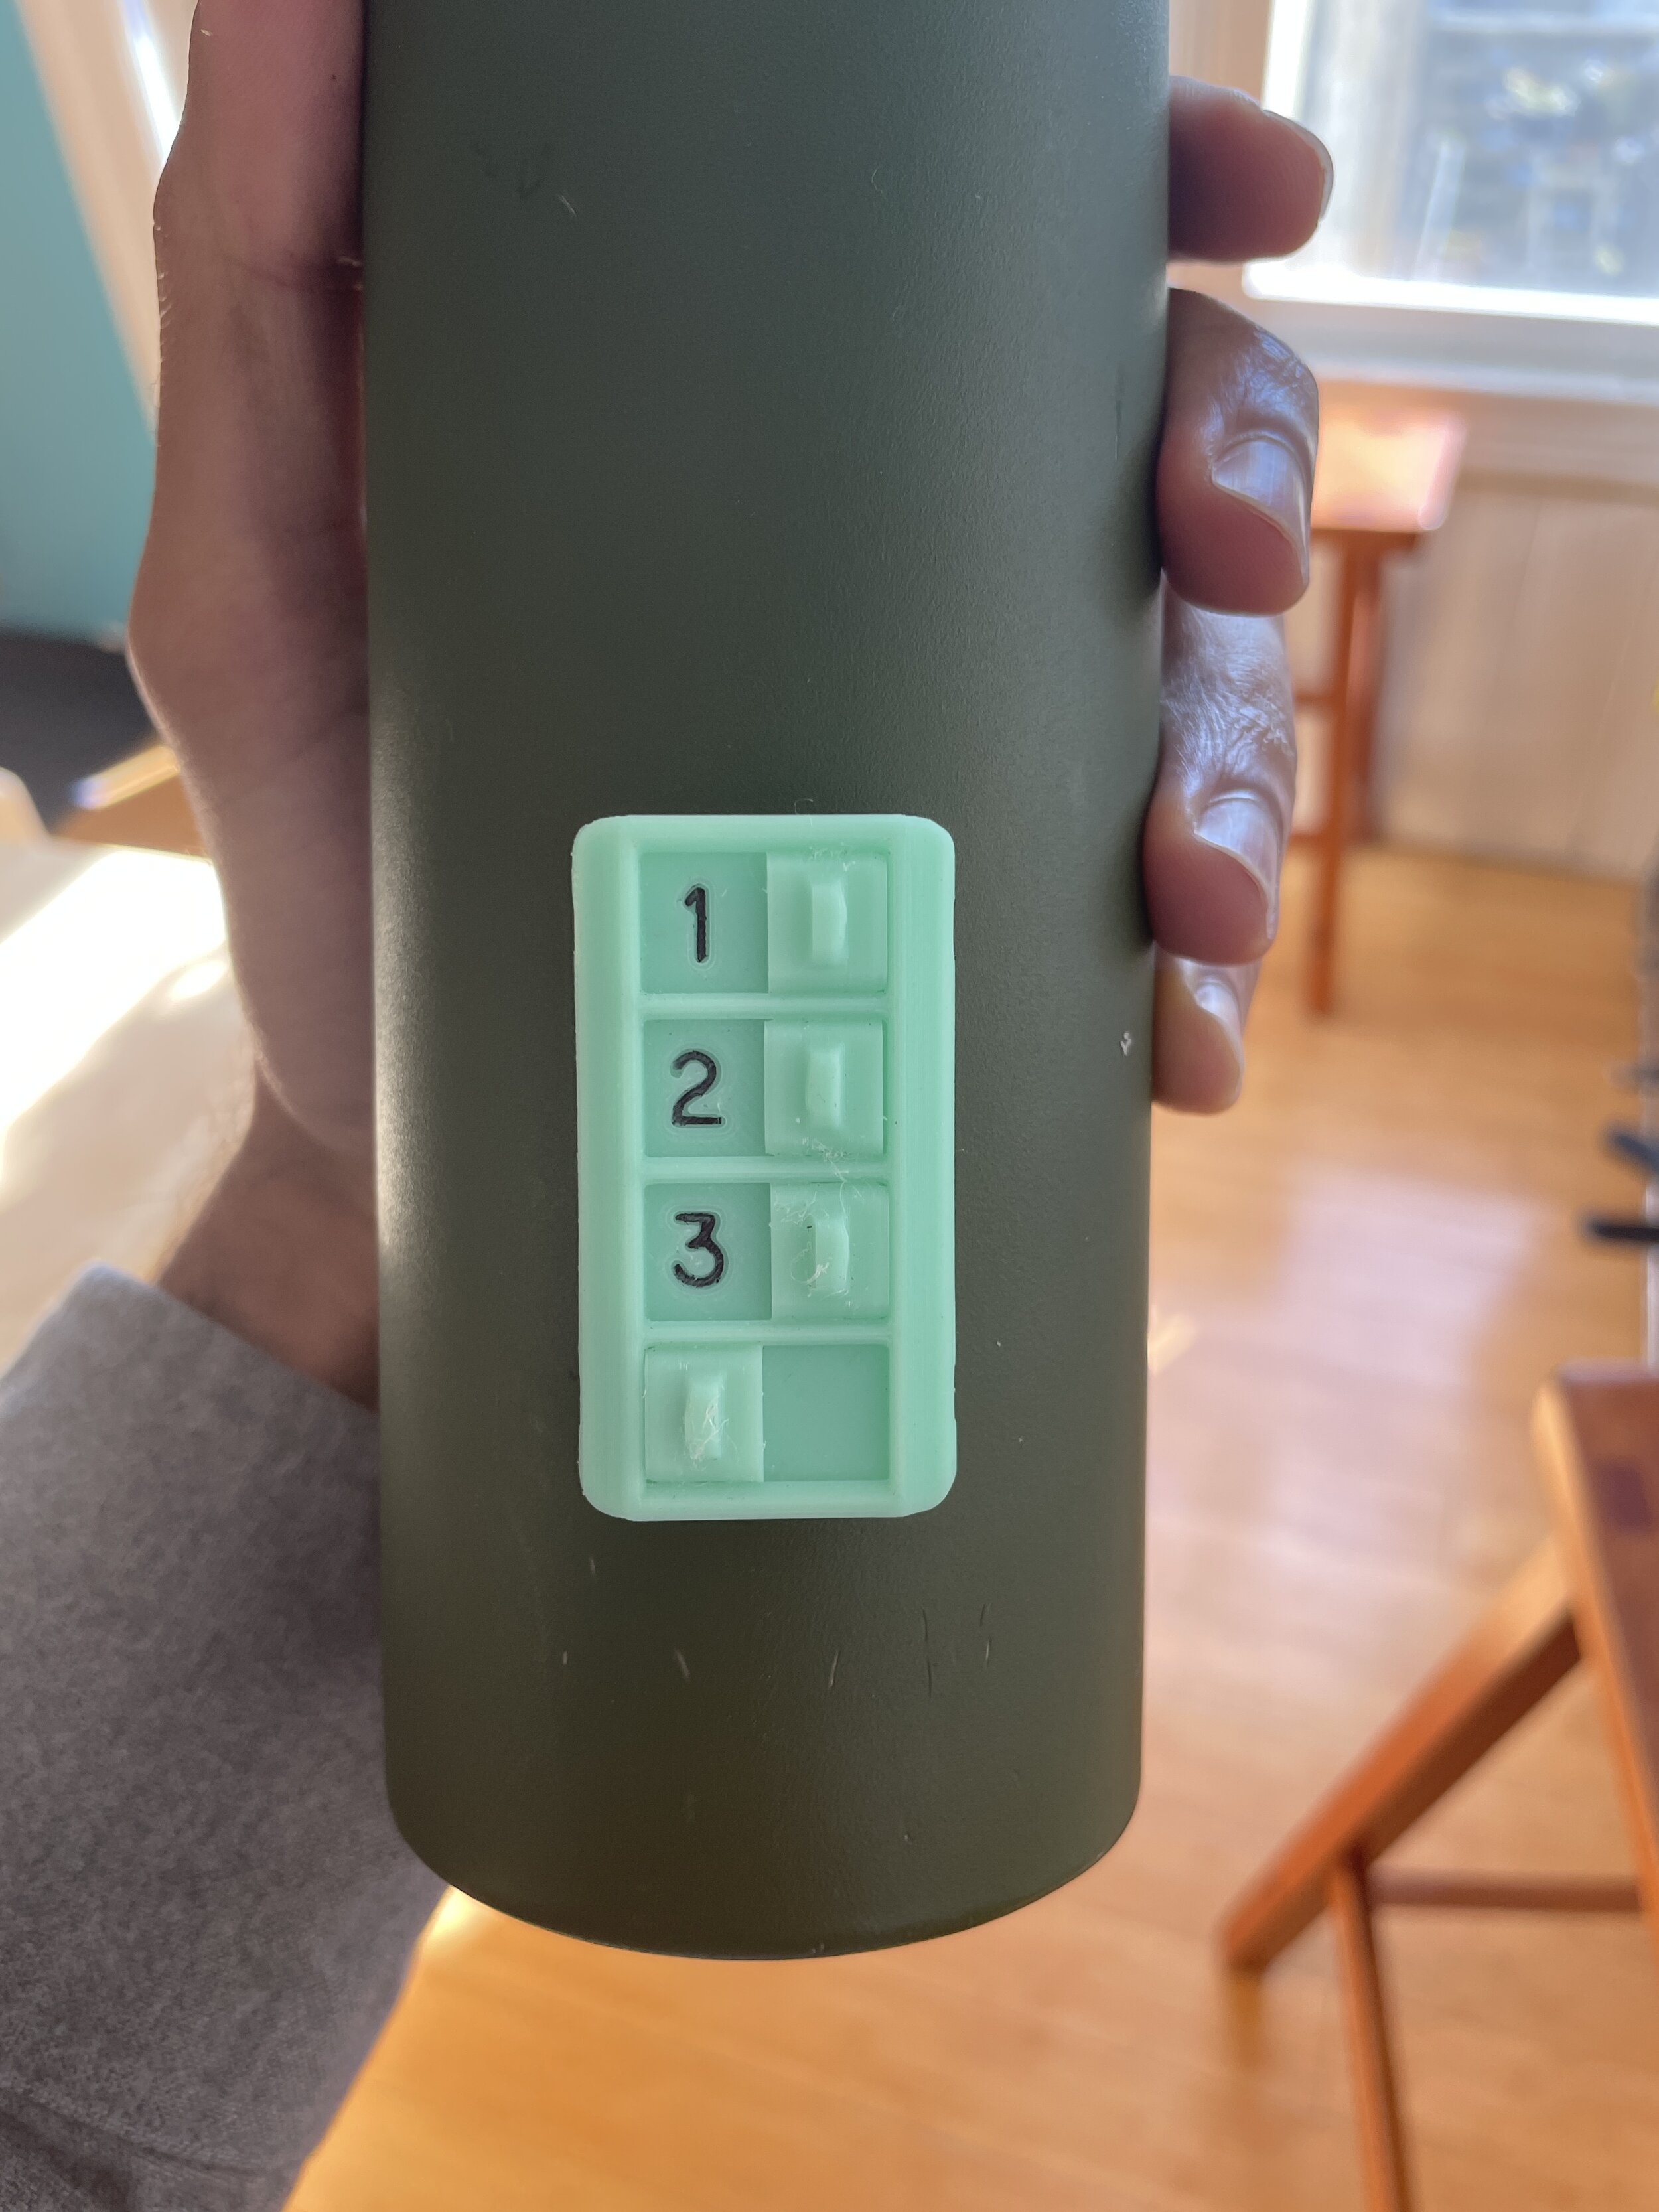
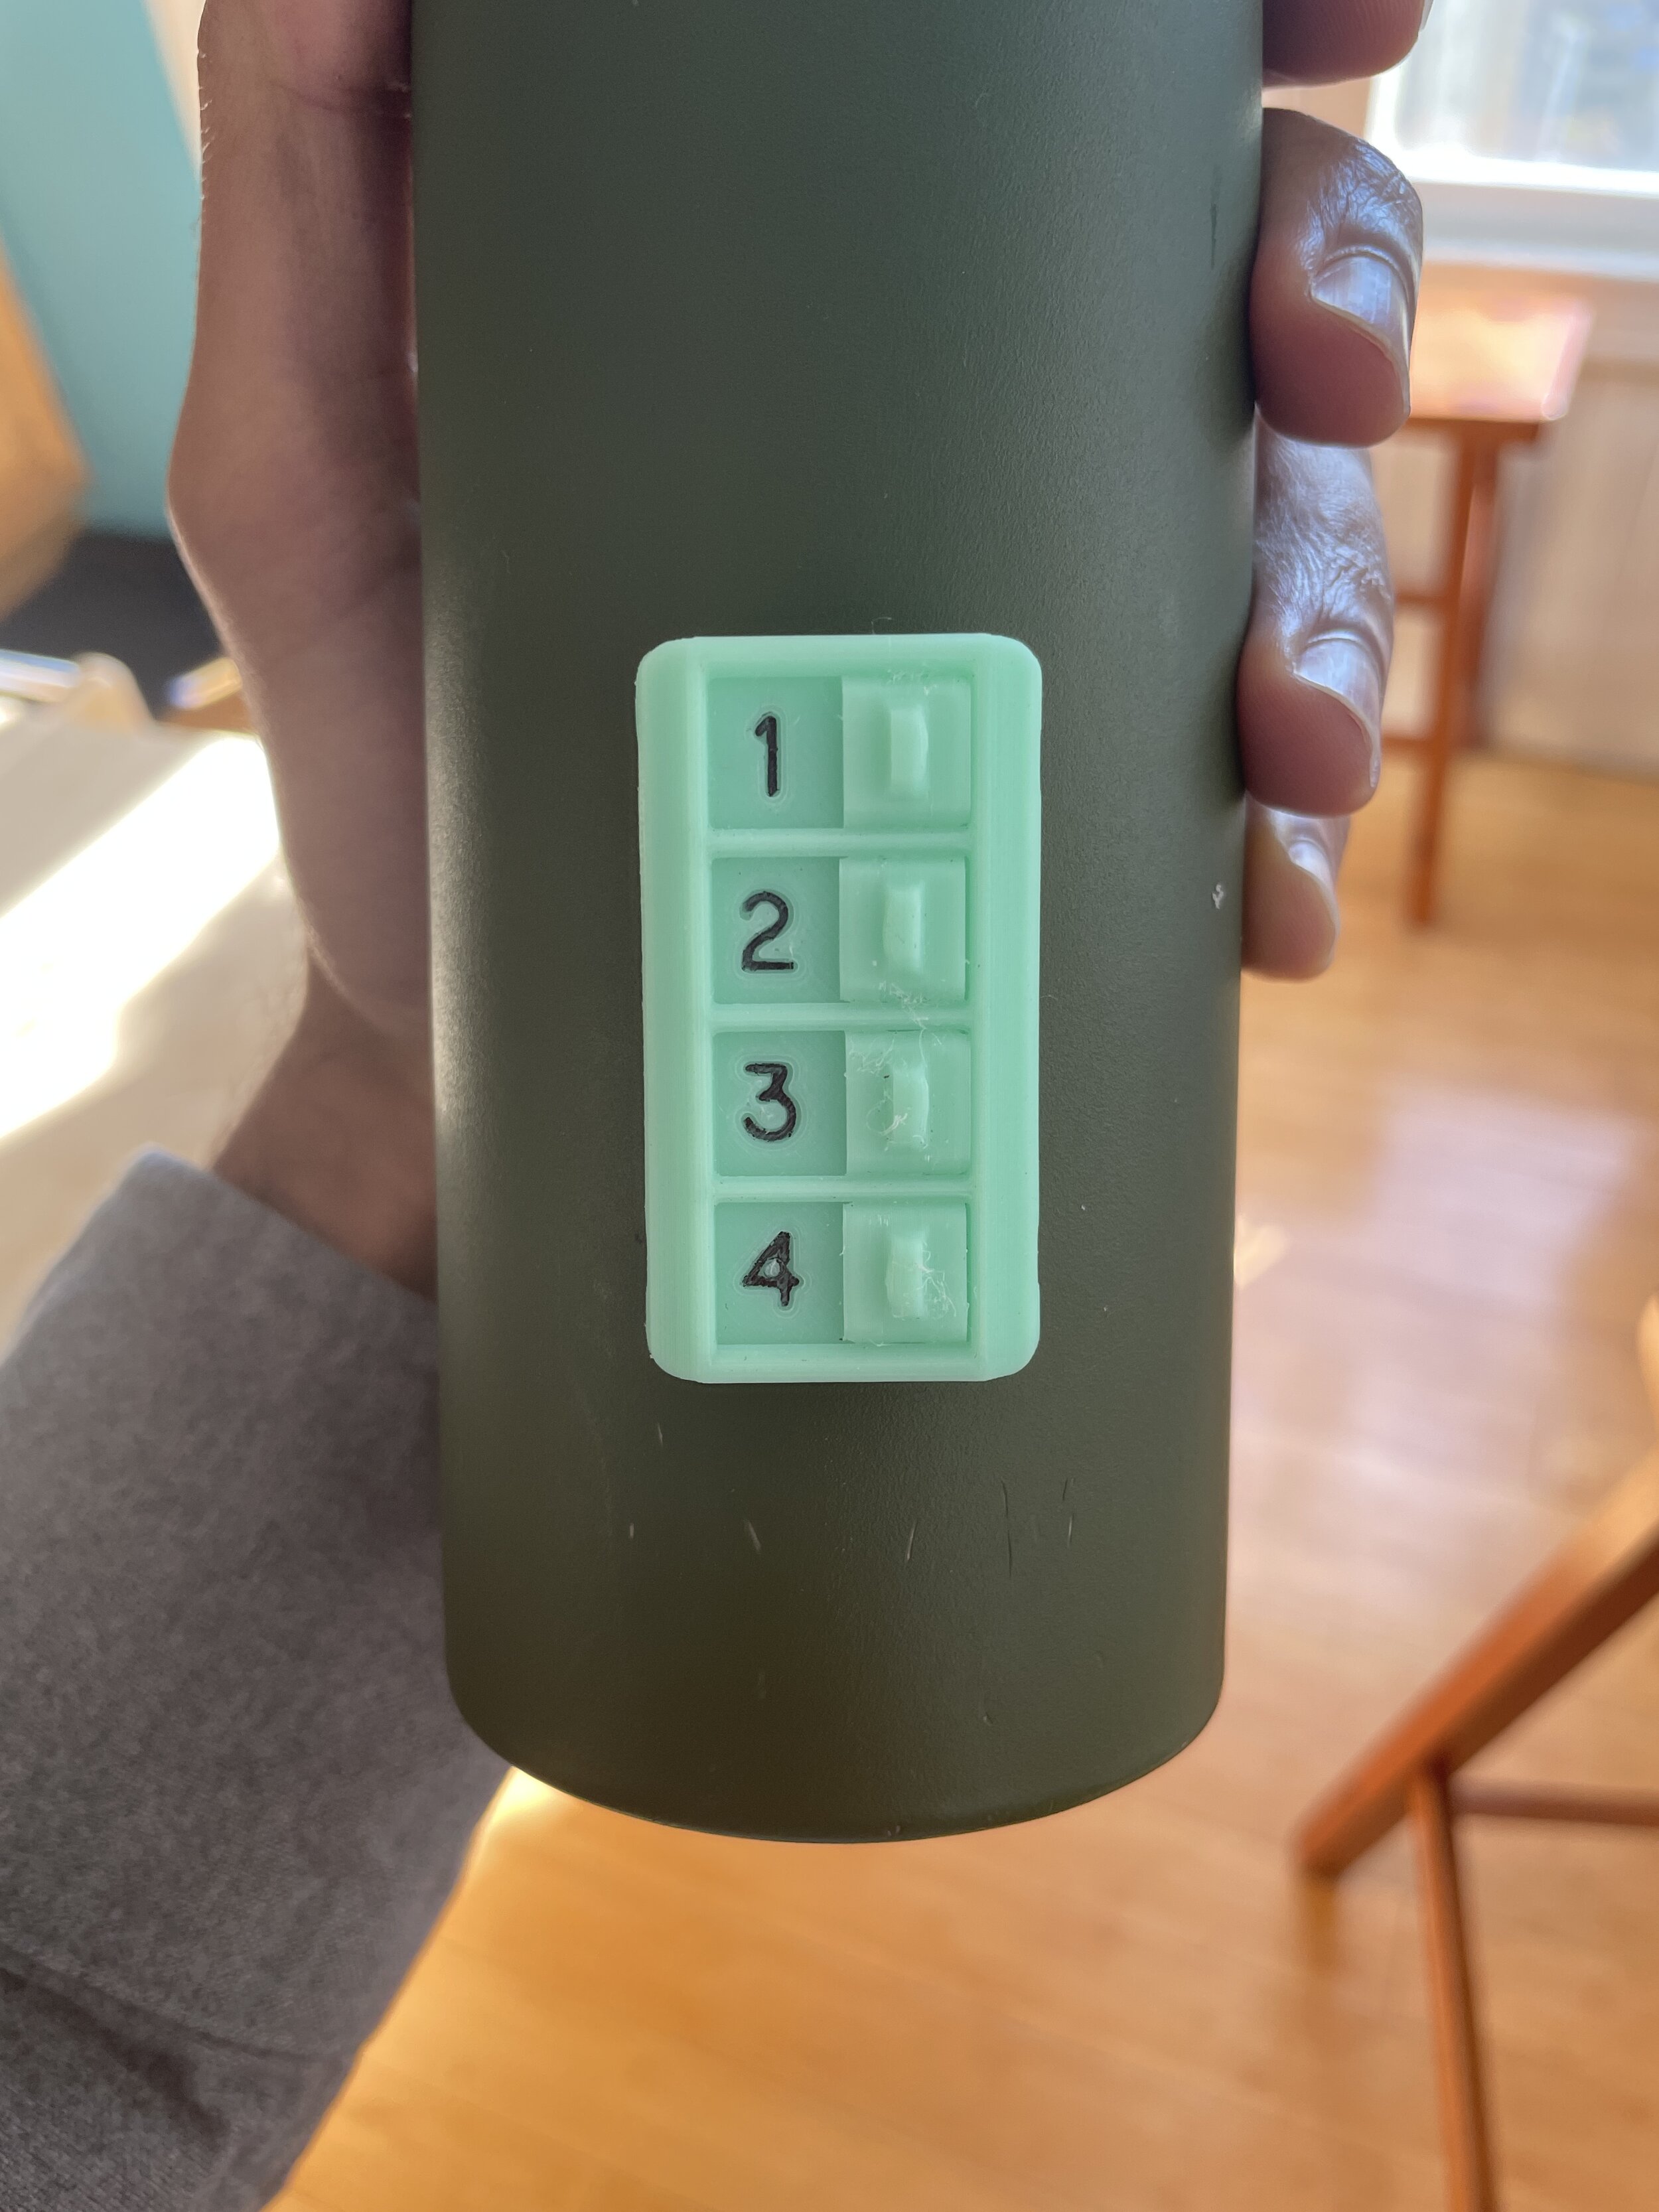
My partner stuck a post-it to her water bottle so that she could motivate herself to drink 4 bottles per day. I found this to be far too elegant of a solution and my 3D printer was just… sitting there… so naturally I had to fix the problem*.

*not a real problem

Image from iOS.gif

3D Printed Wire Routing

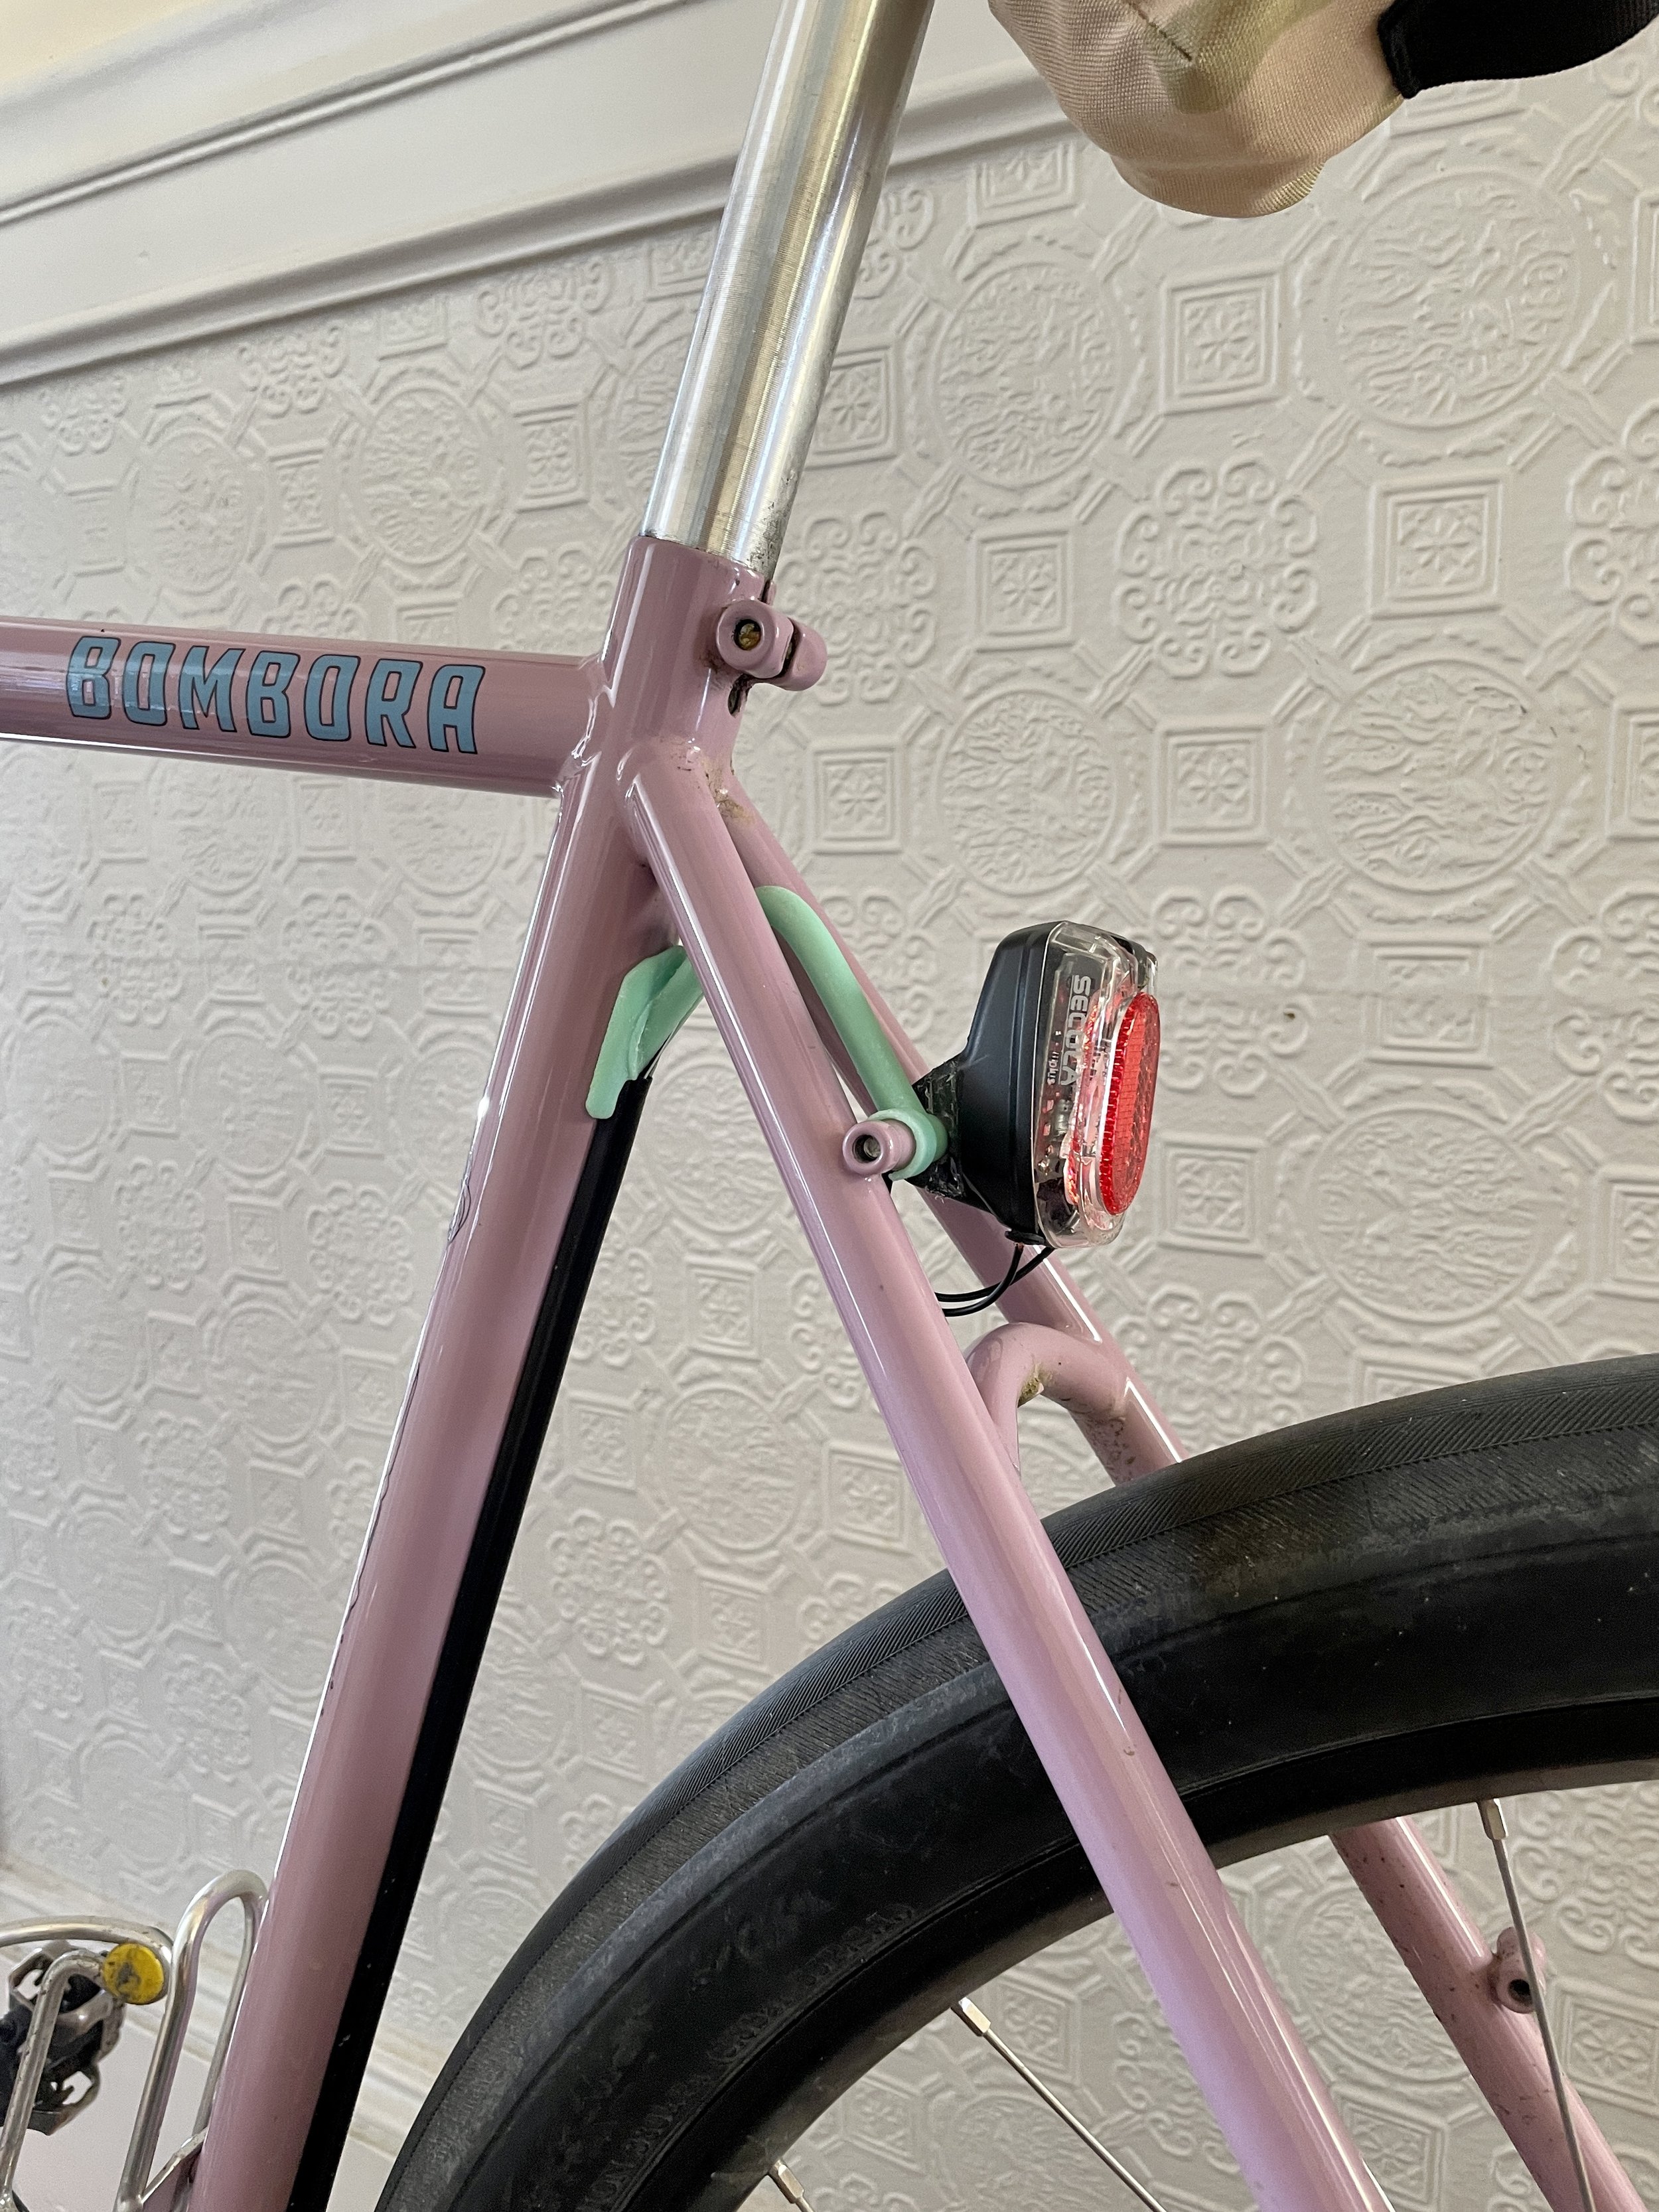
I’m running a dynamo & wired lights on my “do-everything” bike. I love the versatility and ease of always having great lights ready to go, but I don’t really like the look of exposed wiring on my bike. I wanted to mount my rear light up high but also route the wires elegantly out to the light. My buddy Adem very cleverly uses adhesive-backed Di2 cable covers to keep his dynamo wires tidy along his tubes, but I still needed to get the wires from the seat tube out to where the light is mounted.

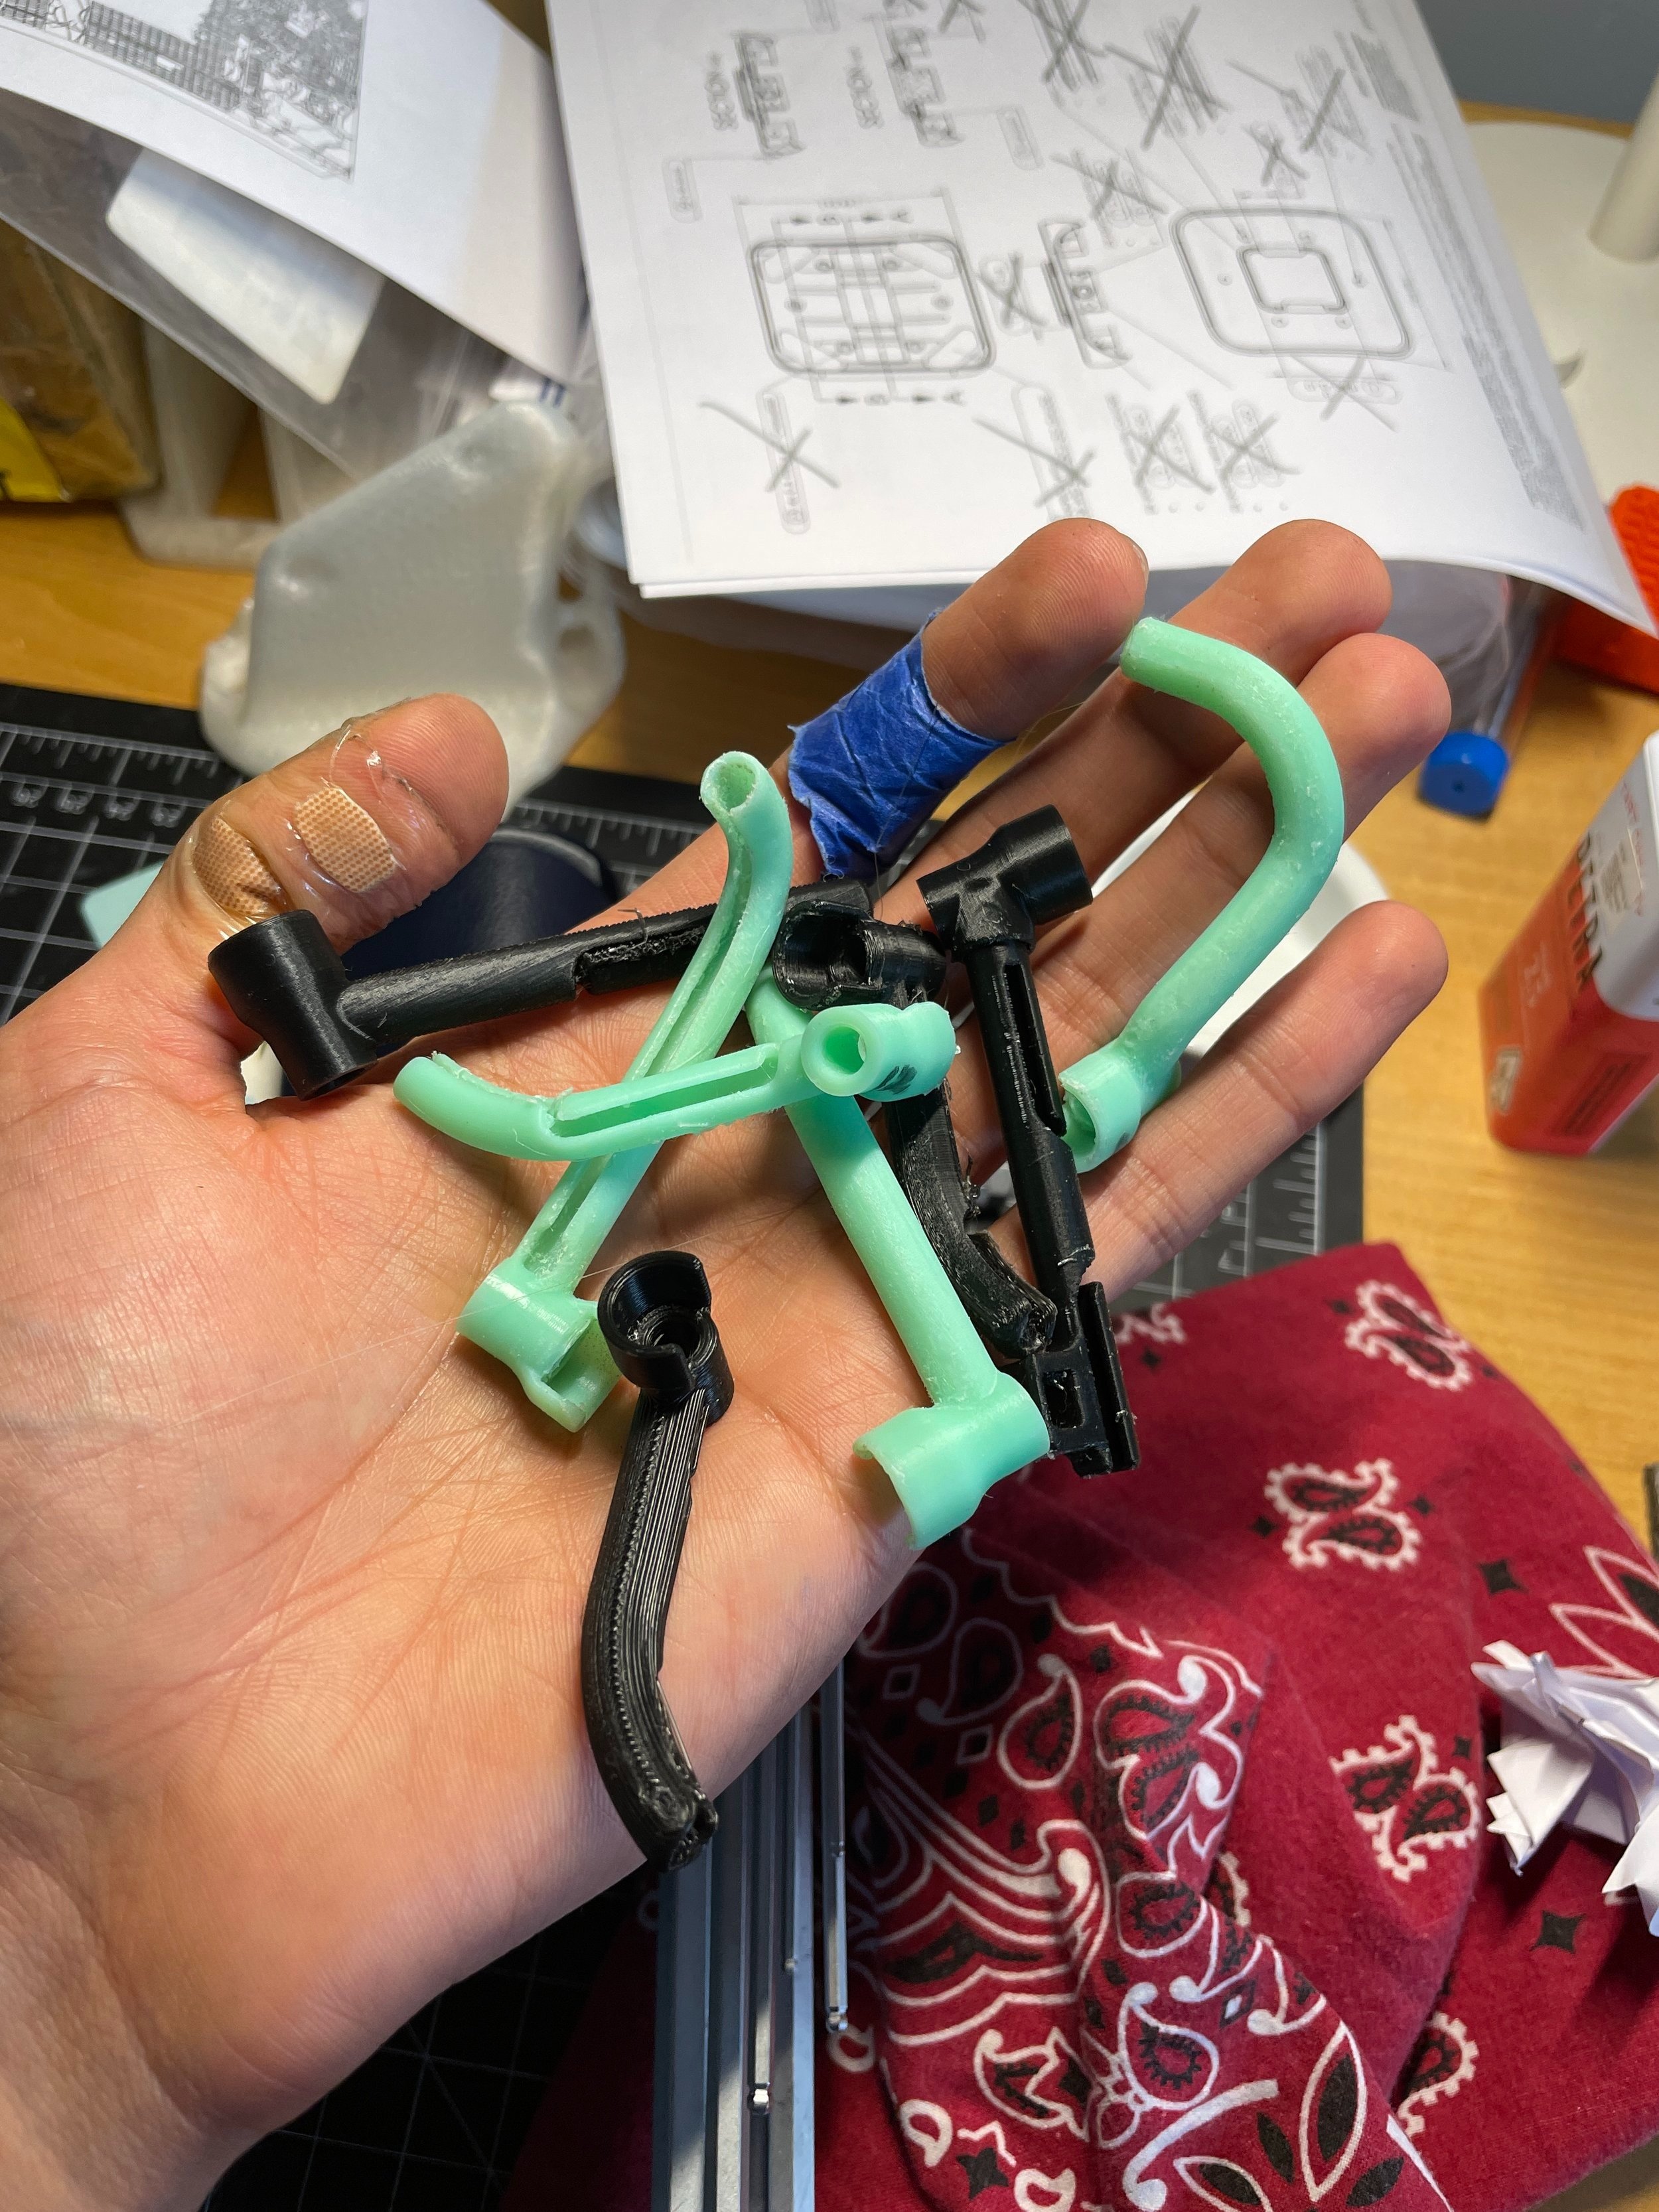
I decided to design and print a sculpted cable guide to keep everything tidy. It took me about 19 revs to get the fit juuuust right - the later revisions were tiny changes for the most part! I printed the part at 50 μm layer heights on my Prusa MK3S (FDM). Even though FDM is a layer-based technology, 50 μm layers are super hard to notice, especially in this delicious jade filament! At some point I may want to reprint this in a more UV-stable material, but it doesn’t really experience load and it’s holding up well so far.

650b x 700c Tire Equivalents Chart

I’ve been spending a lot of time both thinking about and riding bikes in the past few months. I’m currently riding a 650b setup. I’ve been curious to at-a-glance see the closest equivalent rim/tire combos between 650b and 700c. Despite finding an abundance of opinions about how rad 650b is and plenty of data about rim/tire/wheel sizes, I couldn’t find an easy “this-to-that” conversion table. I pulled in the data from bikecalc.com and arranged it to make it a bit easier to see equivalent rim/tire combos between the two wheel sizes.

Please note that this chart is only considering the resulting outer diameter of the rim/tire combo in question. The width clearance of your particular bike frame is only possibly to evaluate on a frame-by-frame basis.

Cord Routing

The previous tenants in my apartment drilled some holes in the built-in shelving to route cords in the living room. The holes were pretty tight for 3-prong plugs, and they were pretty rough around the edges. I routed out larger pockets for cord routing and printed custom sleeves to clean up the openings and prevent cables from getting snagged.

Spice Drawer Organizer

Our spice drawer was a mess. I printed an organizer set to tidy things up. It’s held in place with some removable doublestick tape.